5 Easy White Background Photography Tips To Look Pro ??

White background photography is one of the most popular product photography styles. It brings consistency, clarity, and professionalism to your product images. It helps you put the product into focus and attract more customers.
However, there are a few problems with white background photography.
- Firstly, white products are quite reflective and while taking photos on a white background, the light could seem to overexpose.
- Secondly, if not photographed correctly, it could be hard for viewers to distinguish the separation of the product from its white background.
So, to make sure that your white background photography looks amazing even with a white or reflective product here’s what you can do for your white on white photography?.
5 DIY White Background Photography Tips
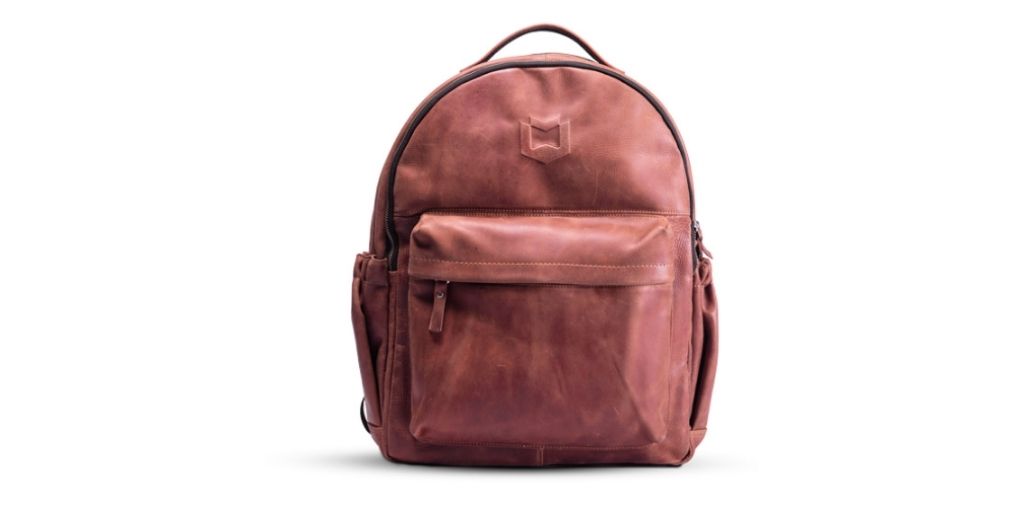
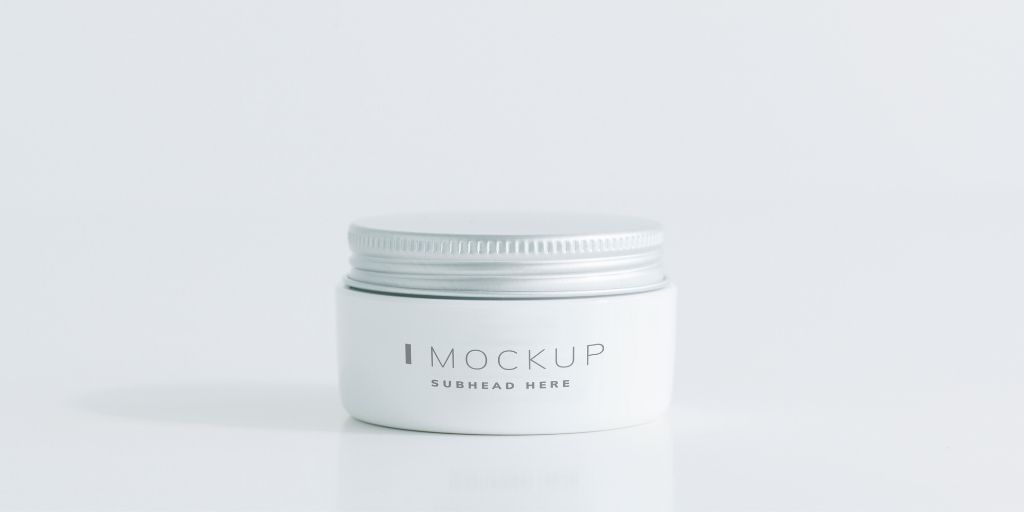
1. Determining Your White Product

In white background photography, ensure you are thoroughly aware of the product, even before taking a sample shot.
Start with the surface to see if it’s reflective or blunt. The reflective surface would demand more effort to find the perfect illumination spot and over-exposure.
If you are aiming for a completely white photo, you may want to ensure that your viewers can see where the product is getting separated from its background.
You may also consider a continuous LED light with reflective white products as it would help you know about the direction and reflection of the light firsthand, without taking the need to shoot an image.
However, if you still catch the reflection or miss some details, you can always make it right with the help of the background removal service.
2. Camera Settings for photography
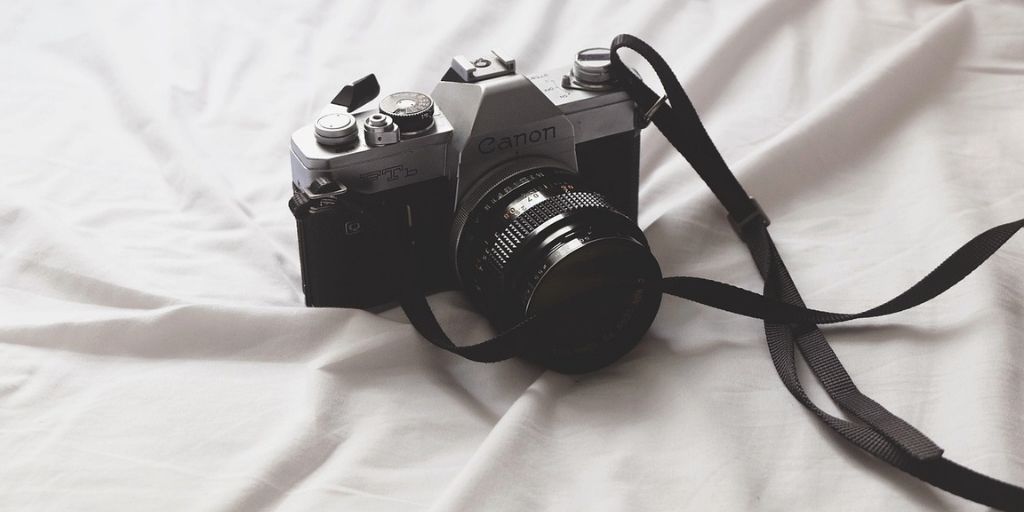
The primary camera setting you should focus on for white background photography is your white balance.
Ensure that the lighting is set to replicate daylight, as does your camera setting. If not, the images will have an unwanted bluish or orangish overlay.
Next would be to adjust your ISO to about 100 or 200. The aim is to capture as much detail as possible without making the image look grainy or blurred. For the aperture, you’d want to tweak it up to f/16 for sharper pictures.
I would also recommend you use a tripod for a steady setup for the best white background photography.
Tripod becomes necessary, especially when you are working with ISO. If you want no blur and just detailed images, the tripod can help you easily capture white photos.
To recap:
- White Balance: Daylight (5000-6500K)
- Aperture: f/16 approx
- ISO: 100 Or 200
3. Background Studio Setup
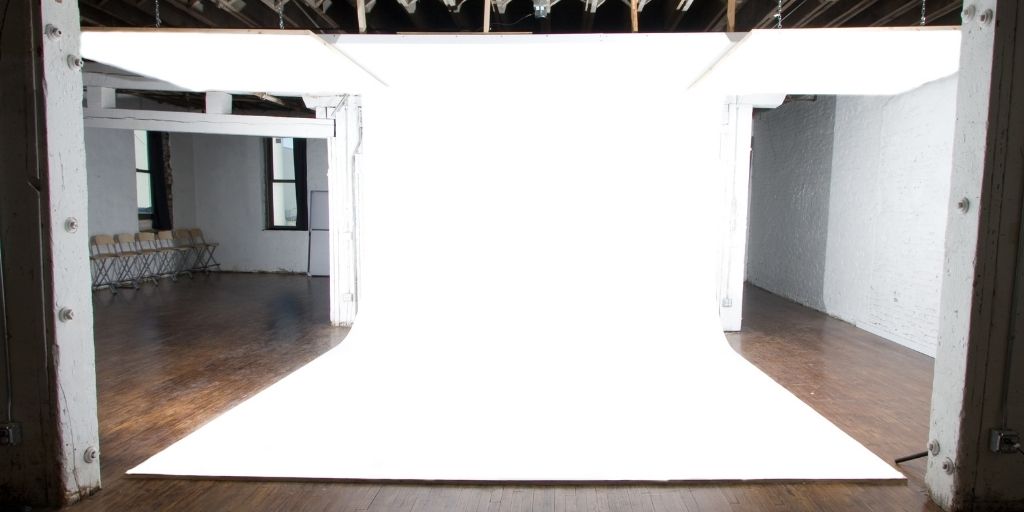
The studio setup is the most common to start a white product on white backdrop photography.
Choose a clean, white portrait background. You also need to understand that, unlike colored products, you can’t just increase the lighting because it would just hide the essential details of the product.
Here’s what you can do to eliminate this issue and perform hassle-free DIY product photography.
Get yourself a table or an elevated area to set up your shoot. Now to start with white background photography, place a white reflective surface below and behind the product.
You can choose a seamless paper, white foam core board, or even white plexiglass, depending on whether you would like a reflection of the product or not. We recommend a white foam core board as they are inexpensive and easy to move around during the shoot.
Starting with the setup, place foam below and behind the product such that the ends of the board meet seamlessly.
Moreover, surround your product from all sides except the front where the camera will be placed. Now with this setup, you would be easily able to direct your light to create a perfectly white background photography setup.
4. Lighting Setup
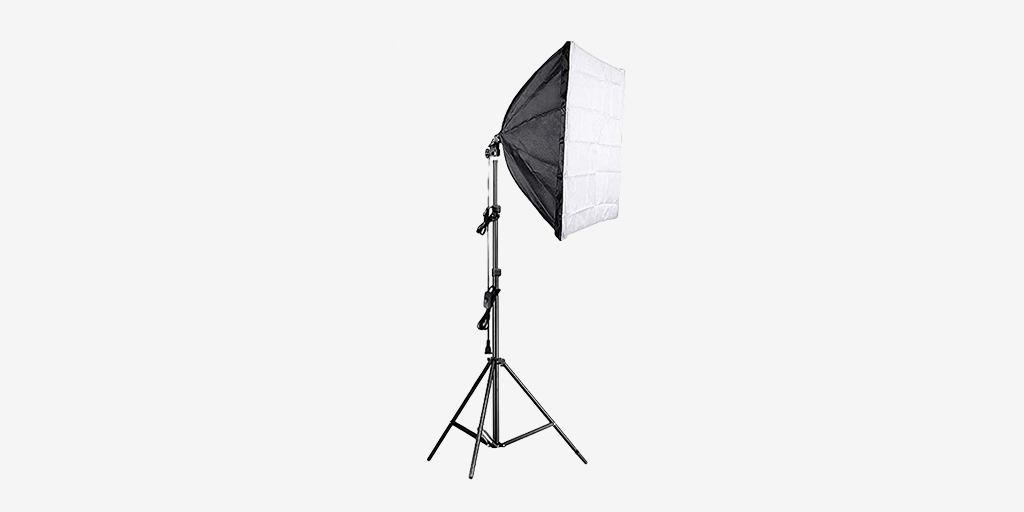
Lighting will play a key role in capturing the white on white backdrop photography, so make sure you pay attention to this point to master the white background photography.
- Make sure to have a broader light cast to avoid vignetting. It doesn’t matter if you are using continuous lighting or strobe lighting. Also, place the light above and behind the camera to get a perfect separation.
- Move your product closer to the camera and away from the background until the background is well lit up while the product starts to form a shadow. Take a test shot to check your image at this point of your white backdrop product photography. You would likely see the product as too dark, and the background perfectly lit up. Don’t worry; this will not be our result. We are on our way to learning the best way to capture white-on-white backdrop photography.
- At this point, we need to illuminate the front. Hence, take another foam piece and place it on the side and against the product faced up to reflect the light from behind. Now, move this foam closer to the product to reduce the shadows or move it further away to bring shadows into the frame. Do the same for the other side of the product and take a sample white background photography shot again. Here’s when white background photography will start to pay off. You will likely see the product well illuminated from the side with darkness in the front. No worries, as we still have to place our last foam in its place.
- Take a small strip of white foam that you are using and place it in front of the product, facing against the same to reflect the light in front. Adjust the distance and take your sample shot to determine if your efforts paid off.
In the best-case scenario, you capture the best white-on-white backdrop photography. If not, adjust the reflecting foams again, and you will get your desired result.
5. Photography Post-Production
The easiest way to achieve a flawless white background professionally is to outsource the background removal service. Post-production activities are crucial for the images to look more professional and consistent.
Editing becomes crucial while performing white background photography since it’s easy to notice imperfections on white products and backgrounds.
Use product photo editing techniques to correct the colors, adjust the white balance, and remove any smudges, scratches, or imperfections that might be there in the product.
Using software like Photoshop or Corel Draw can be of great use here.
During post-production, you can create a clipping path of the products to make more edits in the future, remove the background altogether while keeping the shadows, or just clean up the background.
You may outsource product photo editing if you have bulk images that need to be edited before the deadline. Professional product photo editing services like PixelPhant can help you edit bulk photos within 24 hours.
Final Words
I hope this article helped you with some tips on performing white background photography. Using these tips and tricks, you can quickly start your DIY product photography project, even if the product is reflective or white. And, if you’re a busy professional with thousands of product images, you can always rely on PixelPhant’s professional background removal service for professional-looking images.
Test PixelPhant’s product image editing services by taking the free trial now?.