DIY Guide: Best Camera Settings For Product Photography
To capture some fantastic images, you don’t always need the best camera for product photography.
You just need to learn how to use your camera in the best way possible. To do so, learning about the best camera settings for product photography plays a vital role.
ISO, Aperture, and Shutter Speed are some of the most essential product photography camera settings that can either make or break an image.
But sometimes, it can be a struggle to choose the best camera settings for product photography. Especially if you are a beginner and have no idea what your clients and customers are looking for.
But not anymore.
In this fantastic photography guide, you will find out the best way to set up your camera and how to make sure you are on the right path of learning.
Key Takeaway
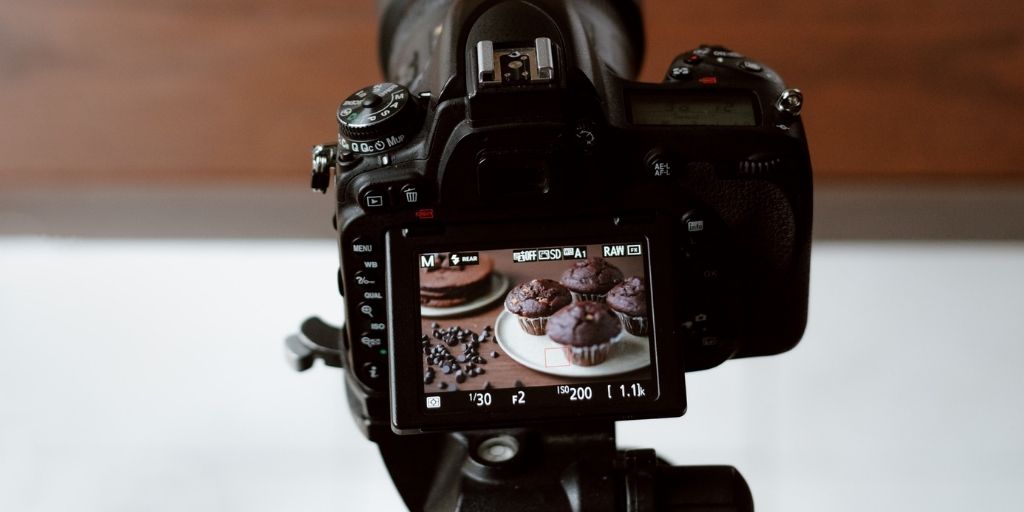
Here is the standard camera setting for product photography you can use:
- Keep your camera mode to Manual in order to control all aspects of the camera in settings in your control.
- ISO should be 100 to ensure that the camera is less sensitive to light to capture sharp and detailed images.
- The aperture for product photography should be between f/8 and f/11. This is to balance optimal sharpness and depth of field while maintaining manageable sensitivity to light.
- The best Shutter Speed for the following camera setting will be 1/125th or higher. This lets enough light enter the lens in order to create a sharp and detailed image. A tripod and a well-lit environment are highly recommended.
- For White Balance, you can keep the camera settings on Daylight or on Auto.
- One of the best file formats for product photography is RAW.
Best Camera Settings For Product Photography For Beginners
1. ISO Camera Setting
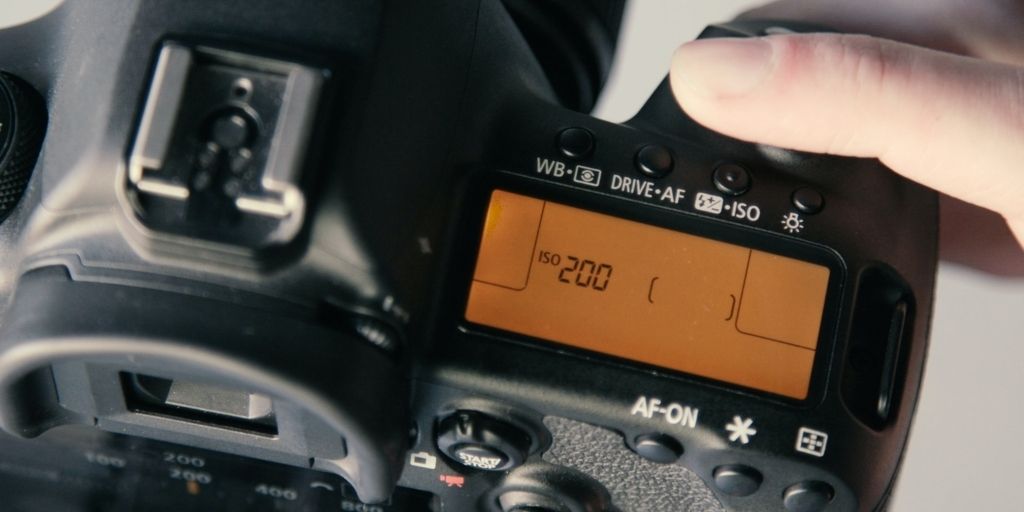
The best camera setting for product photography with regards to ISO would be keeping it low. For product photographers can keep ISO settings 100.
ISO is the sensitivity of the camera to light, and it usually varies from ISO:100 to ISO:3200.
When you keep the camera settings to ISO:100 it would take a whole second to click a picture. On the other hand, when you keep it at ISO:3200, it will only take 1/32 of a second. The problem with higher ISO is that the image would be grainy and noisy.
Here, it is very important that the image is clear and of high quality, hence, we recommend you keep ISO low. Moreover, start by keeping it low and start increasing gradually to find the best ISO settings for product photography.
2. Aperture Camera Setting
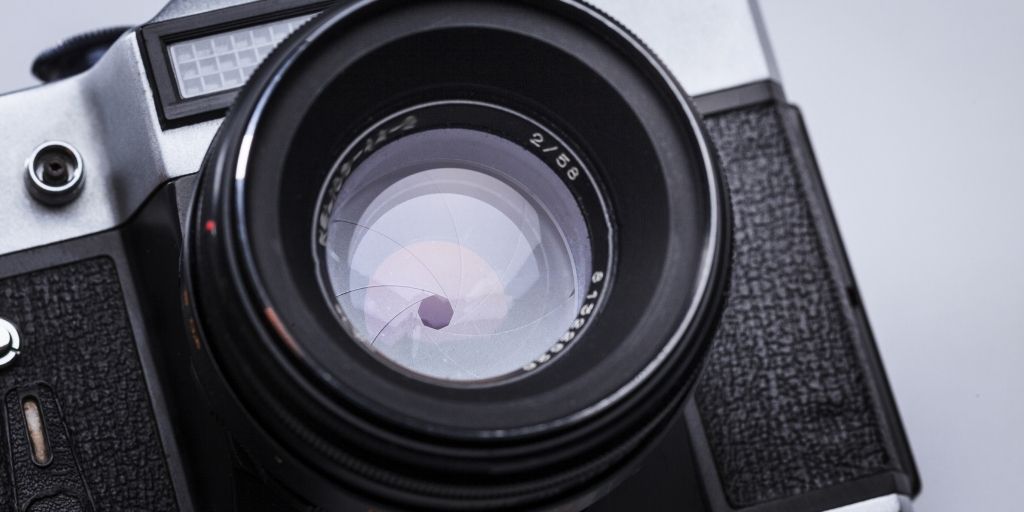
When talking about aperture in photography, it is a setting that decides the field and depth of product photos. How much light would enter, and which object will be in focus? You can control all this with the help of the aperture or your camera.
Usually, it varies from f1 to f22, and in order to get the whole product in focus, you shall keep the aperture higher. As your camera would be placed on the tripod, the light would be constant, hence keeping the aperture high will give you a crisp and detailed image.
Lower Aperture will only come in handy when you need to focus on a particular part or section of the product for eg. the gem in the ring of jewelry photography.
3. Shutter Speed Camera Setting
The next camera setting that you may have to modify is the shutter speed for photography. It’s very important for your shutter speed to be ‘just right’. If you are shooting product photos by holding the camera in your hand, you need to make sure that your shutter speed for product photography does not exceed your lens focal length.
I’d recommend that you use a tripod to avoid any shaky images. Keep it slow and steady and keep this rule in your head – the higher the shutter speed, the more frozen your subject will look. On the contrary, the slower the shutter speed, the more in motion your subject will be captured.
For outdoor photography where you’re capturing moving cars or wildlife, the shutter speed matters a lot. It is understandable if you use a faster shutter speed as you might be moving topo along with your subject. However, for product photos, there will not be much motion and your camera might be resting on a tripod all the time. So using a slower shutter speed for product photography may not create any motion blur and help you create sharp images.
4. Camera Mode For Product Photography
In order to make sure that you keep on learning and tweaking your camera settings according to the environment, you must use the Manual mode of your camera.
In addition to this, manual mode allows you to understand other important settings on your camera such as ISO, Aperture, and Shutter Speed (which we will be discussing in this article).
Another mode that can be really helpful is Aperture Priority. It can automatically customize ISO and Shutter Speed and can be helpful when you are shooting outdoors where conditions aren’t in your control.
But if you are working under a controlled condition, you shall always use Manual mode.
Also Read: 7 Best Product Photography Angles.
5. White Balance Camera Setting
White balance plays a very crucial role. It determines the tonality of your image. The color that would emphasize or neutralize according to the light entering the sensor. The best camera settings for product photography can vary from situation to situation. But for product photos, Auto or the Daylight mode would work perfectly for you.
6. Focus
For product images, the whole focus must be on the product itself. When a customer wishes to purchase the product online, he or she may only judge it by seeing an image.
Hence in order to make sure there are no distractions rather than the product itself, keep your focus on Auto itself. In addition, make sure that the background of your product is clean. You can either use a white sheet and tap it on the wall and floor or can purchase a lightbox that will make your work much easier.
7. Flash

The product photography settings camera settings for the reflective products will again vary from one place to another. But usually, flash is only used with the proper diffuser to make sure there are no hard shadows on the product itself.
Also using the right lighting equipment and arranging them in the right way plays a very important role in deciding whether you require flash or not.
8. File Type
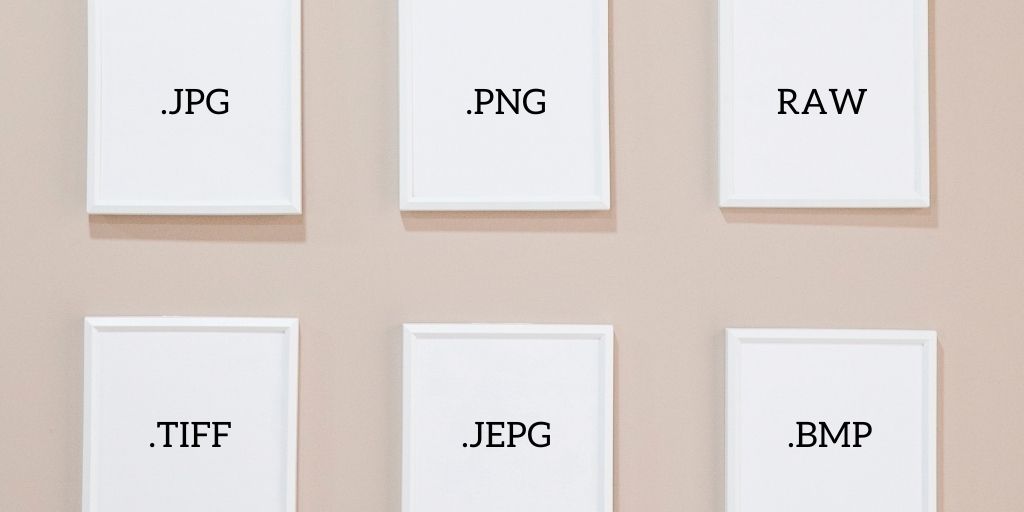
Lastly, in this best camera setting for product photography, you must make sure to choose is the file type. This determines the format of the image, the camera will store it on your memory card.
We suggest you keep the file setting in RAW format. It will store all the necessary details of the image and would be very helpful in photo editing. Even though the file size is usually more significant, it is worth it when you get the best results.
How to choose a camera for product photography?
You want to have a range of control over your camera for product photography.
While Autofocus will help you get decent images, you must be able to adjust professional camera settings for product photography when you want to do so.
To get started, there are mainly three options.
- Smartphone camera
- Point & Shoot camera
- DSLR & Mirrorless camera
Smartphone camera
Let’s be real. While the quality of our mobile cameras has significantly gone up, there is still a glass ceiling on how well they can be used for product photography.
As a seller, if you are just getting started while keeping the cost low, go for it. Mobile cameras are good enough.
Ensure you use quality lighting and a distraction-free background. Focus on the product and ensure colors in the image align with the real-life product.
But moving ahead, you’ll have to use a professional camera for product photography to improve product presentation.
Point & Shoot camera
Point and Shoot cameras are definitely an upgrade in terms of image quality and control. These are lightweight, small and easy to carry, making them a good start for beginners.
Note here that photographers don’t use point and shoot cameras for product photography. Nor do we recommend you to invest in this gear.
Only if you already have a point and shoot camera, it would be better to use it, rather than your smartphone.
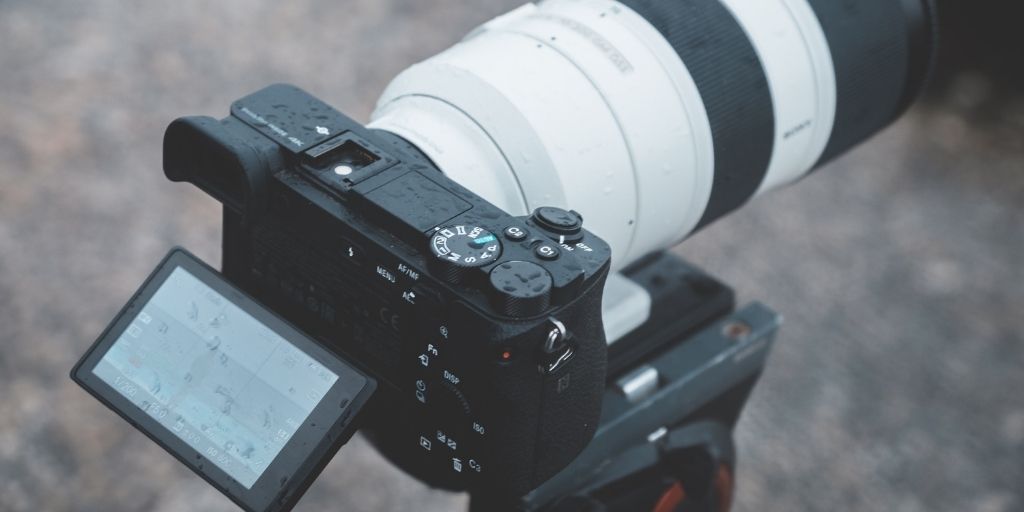
Dslr & Mirrorless camera
Along with Dslr, let’s also talk about mirrorless cameras. Both of them are highly equipped for professional product photography. They let you capture high-quality product images, while also giving a wide range of control of camera settings for product photography.
Now between DSLR and Mirrorless camera, the choice mostly depends on which one do you personally prefer.
If you are a professional photographer in the business of product photography, a DSLR might be a better choice. You get a wide range of lenses already available in the market.
Compared to Mirrorless camera lenses, which is still a growing market.
Bonus Take Away
I hope this helped you understand all the best settings for product photography. Good! Now, the only thing you may want to work with is your lighting and angles. You may want to check out our blog section to learn more about it.
Also, if you have bulk product images that need to be edited professionally, then take your free trial with PixelPhant now ?.
Get bulk photos edited within 24 hours and make your pictures look more professional and attractive.