14 T-Shirt Photography Tips By Experts
Looking for inspiration and tips to improve your t-shirt photography? Well, your search ends here. Here are some MUST DO’s that you may have been missing out till now. But not anymore, cause while creating this list we have covered almost every trick in the pocket of the best t-shirt photography and presented it to you.
T-shirt photography is one of the most profitable eCommerce businesses online. That is why more and more people are entering this industry. Hence the demand for good t-shirt photography is growing with it.
In this article, you will be learning a lot. Still, to begin with, basics, here are some common traits of good t-shirt photography.
- Clean Look
- High-quality image
- An optimized image
Irrespective of the theme, these are some ground rules that most experts prefer to follow and we suggest you do the same. That being said, let’s get started with our 14 best t-shirt photography tips that experts at PixelPhant and around the world wish to share with you.
14 Tips for best t-Shirt Photography
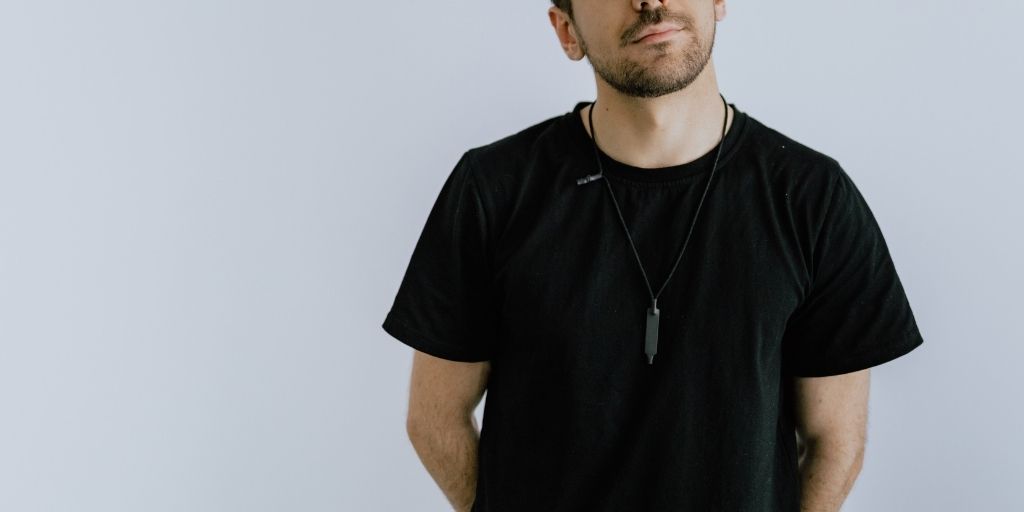
1. Use Model or Mannequin

Models or Mannequins photography is among the first questions that a photographer finds himself trapped in. And to be fair, there is no right answer here. But to make it easy for you, most of the choices will depend on your clients budget and preferences.
Hiring a Model is expensive depending on your requirement. At the same time, it has always given better results. In addition, you can share the perfect dimension of your model and let customers compare the size, colour, or design.
Mannequin on other hand is an alternative that you could use if models can be hard on your budget. They are a one-time investment and can be used for consistency for years.
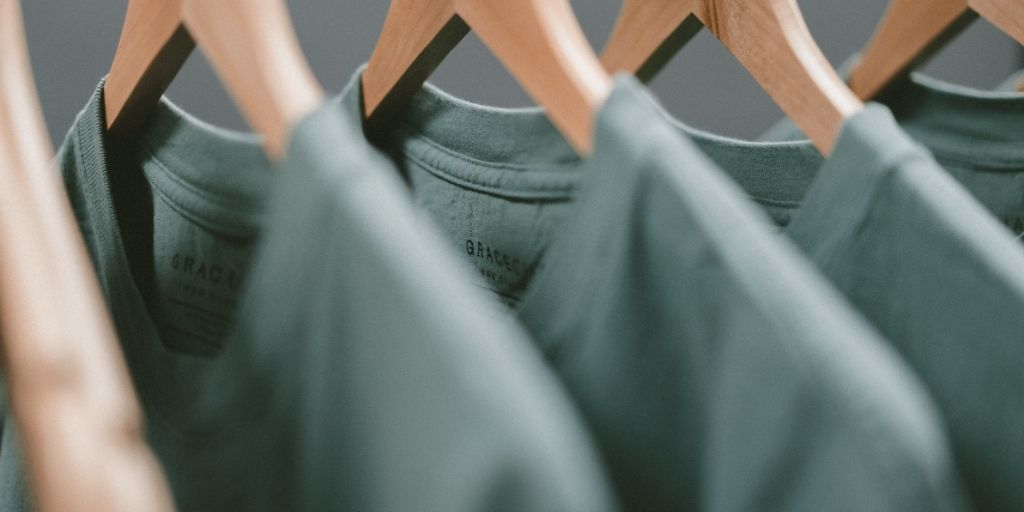
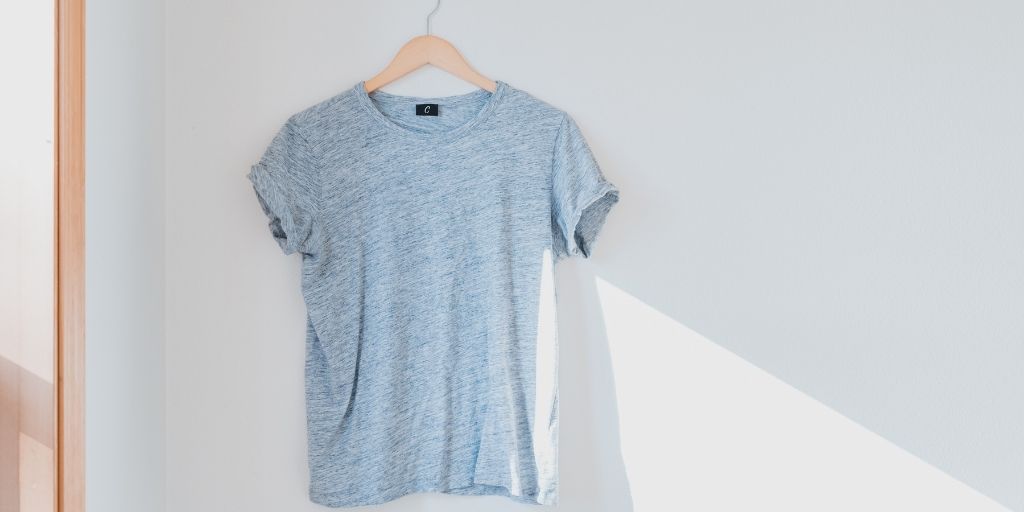
Lastly, you can also use Hangers for your t-shirt photography. But you shouldn’t use them in a product image as it looks unprofessional. You may use it for creative shots for banners, social media, feature images, etc. Rather than a hanger, you can go for flat lay photography, which is in trend and looks much more professional.
You can choose anyone out of the Model or a Mannequin when you photograph a t-shirt, but you make sure that there is consistency. Don’t switch your style of t-shirt photography as it makes it difficult for customers to compare and buy.
2. Show Variety and Variation
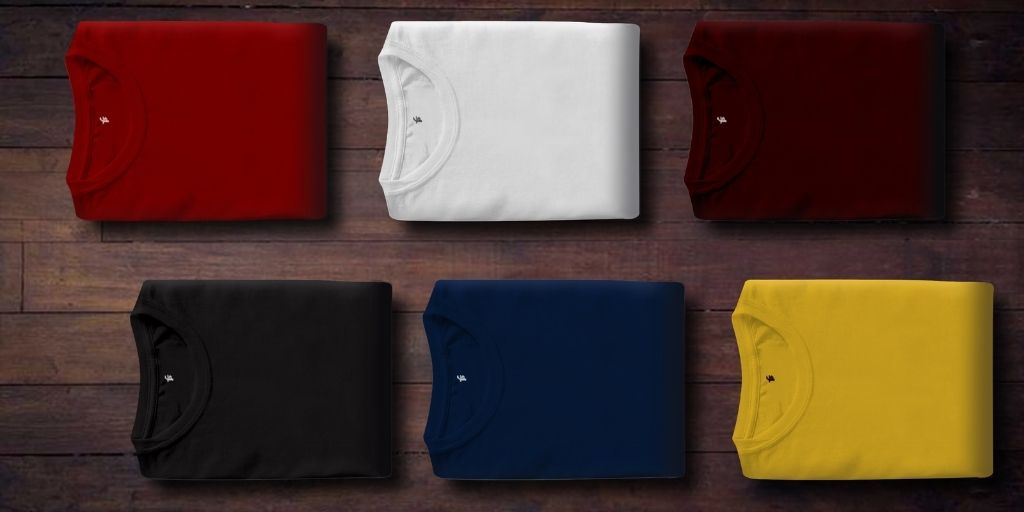
As we were saying, your customer will compare and look out for a variety of options. And you know there are many options out there. So just give them all at a single place. Show them different designs in colour, different colours in a design, various sizes, and anything that’s the USP of the store.
Along with that, show different variations in your t-shirt photography with reference to angle, pose, close up, full-frame, etc. This makes the customer confident about the product and makes them buy it.
Provide multiple images of a single product and let the customer easily glide from one to another. The more they engage with an image the better it is.
3. Showcase the Details
After clicking all the variations of the t-shirt and showing all the variety of your t-shirt, it’s time to focus on the details in the t-shirt photography.
Details on the collar of the shirts, on the arms, on the pocket, or the prints are most commonly highlighted. You can take a closer shot of the following and add them to the carousel. If the brand has a USP with regards to the fabric they are using or any particular pattern, make sure to get close and capture it to highlight your selling point.
Scarcity and uniqueness are two of the most strong human emotions which you can highlight in your t-shirt photography.
4. Avoid Digital Zoom
While your focus in t-shirt photography is the t-shirt itself, you should just use digital zoom. Optical zoom or going closer to the subject would be much better.
This way you can easily catch the attention of the t-shirt itself, without distorting the quality. The digital zoom would just crop the image and make the image look unprofessional.
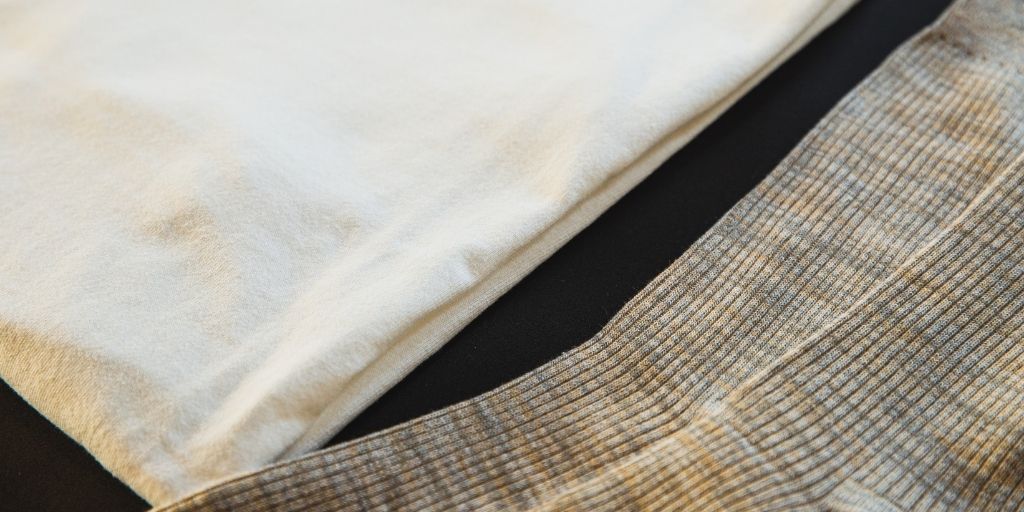
5. Remove Wrinkle

While most of the de-wrinkling can be done during post-production, it is recommended to ensure that there is a minimum wrinkle to make to t-shirt look sleeker and sharp. . Before you begin your clicking sections, give an effort to make your t-shirt look good fresh.
A well ironed and fitted t-shirt would get more views and ultimately higher sales. You can even use steam ironing, which will get things done at a much faster pace. Lastly, also ensures that are no stains on the t-shirt and it looks fresh wrinkle-free in the image.
6. Use Pin, Clips, Masking tape and tissues
While working with any model or a mannequin for t-shirt photography, you are required to make the t-shirt look in the best condition. You can make use of Pin, clips, and even masking tape to make the t-shirt look.
Along with this, you can also use tissues to stuff in order to make a t-shirt fit exactly the way it should be.
7. Use Stiff Brush and Lint Roller
As we discussed, the t-shirt must look clean and fresh. Hence in an extra attempt to make the t-shirt look more attractive, you will have to remove any kind of dust particles.
In Clothing Photography, We would advise getting a stiff brush would be a very good idea as it will dust off any particles and make the product look its best. In addition, to remove any kind of threads or lint on the clothing, you shall use a lint roller. While we are learning about mistakes, we recommend you learn about 8 apparel photography mistakes worst mistakes you must avoid
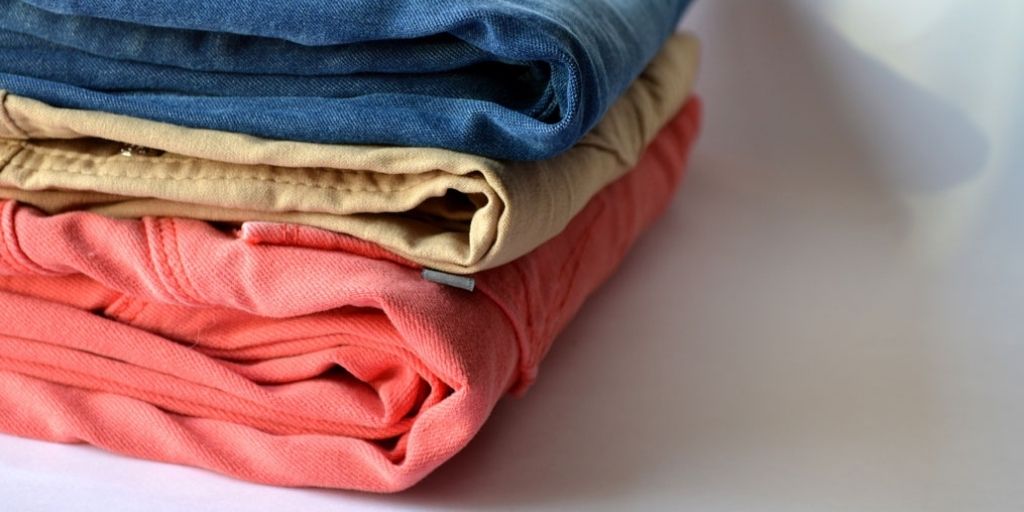
8. Flat Lay and slay

If used right, you can even click a t-shirt flat t-shirt laying. But even then you must make sure that it is stuffed right and there are no wrinkles on it. In addition, you can even add props to make the picture look more esthetic. At the same time, you will also have to make sure that the prop shouldn’t catch an eye and get more focus than the t-shirt itself.
9. Set up your Lights Right
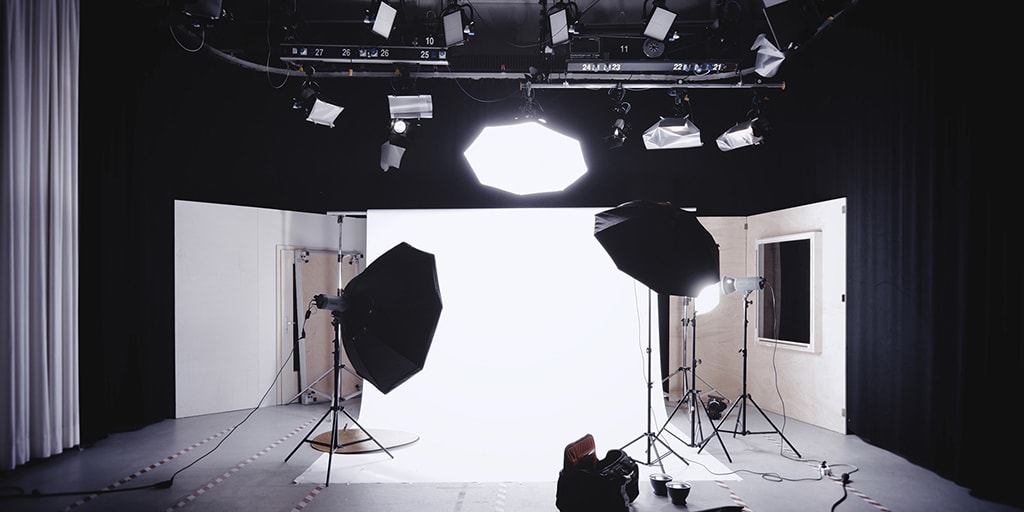
While we have already covered how to set up your product, i.e. t-shirt to get the best image captured, it’s time to focus on a set-up that you will be needing to get the best professional-looking t-shirt images.
Firstly, you need to make sure that the product is well illuminated. Using just a flash and light won’t be enough. For the right t-shirt photography, you may make use of three light setups.
Two lights from either side and one from the back-end side of the image. We recently shared an in-depth guide on product photography lighting on how to set up your lighting equipment, choose the right lighting type, and more.
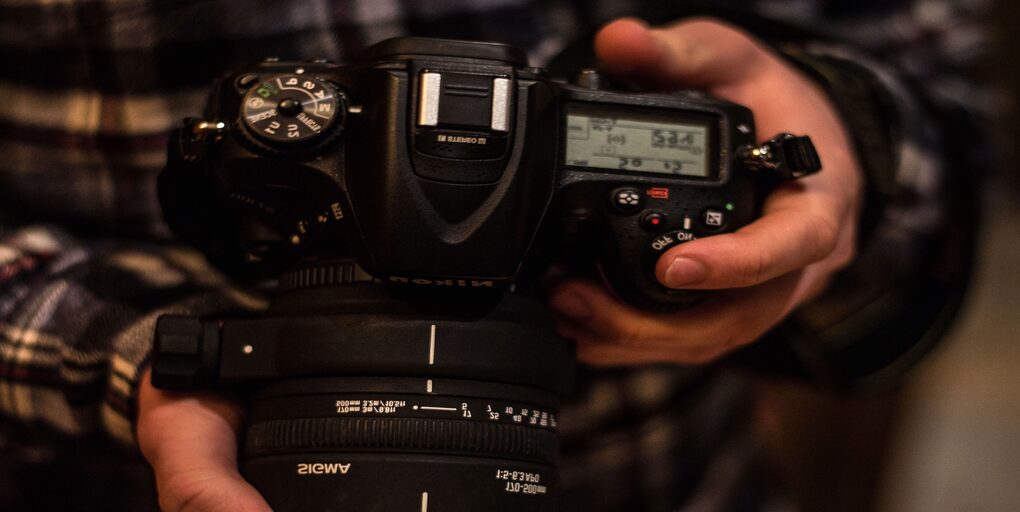
10. Choose the right camera
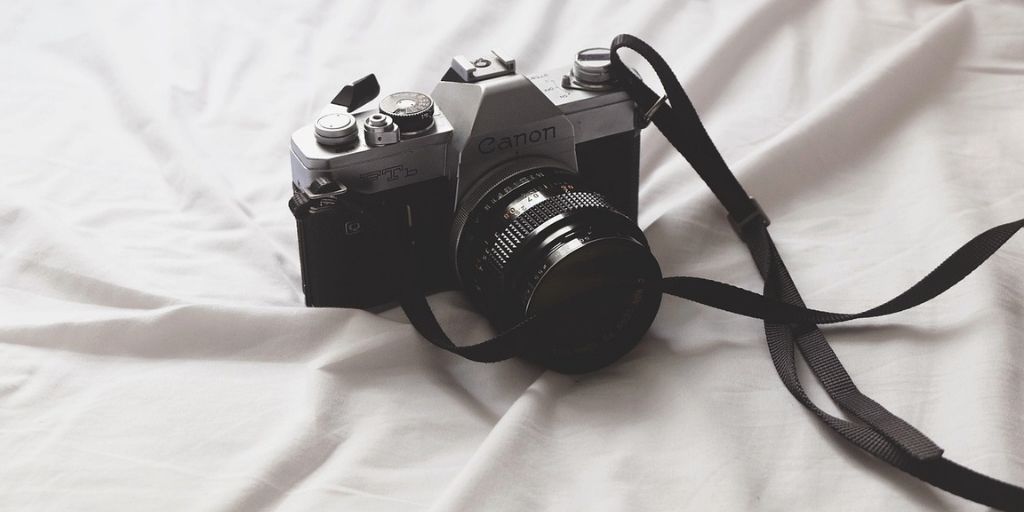
Now it’s time for you to choose the weapon of your choice. The result will surely depend on how you use your camera, but having a good image will give professional results.
Using the right DSLR and an appropriate set lens will surely give you an advantage and make the product high-end and best-in-class.
In regards to the lenses, you can use a lens of 18-55mm and set it to 55mm. This will make the image look perfect and of the actual size.
11. Choose the backdrop right

Next on the list is to choose the backdrop. The background of a product plays a very vital role in making the image look perfect. It should never catch an eye and just be there to enhance the way the product is presented.
Most commonly, the background in t-shirt photography is a plain color. That is either white or grey.
12. Invest in Tripod
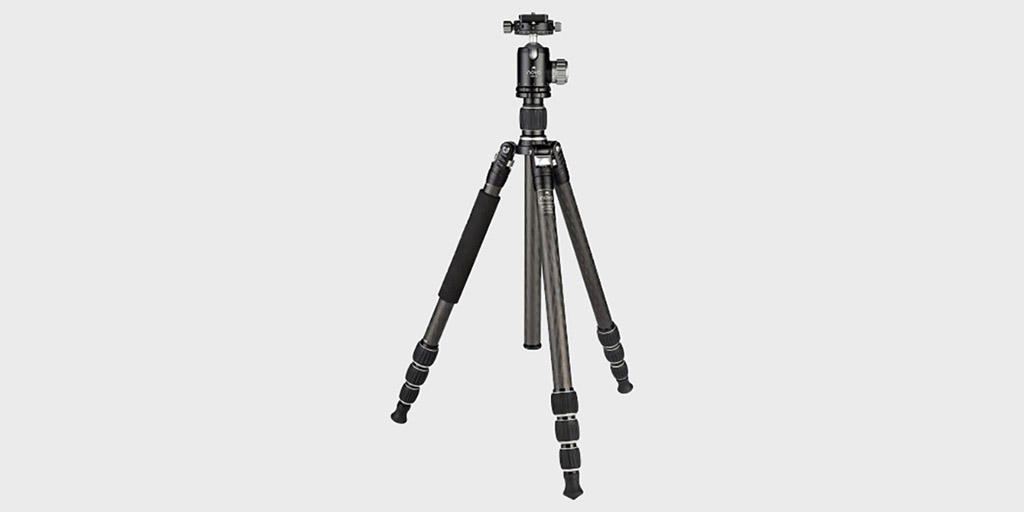
Just that. A good tripod is not just another piece of equipment but rather an investment in your photography career. If you are just starting out, you can even have a look at some Tripod Alternatives. They will get the work done well, but always work towards getting a good, reliable tripod so that you could click an image with freehand and strap, but while capturing a product, having a tripod will give you stability and consistency. With a tripod, you can fix your angle and the height of the camera very easily.
13. Tweak your Camera Settings
Now, before you move on to your next t-shirt photography project, here are some camera settings that you should tweak to get the best results.
– ISO
Your image must be sharp and all the details must be very clear. In order to achieve this, you shall keep your ISO low, nearly 100 or 200.
– Apparatus
In t-shirt photography, the aim is to set the focus on the t-shirt itself. You can achieve it by keeping your apparatus higher. If you wish to focus on a particular element, you can set it between f/8 to f/11. If you wish to have a shallow focus, you can go with a range of f/2 to f/8.
– Shutter Speed
If you are clicking the image in controlled condition, with a tripod you can set your Shutter Speed low to get highly detailed images. On other hand, if you are working in a condition where the object is moving, you shall set the setting high to get rid of blur.
– White Balance
Especially in fashion photography, colors are very important. You can’t compromise on it and hence you’ll have to set the white balance neutral. For this, you can use a grey card that will neutralize any filter and get you the right image color.
14. Upgrade the editing
Probably it is a step where your work as an amazing photographer is over and you can hand it over to the best product photo editing service. It will save you time, remove any mistakes, and even enhance your images. Some of the common services used in product photo editing are:
– Retouching
Highly used by most of the eCommerce stores, which allows you to remove any unwanted particles from the image. It can be the dust that was left, wrinkles on the skin of the model or the t-shirt itself, or anything that is making the image look dull can be corrected using the best retouching service.
– Changing color
Another amazing service that can be very helpful is color changing. You can use it to showcase a variety of colors in a single t-shirt. This way, you won’t have to take multiple shots of the model whereas you can just click one and create multiple images with a variety of colors.
– 3D Ghost Mannequin
This is an advanced photo editing technique in which the person or the mannequin is removed. The image seems to fit the body and texture of the user, but no one is seen wearing it in the image. You can understand it as an Invisible man wearing clothing.
– Background Removal
In t-shirt photography, you may require to remove the background for any reason. At that moment you can use a background removal service for precision and expertise. Moreover, removing background allows you to add any background of your choice. Most people add a white background for eCommerce but you can request any background replacement.
Conclusion
T-shirt photography is an exponential market where new concepts and trends are coming every single day. But in every trend that may rise and fall, the basics mentioned above will always be followed.
The goal of any t-shirt photography is always to make the product look so attractive that a person buys it. And this will only happen when you as a product photographer deliver the best exponential result, understanding what a customer would like to see.
If you have any extra tips that you would like to add to this article, comment down below. To know more about Product Photography, eCommerce, dropshipping Strategies, and photo editing, subscribe to the Pixelphant newsletter and keep yourself updated.