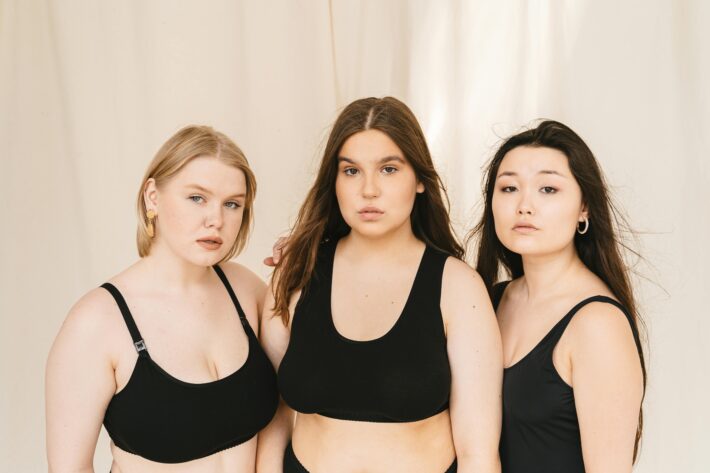
Product photography lighting 101: Tips, Setup, Diagram & Kit
Choosing the right product photography lighting is as crucial as choosing the right lens for your camera. The whole setup can instantly illuminate the whole scene and help you capture your products in the right way.
But what here is the right way?
Your product photography lighting should illuminate the product in a way that all details are clearly visible. In addition to that, your lightning setup should ensure that no harsh shadows are formed on the product or in the background that grabs unnecessary attention.
Here, I am sharing a thorough guide on lighting for product photography to help you learn:
- Understanding lighting for product photography
- Types of lighting equipment
- How to use lighting equipment
- Best product photography lighting kit
- Best product photography lighting setup
Without taking any more time, let us get started with this in-depth guide.
Understanding lighting for product photography
There is no easy way to say this, but before we get started with the equipment, setup, and tips, it is important that we understand product photography lighting.
Here are a few quick lessons on lighting for product photography:
- The size of your light will determine the softness or hardness of the shadow. That means if the source of your light is small, shadows will be hard. But if you make the source of light large and spread its intensity, the shadow that is formed will be soft.
- If you want to show the details and texture of the product, you’ll have to use hard light. But on the flip, it will create hard shadows. Moreover, it can also result in reflection if the product is shiny.
- The way you position your light will also make a lot of impacts. That is, will the light the face towards the product directly or will reflect through the background and then hit the product to show the clear outline of the product.
- The next important factor in setting up product photography lighting is how close the source of light is. A light that is far from the product, appears harder. The front light will produce fewer shadows whereas the sidelights will create more shadows.
- If you are looking to add texture to your product photography lower and sidelights are the best way to do that.
Types of lighting equipment
Now that we have discussed some basic understanding of lighting for product photography, it’s time we learn the 3 basic types of lighting equipment that will help you build your own product photography lighting kit
Strobes
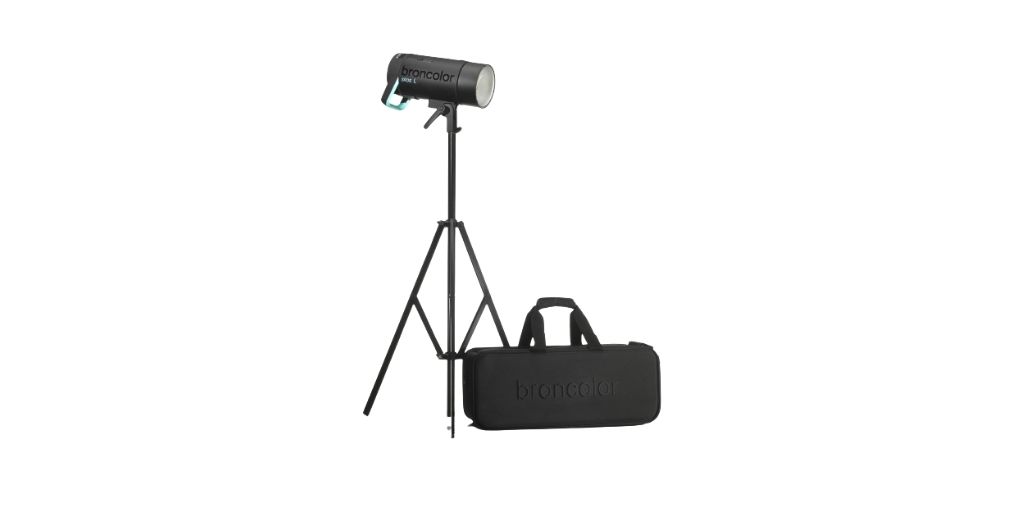
Strobe lights are strong and high-intensity flashlights. They produce a bright burst of light for a very short period of time, just like an on-camera flash.
Because the camera and the light are required to be in sync, you’ll need to connect them. You can do this using a sync cable through the camera’s sync port or you can use a wireless trigger for the strobe.
Once connected the strobe light should emit light when you press the shutter button to capture the subject.
Also Read: 9 Types Of Portrait Lighting Setup
Continuous lighting
Continuous light in photography is a part of the product photography lighting kit that stays on during the whole shoot. These are the lights that are plugged into the socket and are controlled through the switch on and off.
You can even control the intensity of the light to set the mood of the whole shoot. Currently, you’ll find that continuous light uses LED lights replacing the old lamps. They are much more efficient, brighter, and are easier to control.
You’ll even find that continuous lights are accompanied by different types of modifiers. We’ll learn more about them further in this article.
Flashgun
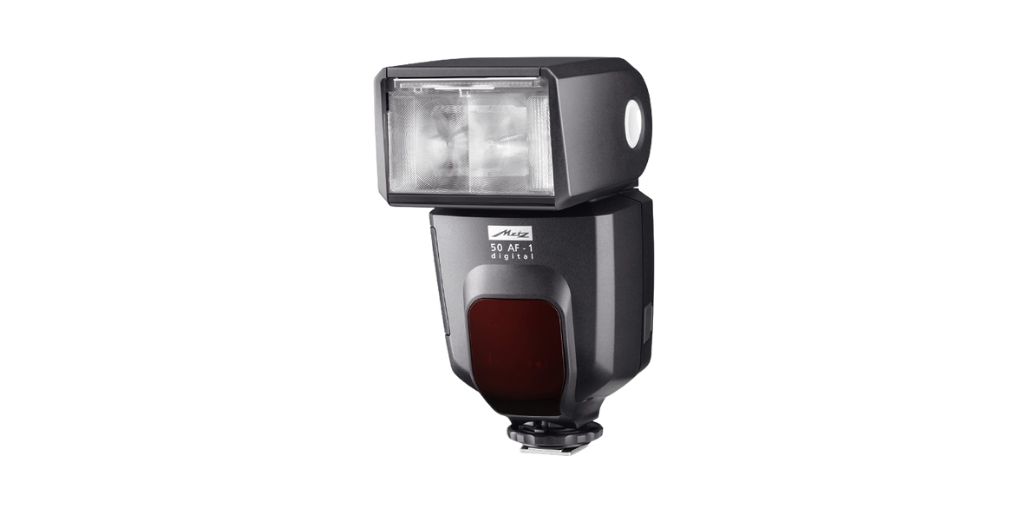
Flashguns are one of the most common types of equipment in product photography lighting kit due to their size and cost. They are compact and easy to carry. At the same time, you can use them like strobe lights in some instances.
While strobe lights are usually more versatile, which is recommended for photography, you can easily find a good flashgun (also known as Speedlight) on a less budget.
Best product photography lighting kit
Learning about the different types of equipment for product photography kit is really essential to help you choose the best fit for your work. Now when that’s out of the way, we can focus on picking the best lighting for product photography.
Lighting Equipment

When it comes to creating a product photography lighting kit, you’ll have to consider what you will be shooting. The normal size of the product to consider the least. The most common equipment in product photography lighting kit would surely be a Strobe light.
One of the best strobe lights for product photography would be Flashpoint XPLOR 600. A light that is trusted by professionals across the world and can be used for both indoor and outdoor shoots.
And as we shared before, if you are looking for a flashlight on a budget, you can even go with the Flashgun.
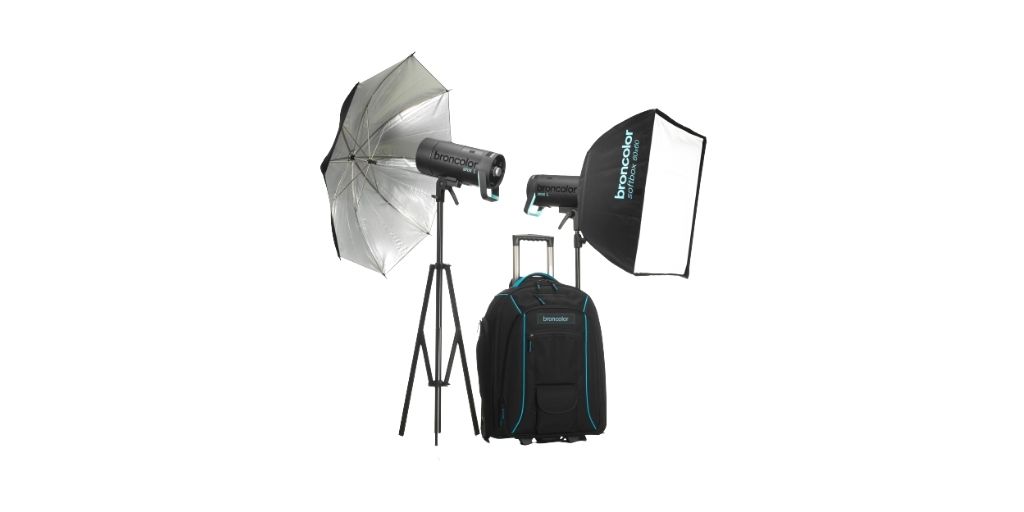
Modifier
Modifiers are screens of sheets that diffuse light from the sources and distribute it evenly. It is really helpful in creating soft lights and reducing product shadows. You’ll find that many continuous lights use such modifiers to get smooth and natural light on the product.
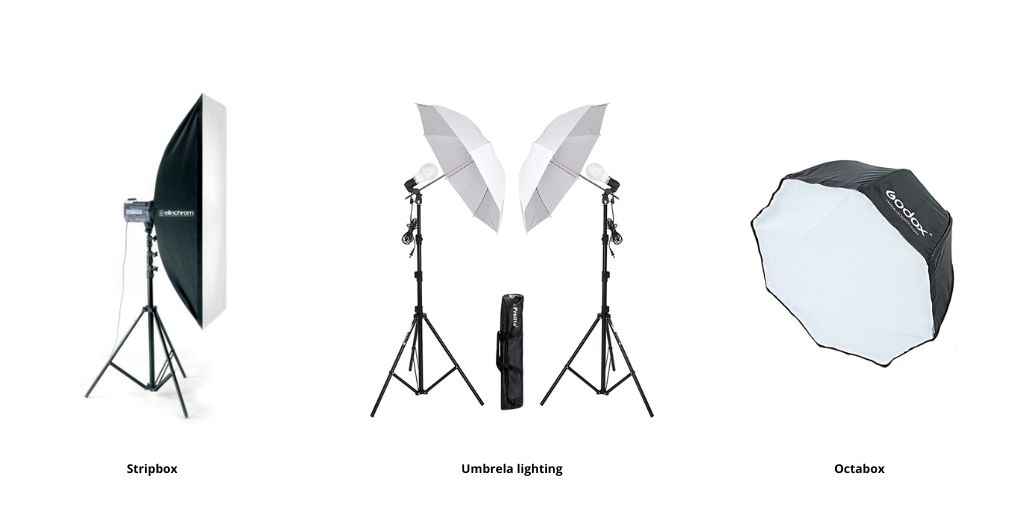
Some of the most common types of modifiers are umbrellas and boxes.
Light Umbrellas are the most basic type of modifiers in lighting for product photography. They spread the light, but they’re in very little control and precision. Two types of umbrellas for lighting are White/Gray umbrellas and Shoot-through umbrellas.
Boxes are certainly more preferred choice when it comes to lighting for product photography. One can easily control the intensity, and the direction it lands in. Some of the most common types of lightboxes in photography are Softbox, Strip boxes, and Octaboxes.
Reflectors

Reflectors are the types of equipment used in product photography lighting that plays a very important role. Now, be it styling product photography or capturing products for eCommerce, selling products online.
Reflectors are used to navigate the light towards the product. At the same time, some portable reflectors are used to bounce the light back toward the product. Portable reflectors are placed against the light on the other side of the product. They are used to illuminate the whole scene equally. We’ll be learning how to set up your lighting for product photography further in the article.
How to use lighting equipment?
Getting lighting equipment is the first step. The second step is to use them in the right way. Here are a few ways that you can use a lighting setup for product photography.
Key light
The Key light is the main light of your setup/studio that determines the tone and overall effect of the lighting. It is the brightest and the most dominating light of your whole scene.
Fill light
Since Key light is so bright, it is sure that it will create high-intensity shadows. In order to counter this light and reduce the intensity, without losing the details Fill light is used.
Rim light
Rim lights are the lights that are used to illuminate the product from behind, in order to separate it from the background. This light helps you in creating a silver lining around the sides of the product.
Background light
The background light is another way to create a separation between the product and the background. Here, rather than point the light towards the back of the product (like in rim light), we point in towards the background of the subject.
Best product photography lighting setup
Photography lighting is a very professional choice for a photographer and clients. The setup is dependent on the type of product you are shooting and the way you want to introduce light in the image.
But since we are talking particular about product photography, the following two setups are probably the most efficient and popular lighting setups.
Lighting for product photography
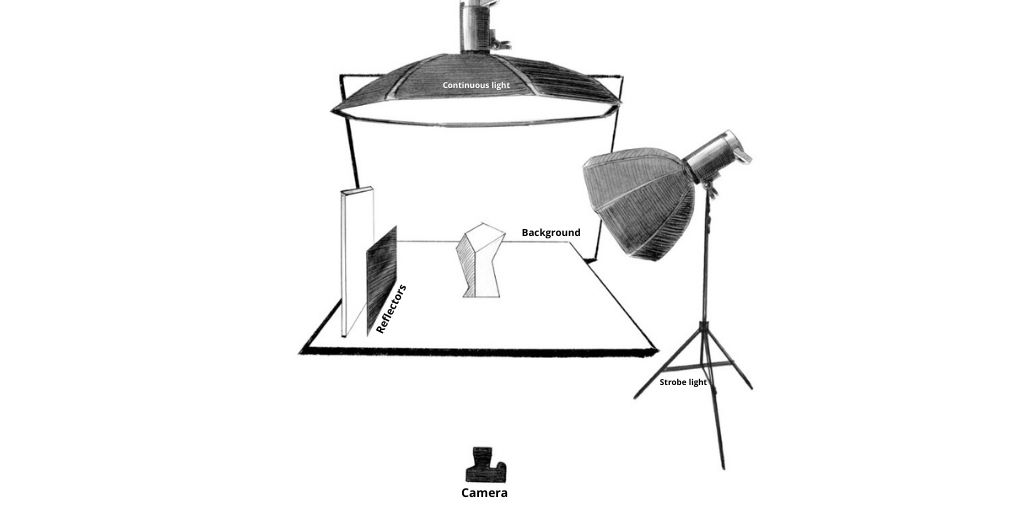
This lighting for product photography is best suited for capturing products without a model. It can be shoe photography, flat lay photography, furniture, etc.
In the above product photography lighting diagram you can see the product is placed right in the middle of the set. This is done in order to give enough negative space to make sure the whole product is in the frame.
Now for the following setup, you’ll need to set up two lights, one strode light on your right, and one continuous light at the top. Now on your left, you need a reflector to balance the intensity of the strobe light add soft light from that side of the product.
This is a very simple and common product photography lighting setup that you can use for most of the categories.
Lighting for model photography
Lighting for model photography and ghost mannequin photography is slightly more complex than product photography lighting. The reason is the introduction of various lights on the set.
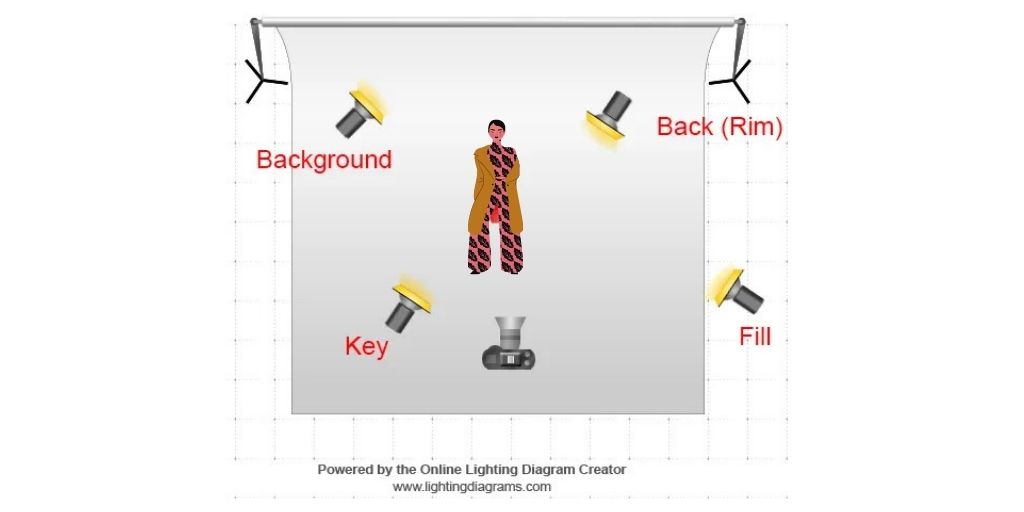
Here you’ll need a set of four lights. As shown in the above product photography lighting diagram, there is one Key light and fill light to illuminate the model from the front. Now to create separation from the Background we use Rim light and background light as shown above.
Make sure you fix the position of light and camera during the trial to keep consistent lighting in all your images.
Bonus read
In order to understand product photography lighting, it is very important that you practice these setups by yourself. The more you play around with the lights and reflectors in your frame the more professional your skills will be.
But what more can add life to your image and make all your product photography efforts worth it? Professional product photo editing service. As seen in the above guide, the product photography is a complex career. And you won’t enjoy adding a burden of quick and professional editing on your team as well.
That’s when you can outsource your products images to PixelPhant. A leading professional photo editing service for eCommerce, photographers, and freelancers. Get a free image editing trial now by clicking on the “Get Started” button below.