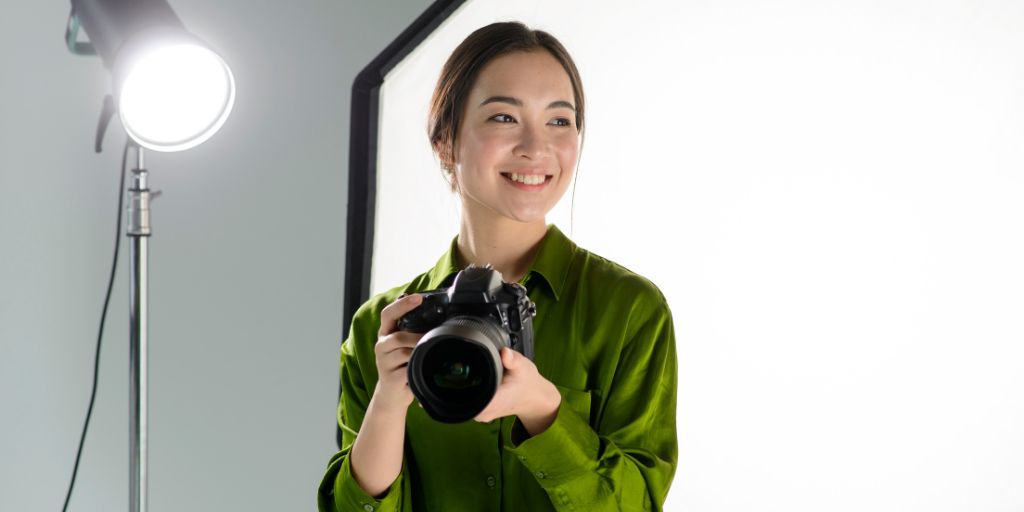
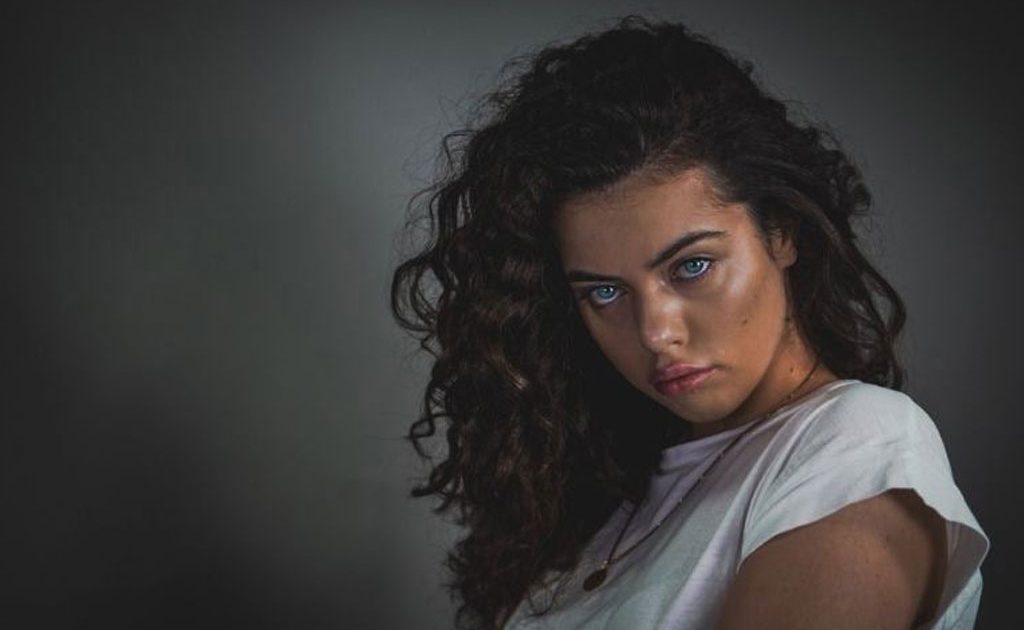
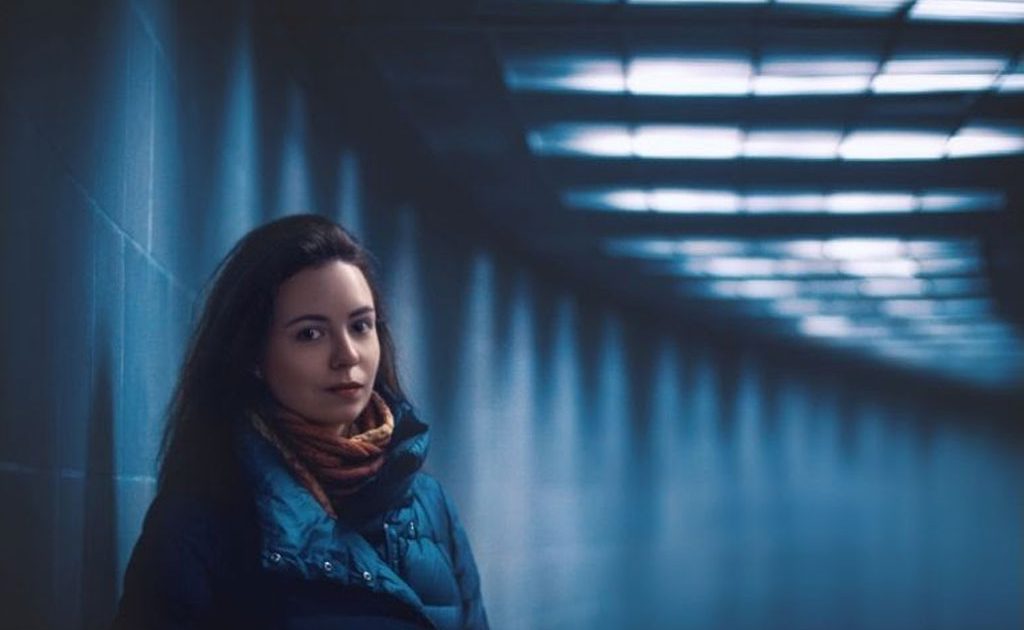
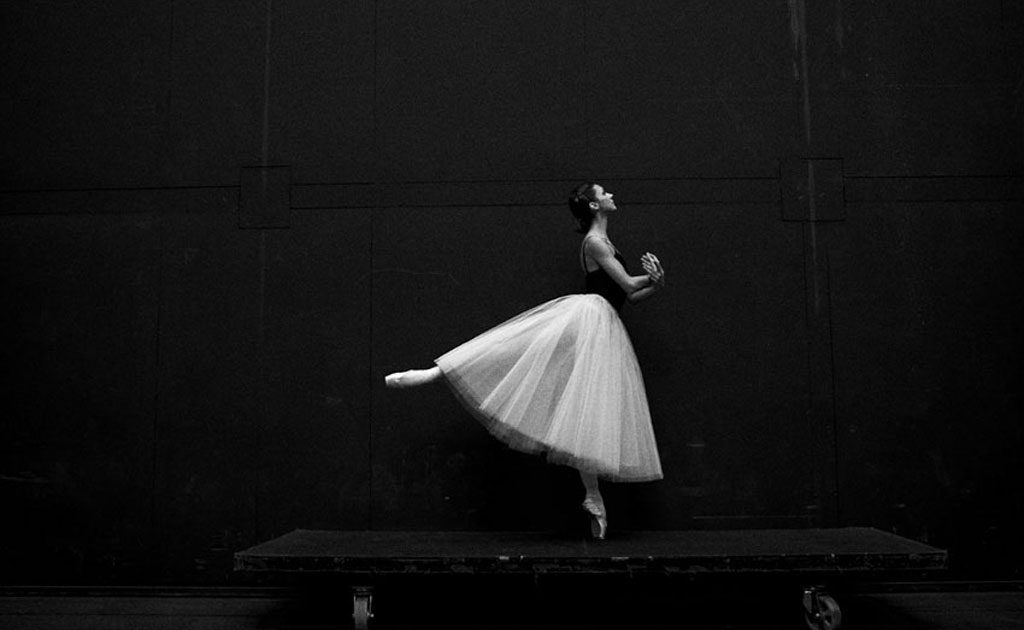
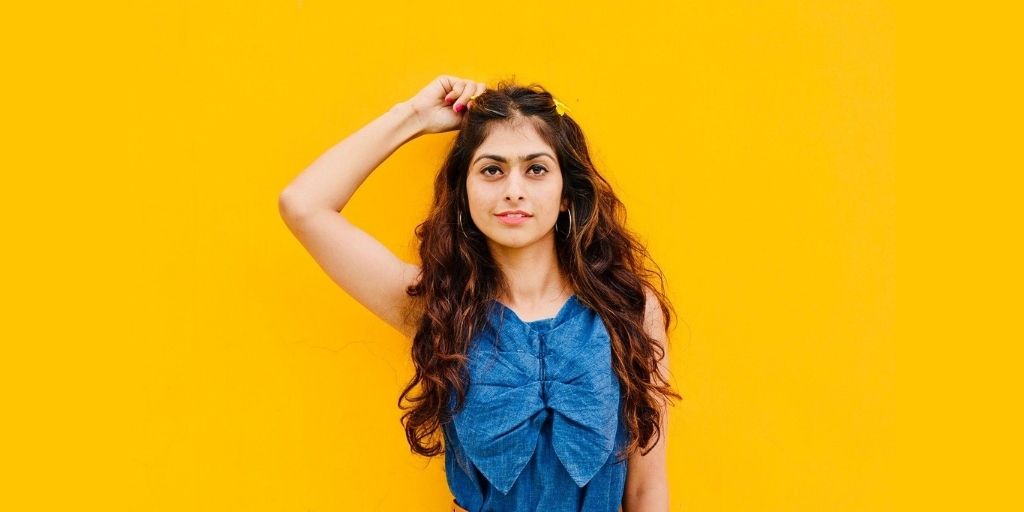
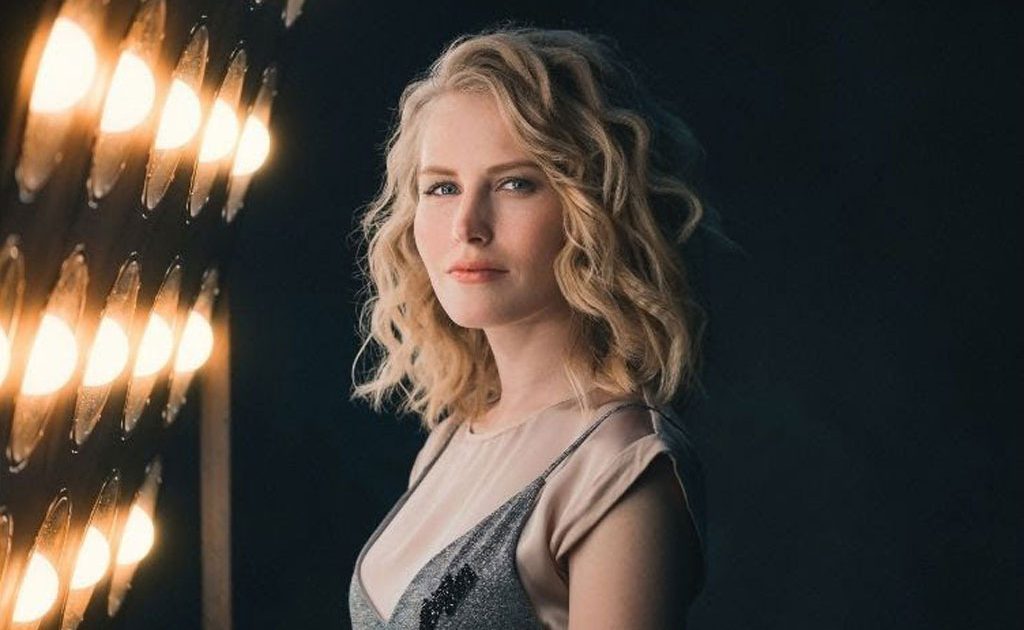
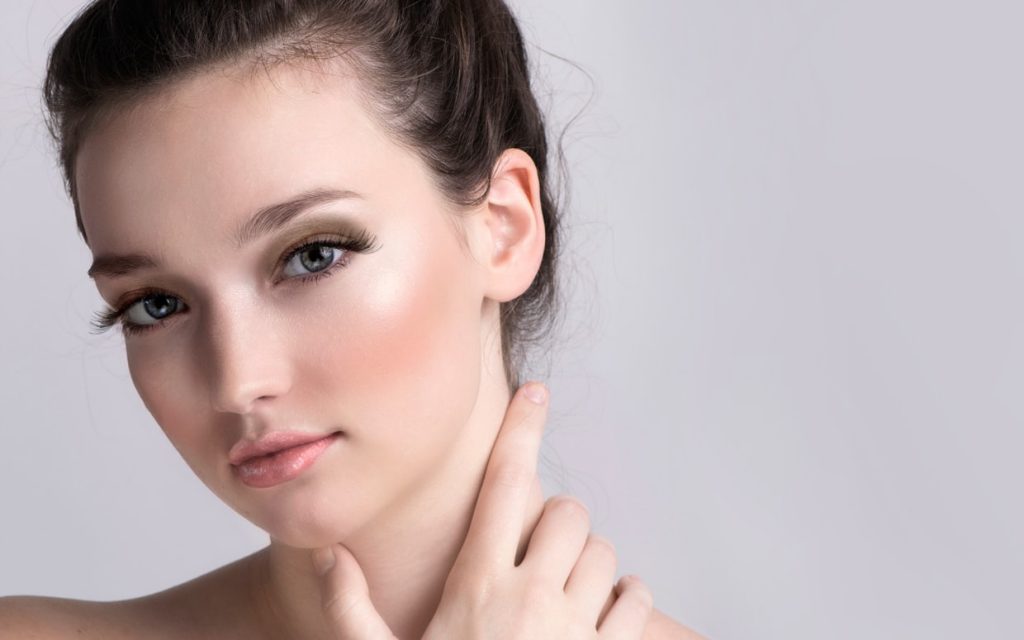
15 Best Model Photo Editing Tips for New Photographers
With the new trends and demands, model photo editing is getting tricker and more complex. And let us be honest, model photography also isn’t always a piece of cake either.
Especially while working on the deadlines, editing your images with quality and consistency can add on a ton of pressure. Hence in order to breeze it out, here are the 15 Best Model Photo Editing Tips that we think would be very helpful.
In the following model photo editing tips, we will be learning the parts of product photo editing, portrait photo editing, photo retouching, de-wrinkling, and all other major services that you must know.
This would help you pace up your work no matter what kind of photos you come across.
If this sounds great to you, here are the 15 Best Model Photo Editing tips for new photographers to grow their careers super quickly.
- 15 Best Model Photo Editing Tips for Photographers
- Crop your Frame right
- Clean up the Image
- Work in layers
- Ensure Right Background
- Use the Healing Brush
- Work With the Clone Stamp to Lighten or Darken
- De-wrinkle your images
- Use Preset Editing
- Get rid of Flyaway Hair
- Use the Selective Color Tool
- Correct your Monochrome
- Edit the eyes and the teeth Right
- Desaturate the Detract
- Keep Original Files Safe
- Address Image Editing Service
- Bonus Read
15 Best Model Photo Editing Tips for New Photographers
Crop your Frame right
Framing plays a very critical role to make sure that your image looks nice and all the components fit in together perfectly. You may also remember that, while most of the farming would depend on how you captured it, cropping it right allows you to make it more meaningful.
Here are some of the tips from our side.
- Do not overcrop the image and leave some space around the subject and props used.
- Ensure that you are not cropping your model from the limbs as it just makes the image look worse.
- Avoid placing the model right in the center.
- Crop your subject to the eye level, especially in portrait photo editing.
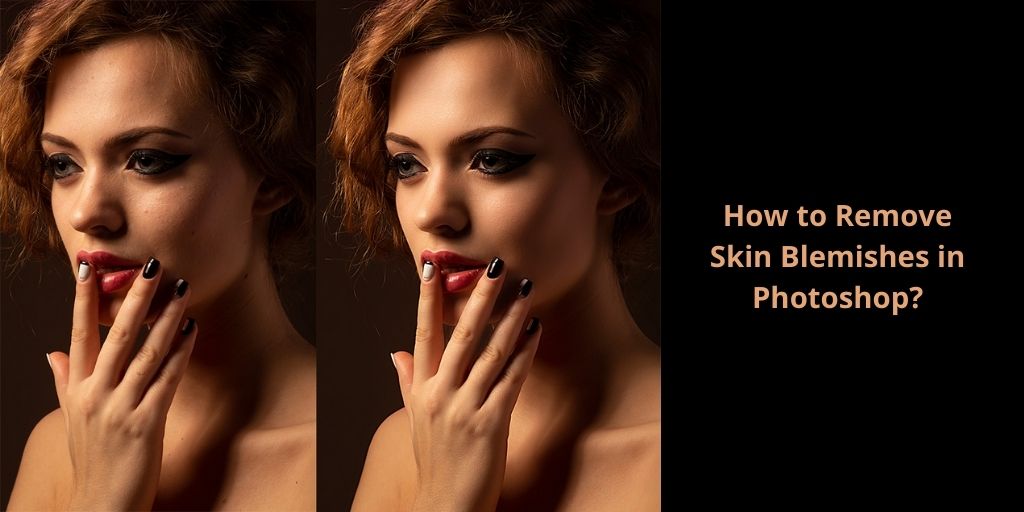
Clean up the Image
Be it editorial photo editing, or just a simple skin retouching you need to make sure that your image is cleaned up properly.
Moreover, start your model photo editing by removing all the dirt and dust on the clothes.
Next, go for the skin blemishes, acne, or marks that you would like to remove.
We suggest that while cleaning up the skin, do not overdo it to the point where you would lose the texture of the skin. It would just make your model look plastic and “obvious edited”, which isn’t a good sign of editing.
Work in layers
Model photo editing requires a lot of back and forward to get that perfect look. There are times when you would edit a certain part of your whole image but as soon as you edit others, the first edit would start falling apart.
Here’s when working with the layers could save you. Not only would your edit be saved on different layers, but it will also allow you to add or remove a particular edit without affecting the others.
You won’t have to go back 10 times to correct how it used to look before a particular edit. Whereas you could just hide the layers and find out the best spot to scale your model photo editing quickly.
Ensure Right Background
It is seen that new editors often overlook the importance of the background and focus just on the subject. You need to understand that, not only does it show unprofessionalism but also makes the image look incomplete.
Photoshop and other major photo editing tools allow us to manipulate any part of the image, including the background. Hence ensure that while you are on to your high-end fashion photo editing, the background is not leftover sighted.
Don’t make it pop out as it shouldn’t come in the focus of the audience, rather clean it up and subtly complement the subject.
Use the Healing Brush
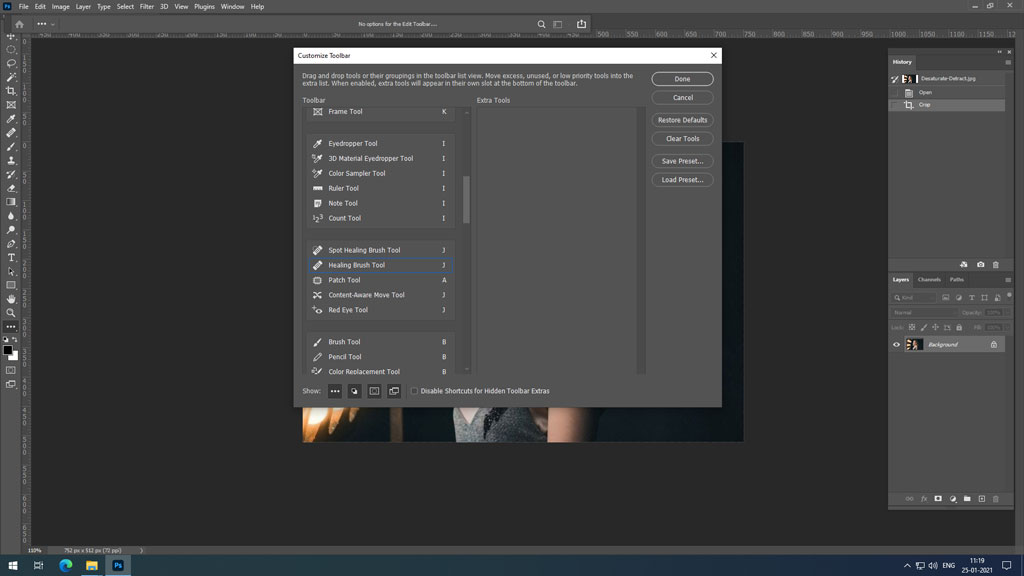
Model Photo editing requires you to clean up many of the skin imperfections and it can consume a lot of your precious time. Especially if you use the spot tool to edit your image.
Rather, we suggest you add on a layer in your Photoshop, pick the healing brush tool, set it up to 1% spacing, and clear the skin imperfections. It will help you get the best result, in a much much quicker turnaround time.
Work With the Clone Stamp to Lighten or Darken
Talking about a quick turnaround time and close deadlines in model photo editing, if you don’t have enough time to perform frequency separation you can use a clone stamp to lighten or darken the parts of the skin.
If you are unaware, a clone stamp is a tool used to enhance the background and remove skin imperfection. To use it to lighten or darken the skin, set its transparency to 15% or increase it as per the requirement and make the most out of it to get the best result.
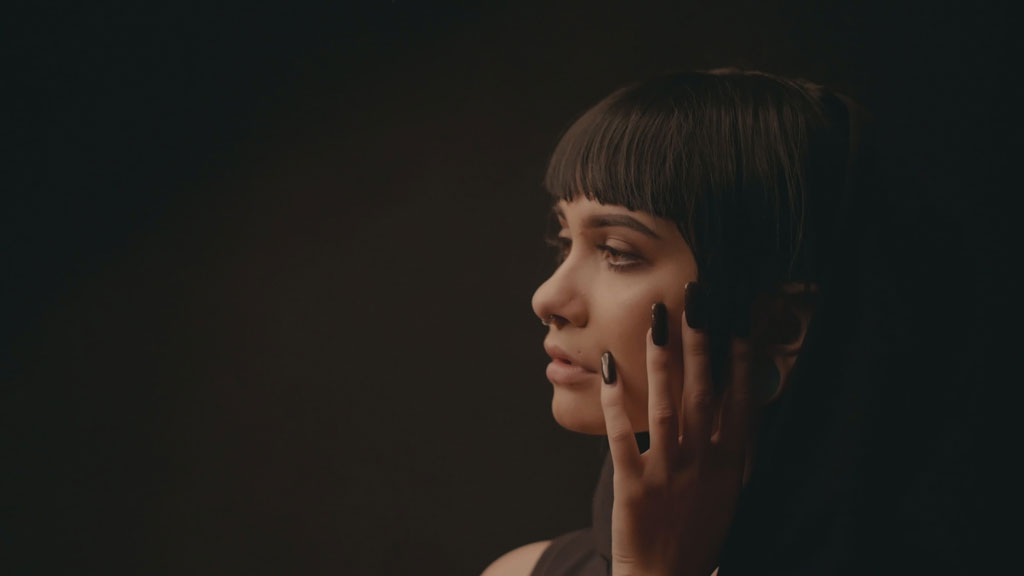
De-wrinkle your images
De-wrinkling allows the user to remove any crease or wrinkle on the clothes as well as on the skin. In order to make your subject look fresh and clean, de-wrinkling plays a very important role.
So before you get to hit your final save button, make sure you have removed any harsh wrinkles from the skin and clothes and made it look perfect for viewers to see it.
Use Preset Editing
Be it model photo editing, fashion photo editing, portrait photo editing, or studio photo editing. All these consume a lot of your time and focus to make it consistent. Here, you can take the help of lightroom presets to apply common photo editing settings to all of your images.
You can either download your presets, or you can create your own. Either way, make sure that after applying the preset at least go through them individually and you tweak each of your images if required.
Get rid of Flyaway Hair
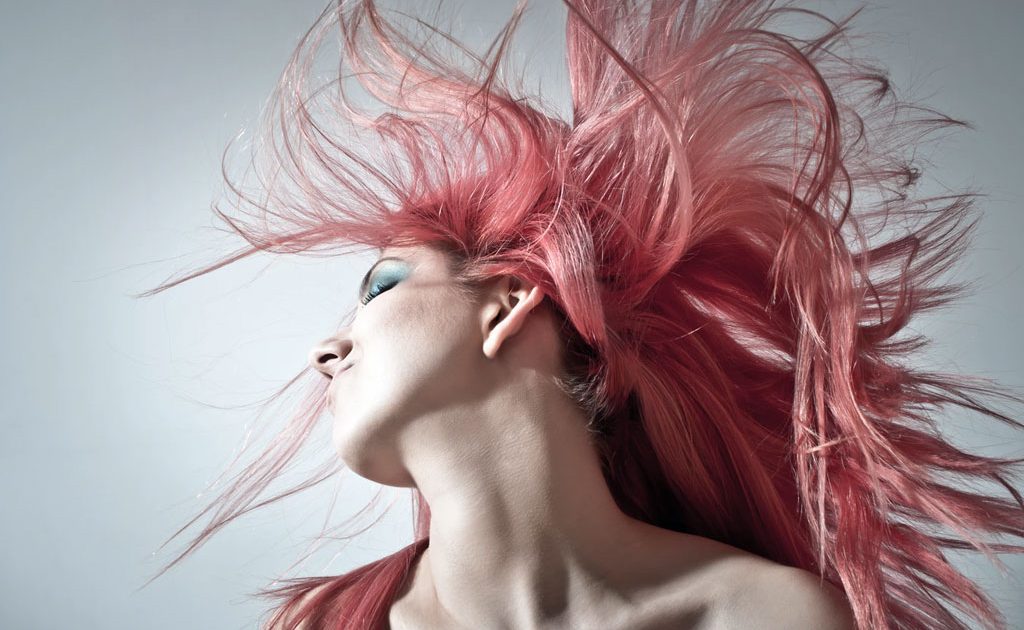
In order to make your model photo editing look professional, you need to make sure that every single part of your image looks perfect. It goes the same for the hairs too.
When you will import your images into your editing software you might see some flyaway hairs. These are destructive and aren’t appreciated by the audience either.
Your job here is to make sure you remove them. Apply a healing brush, change the selection edge to sharp or soft using contrast and feathering sliders, and lastly, don’t overdo it.
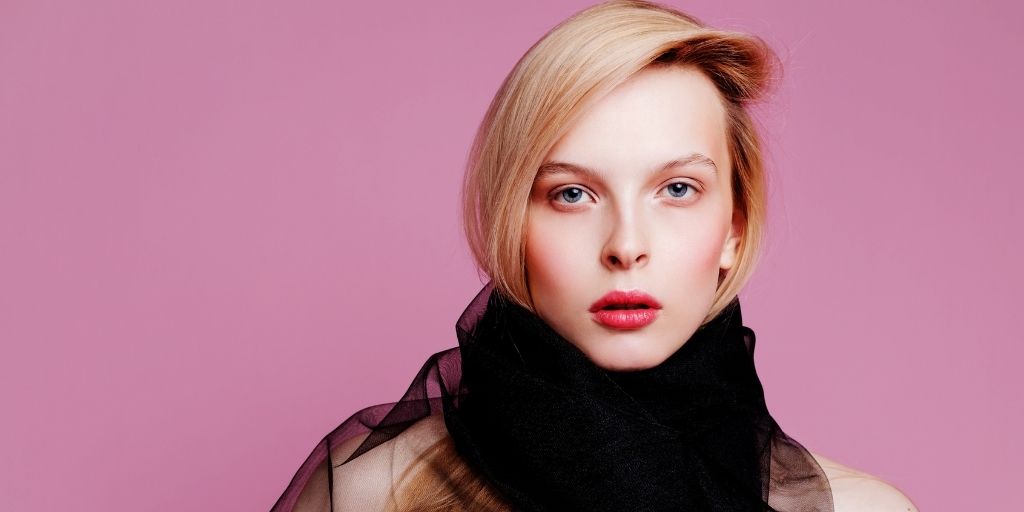
Use Selective Color Tool
There are times during the model photo editing as well as in any other fashion photo editing niche, when you would need to change the tone of a particular section. It can be time-consuming for beginners, but if you use the selective tool, you can do it much quicker.
In Photoshop, you can find a selective tool in the adjustment layer. With it, you can darken the color of lips, even out the tone of skin, or adjust the shadows and highlights in your image.
Correct your Monochrome
Monochrome images or as most of us know black and white images are some of the most popular model photo retouching tricks that are used. In doing so, as an editor, you need to make sure, not to lose any of the details of the image. Hence, find the spot where your blacks and whites aren’t too high, as they tend to hide the details.
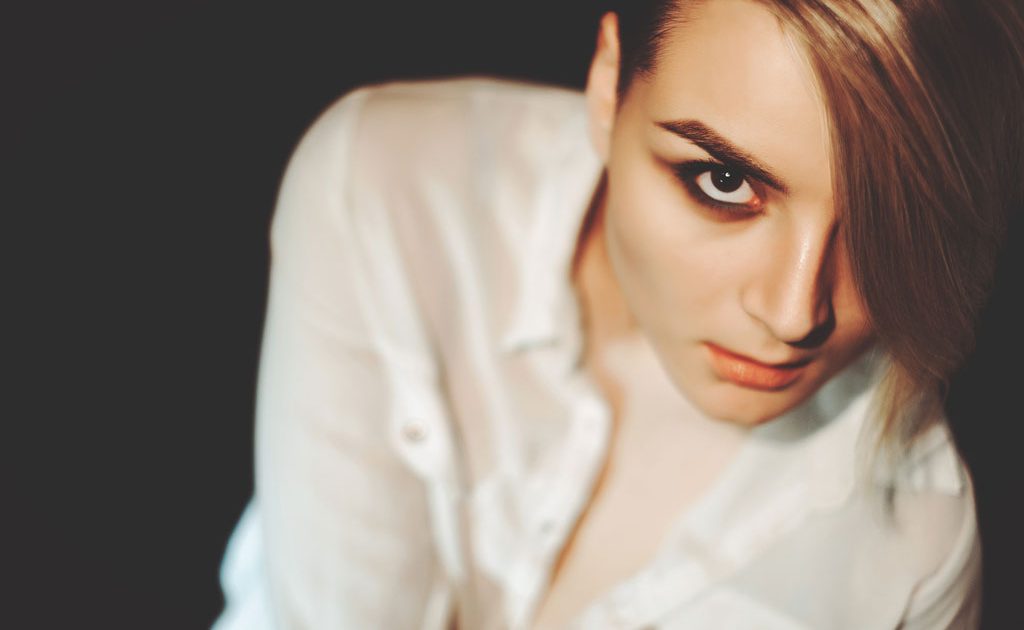
Edit the eyes and the teeth Right
Model Photo editing and especially portrait photo editing require you to make the eyes and your teeth shine a little bit more. But often the beginners misunderstood this requirement and made them glow out of the dust.
Here you need to remember that your model is not an otherworldly creature (unless you are going for that look). Ensure that while you are enhancing them, you don’t overdo it.
Desaturate the Detract
As a photographer, you might come across images that could have been way better only if the distraction was not present in the frame, stealing the focus of the viewer. Here either you can remove it in photoshop or can simply desaturate it.
If you are on to a studio photo editing, the distraction might be your background or a prop used to enhance the image. In that case, you shall desaturate it to limit where the focus is more likely to fall on your model.
Keep Original Files Safe
“To err is human” There are times when you might do a wrong edit or times when you might have to re-edit an image on your client’s demand. In this case, you need to make sure that your image has your original image safe. Hence, before making any edits make sure that the original file is safe.
Address Image Editing Service
Editing is a time-consuming skill and requires years of experience to master. Be it model photo editing, fashion photo editing, portrait photo editing, or even high-end retouching. All need precision in order to get the best result.
In order to get the best result, we suggest you outsource your images to the best model photo editing service. It would save you your precious time, along with the fact that your images would be edited by professionals with years of experience at the cost of less than a dollar for an image.
Bonus Read
And with this, we conclude the following article on 15 Best Model Photo Editing Tips. But before seeing you off, here is what you must know.
If you are looking to get your images edited by professionals, PixelPhant is surely the best fit for you. Not only is it cost-efficient, but it is a quality-oriented service for your image editing needs.
But why just trust our words? Get a free Image editing trail by PixelPhant and experience the service yourself. Click on the get started button below and get your free model photo editing trial now.