Flat lay Photography Guide: Expert Photography Ideas & Tips
We are starting this article with a disclaimer. Flat lay photography is one of the most creative and commercialized styles of product photography.
This guide is an in-depth resource for anyone who wants to learn how to get started with Flat lay photography and what industry trends to follow.
If you have been actively looking to learn about:
- What is Flat lay Photography?
- Importance for Flat Lay in Product Photography
- Essential Equipment You Need for Flat Lay Product Photography
- Knolling vs. Flat Photography
- Best Flat Lay Photography Practises
- Do’s & Don’t of Flat Lay
- Flat Lay Photography Ideas
- Photo Editing Tips for Flat Lay
This article will share actionable experience and insight for you to work on.
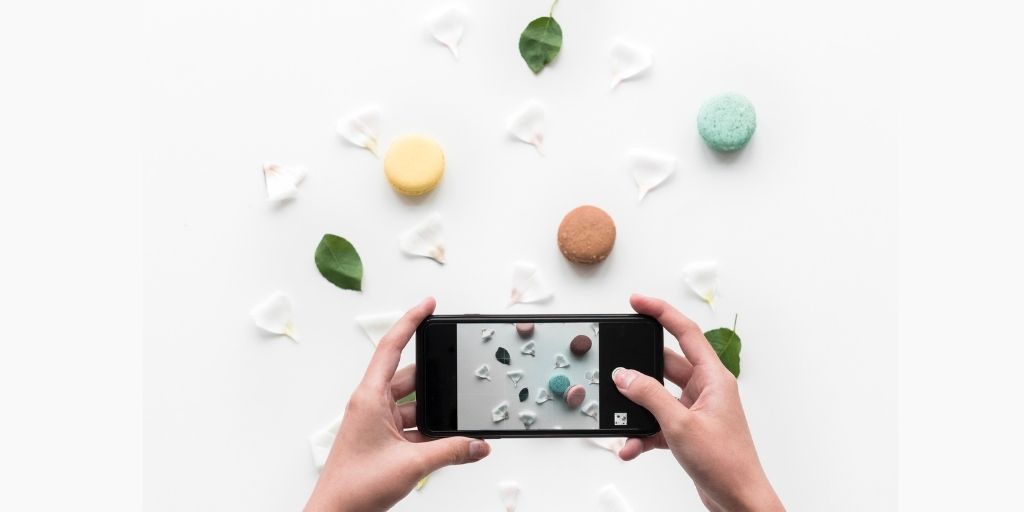
What is flat lay photography?

Flat lay photography is a style in which products are captured from a top-down view, also known as a bird’s-eye view. Here, the products are laid down, facing upwards towards the camera. The camera is positioned right above the product using a tripod and tripod arm.
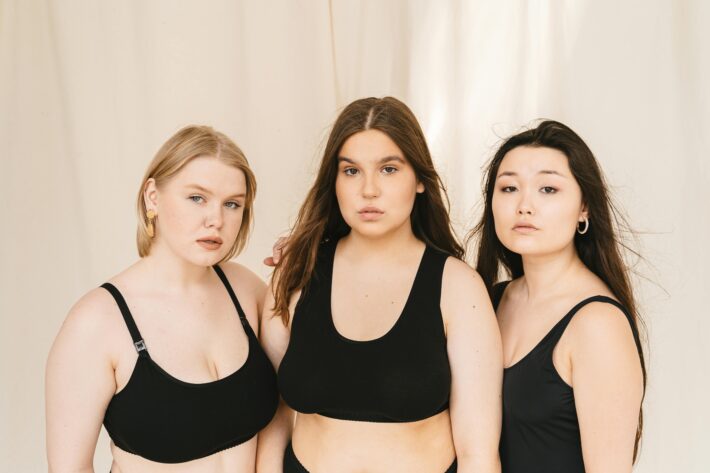
Flat lay is a beginner-friendly, creative, and commercially popular style of product photography. It is in demand among eCommerce, social media, and advertising.
Because of its lower barrier to entry, many early professionals use flatlays to start their careers.
That being said, it is also a photography style that many professionals have mastered over the years to create a visually appealing frame according to the client’s requirements.
57.2% of fashion eCommerce brands are using flat-lay photography.
Importance of Flat Lay in Product Photography
Some of the reasons why flat lay product photography is so crucial is because
Showcasing Details
For e-commerce, it is important that the details of the product are clearly visible without cropping any side of the product.
Flat lay allows you to ensure that the entire product is in a frame, with no side getting cropped or out of focus visually.
Additionally, since the camera and product are quite close, the details of the product, like textures, materials, and features, are easily visible.
This makes flat-lay photography beneficial for clothing and accessories, where a product can be showcased from a top-down angle quite easily.
Creative Storytelling
Think of a flat lay photography frame as your moodboard. The placement of your main product, props and additional accessories can all be creatively used to curate a creative storytelling frame.
Just like Field Mag used with The North Face sustainable fashion photography campaign. The image features the main product, which is a jacket, surrounded by zippers, scissors, a scale, and other building accessories.

From the first look, it is communicated that the intent is to showcase how the jacket is created using different elements.
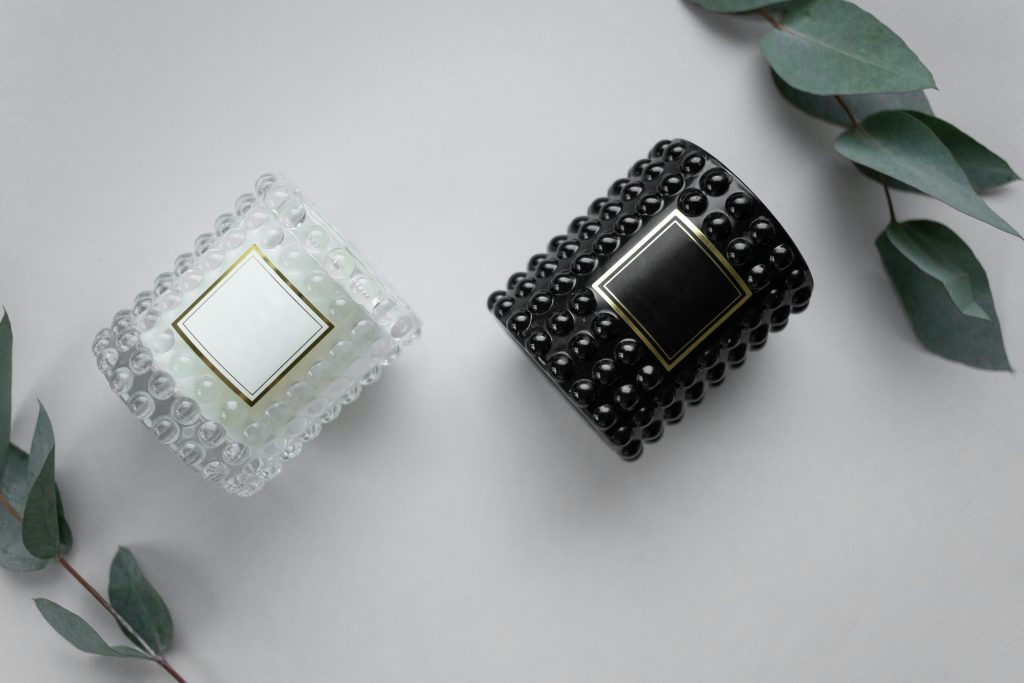
Minimalist Composition
One of the core reasons why flat lay product photography has consistently been the industry’s top pick is because of its minimalist composition.
For eCommerce product photography, the composition of the image comprises placing the product in the center.
Here some brands prefer to keep the natural shape of the fabric, while some use tapes and pins to hold a straight wrinkle-free shape of the product.
Keeping this difference aside, the overall focus remains on the product, with minimal effort required.
With a clean background, focused product, and proper lighting—the goal of product photography is achieved quite professionally and in a way that engages the customers effectively.
Social Media Friendliness
Where most other styles of product photography require social media optimizations, flat lay photography is feed-friendly.
The square or rectangular format of flat lays makes them ideal for social media platforms like Instagram and Facebook. They tend to grab attention and encourage engagement.
Not just in theory, there are over 9.9 million posts that are using #flatlay. Compare that with #modelphotography with 6.4 million posts.
Cost-Effective
Compared to other types of product photography, flat lay is among the most cost-effective methods to present your products.
If we talk about flat lay photography for clothing, all you’ll need is a surface, tripod, and lighting. Compare this to other photography styles like Ghost Mannequins and Model Photography.
In addition to a Tripod and camera, you’ll ideally need a studio space, the backdrop, a mannequin, a model, and other shoot assistants like a stylist and makeup to create the shoot for the clients.
Essential Equipment for Flat Lay Product Photography
Camera
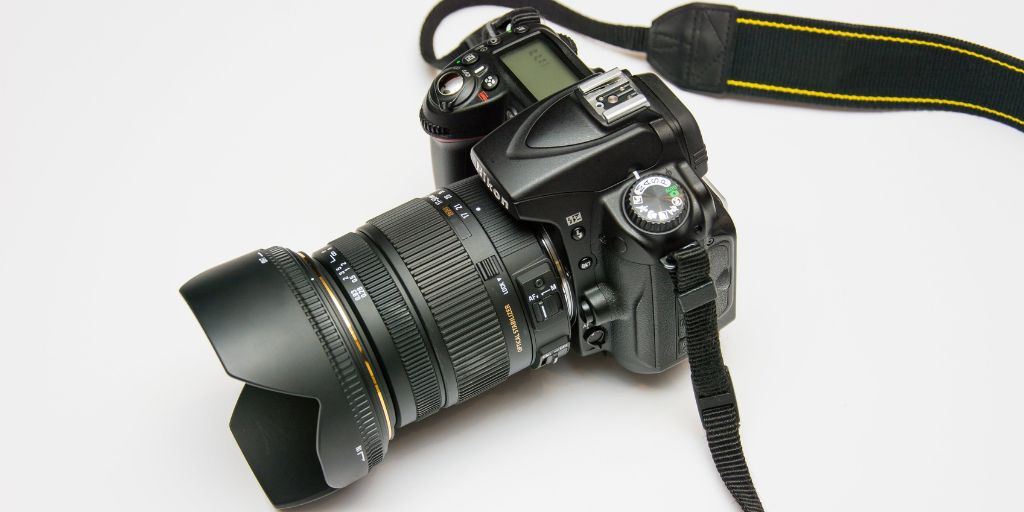
One doesn’t need any specialized camera gear for Flat Lay Product Photography. A decent DSLR or Mirrorless Camera with interchangeable lenses can deliver impressive results.
Ideally, you should look for a camera that is lightweight, easy to handle, and can be easily adjusted as per your requirements.
Sidenote, a camera with an Articulating Screen that can be tilted up, down, to the side, and sometimes even rotated would make flat lay photography a breeze.
You’ll be able to adjust how the product is framed without having to go back and look into the camera.
Tripod & Arm
A Tripod and tripod arm are an essential part of flat lay product photography. While you can get started with in-hand shoots, eCommerce product photography requires you to be consistent.
Here, using a tripod and an arm will allow you to set up your camera once, and then focus on framing the product.
It is recommended to go for a tripod whose height can be easily adjusted along with Ball Head adjustment.
A ball head offers more flexibility and allows for smooth, fluid movements in any direction, making it well-suited for flat lay photography where precise adjustments are necessary.
Shooting Surface

Shooting surfaces for flat-lay product photography is a creative choice if you are doing it for social media.
You can opt for various surfaces, like tiles, wood, marble, etc., that are not distracting but add texture to the image.
If the shoot is for eCommerce product photography, it would be suggested that you use a form board.
The only reason is that you can hold the clothing products in one place using pins. If that’s not required, you can use plain cloth as the shooting surface.
Later, you can use background replacement services to get a consistent background with optimized cropping and margins for your product images.
Lighting Equipment
Flat lay photography uses soft lighting to emphasize the shapes and details of the product.
Using soft lighting results in the creation of softer shadows. Additionally, the details are not lost when the lighting is placed right above the product
To ensure you are using the right Flat lay photography lighting setup, you can use equipment such as softbox or light tents that tend to create spread light.
Knolling vs Flat Lay Photography
Knolling photography emphasizes arranging objects at right angles or in parallel lines, often with a focus on organization. In Flat lay photography, the arrangement doesn’t have to follow any particular order.
| Knolling Photography | Flat Lay Photography |
| Objects are meticulously arranged at right angles or parallel lines. | Objects are arranged flat on a surface, often with creative composition. |
| Typically shot from a top-down perspective. | Also shot from a top-down perspective, focusing on the arrangement. |
| Emphasizes organization and precision in object placement. | Emphasizes creativity and composition in the arrangement. |
| Often used for showcasing tools, equipment, or everyday items. | Widely used for product photography, lifestyle shots, and artistic compositions. |
| Clean, orderly, and visually satisfying presentation. | Diverse and adaptable, ranging from minimalist to intricate compositions. |
| Highlights the beauty of organization and symmetry. | Showcases products or creates visually appealing scenes. |
Best Practices for Flat Lay Photography
Choose a Suitable Background
The background is one of the most important elements of flat-lay photography. It fills the negative space, adds texture, and aims to drive focus toward the product.
You must choose your background according to your goals and the product you are featuring.
For eCommerce product photography, it is suggested to use a plain light color background as it ensures that the product stands out.
It also improves the quality of retouching if you choose background replacement.
If you are using flat-lay photography for social media or creative ads, we have shared some best photography backdrop ideas for your reference to get started.
Good Lighting Setup
For professional flat lay clothing photography, a good lighting setup involves using softbox lights positioned on either side of a clean backdrop-covered table.
These lights provide soft, diffused illumination, minimizing harsh shadows. Optionally, reflectors can be used to fill in shadows.
Arrange the clothing neatly on the table, ensuring a clean presentation. Capture the scene from above, adjusting camera settings for optimal exposure and focus.
This setup ensures professional-quality photos showcasing the clothing’s colors and details accurately.
Composition
With flat lay photography, a photographer has a wide scope of creativity in composition. But it is essential to start from somewhere right? So to put it simply, let’s take two use cases and understand how composition works for flat lay photography.
For eCommerce product photography:
- Place the main product slightly off-center to create balance.
- Experiment with layering and stacking products for depth.
- Utilize negative space to draw attention to the main product.
- Ensure consistent lighting for a clean, professional look.
For social media:
- Use vibrant colors, patterns, and playful arrangements to grab attention.
- Incorporate props that resonate with your brand to tell a story.
- Explore dynamic angles and perspectives for visual intrigue.
- Maintain a cohesive visual style that aligns with your brand’s identity.
In order to create a flat lay scene, you can learn about some of the best composition techniques and integrate it in your photography.
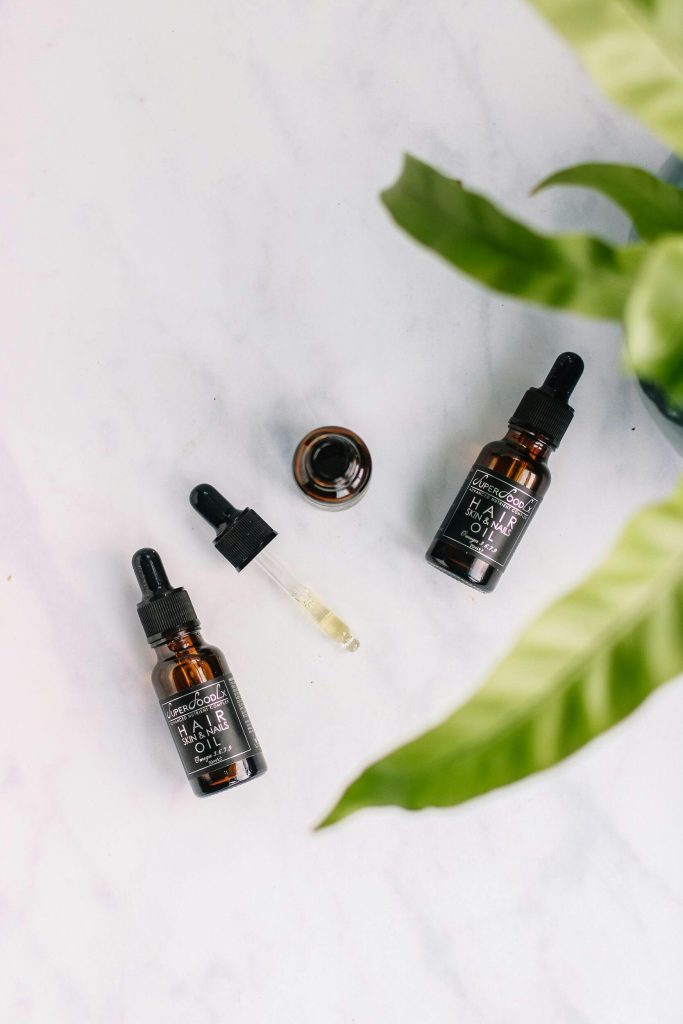
Props and Accessories
When you are curating a flat lay photography setup, you can use props to add context and depth to your images.
Social media is among the use cases where you’ll find props in flat lay photography.
But it is important to remember one thing. Props are an add-on, not the main focus of your shoot. If your props or accessories are taking attention away from your product, it is important that you eliminate the following composition.
One of the best advice when it comes to choosing the right prop would be finding something to add more context to a scene.
This could be a leaf for promoting a natural skin care product, or water droplets for a face wash.
You can also use obvious opposites to create a contextual difference. For example instead of using leaf, using thornes as props to showcase the softness of the skin care product.
Camera Angle And Height
As a photographer, you want to ensure that your product is set well within the frame.
The camera angle and height you choose is an important point to consider when you are curating a scene and choosing a tripod.
If we are talking about Knolling or social media photography, the camera angle you choose can differ based on your creative choices.
As a flat lay photograph, the height of the camera would surely be right above the products, but you can title a little to add some perspective in frame.
For product photography, on the other hand, it is important that the camera angle is pointing right toward the product. Adding an angle here can communicate false information about the product’s size and shape.
A good flat lay photography height would be around 3 to 4 feet above the subject.
Photo Editing
Just like every image, retouching and editing is an important part of the process. Especially if the shoot is done for commercial purposes like product photography.
While the requirements of flat lay photo editing can differ, there are few services that you must learn about.
- Retouching: This includes removing any pins, dust particles, legs of your tripod etc that you don’t want your audiences to see.
- Background replacement: To ensure that every product image has a consistent background, cropping, and margins to create a symmetrical presentation.
- Shadow Adding: Shadows add contrast between the background and the product. It helps in making the product stand out while also ensuring consistency among all the product images.
- Image Optimization: Everything that includes adjusting brightness, contrast, saturation, etc, a little, as well as the file format.
There are various other services as well to make sure your product images are exactly how you want them to be. You can take a free trial of PixelPhant product photo retouching services for your flat photography.
This ensures that you get the most expert photo editing services at the fastest turnaround time at a price starting at just $0.40 per image.
Consistency
For a brand and the purpose of branding, consistency is an important factor to consider.
As a photographer, make sure you aim to present the product as per the style guide or creative specifications shared by the team.
It is also advised to proactively ask, if nothing specific is shared. At the end if you are the creative decision maker, it is suggested to align your vision according to the brands visions and messaging.
Do’s & Don’t of Flat Lay Photography
Flat lay photography has become increasingly popular, especially for product photography.
It effectively showcases products. But to ensure the best results, it is important to know what to do and what not to do.
Here are some do’s and don’ts to keep in mind when curating flat lay product photography.
Do’s:
1. Plan Your Composition: Before you start arranging items, plan out the layout and composition of your flat lay. Factors like symmetry, balance, and focal points can enhance the final image. The best way to choose the best composition would be to understand the use case of your image and understand what the team wants to achieve through the following shoot.
2. Use Natural Lighting: Whenever possible, utilize natural light to capture your flat lay photos. It will ensure that soft shadows are created, as well as the details of the product are clearly visible. Position your setup near a window or shoot outdoors for soft, diffused lighting that enhances the details of your products.
3. Choose a Neutral Background: If your goal is flat lay product photography, opt for a clean, minimalistic background to avoid distractions. It will ensure that the focus stays on your products. For creative social media posts, you can use white poster boards, wooden surfaces, or marble countertops.
4. Maintain Consistency: If you’re shooting multiple products for a series or collection, strive for consistency. Consistency in your lighting and styling to create a cohesive look across your images. It helps shoppers to focus on the product and compare the best pick for them.
5. Play with Angles: For social media, experiment with different camera angles to find the most flattering perspective for your products. This might involve shooting directly from above or incorporating slight angles for a dynamic composition. But for product photography, it is recommended to choose an angle that shows the important information about the product.
Don’ts:
1. Overcomplicate the Setup: During flat lay photography, resist the urge to overcrowd your scene with too many props and unnecessary elements. Keep the focus on your products rather than the overall scene.
2. Use Harsh Lighting: Avoid harsh and direct lighting sources. They create harsh shadows and overexpose the scene due to which details are lost. Instead, opt for soft, diffused light to achieve a flattering and natural look.
3. Neglect Product Placement: Pay attention to how you arrange your products. Ensuring an organized and spaced-out product placement keeps attention towards the product and calls for more visual engagement. As shared, use composition techniques to curate your scene.
4. Forget About Branding: If you are shooting for social media, advertising, and editorial, don’t forget to Incorporate subtle branding elements into your flat lay. This could be as simple as showing off logos, using a brand-specific background color, or a prop that is associated with the brand.
5. Ignore Color Harmony: Be mindful of color choices when selecting props and backgrounds for your flat lay. Aim for a cohesive color palette that compliments your products and enhances visual appeal. Again, if the color you use takes away the attention from the product—go with the other one.
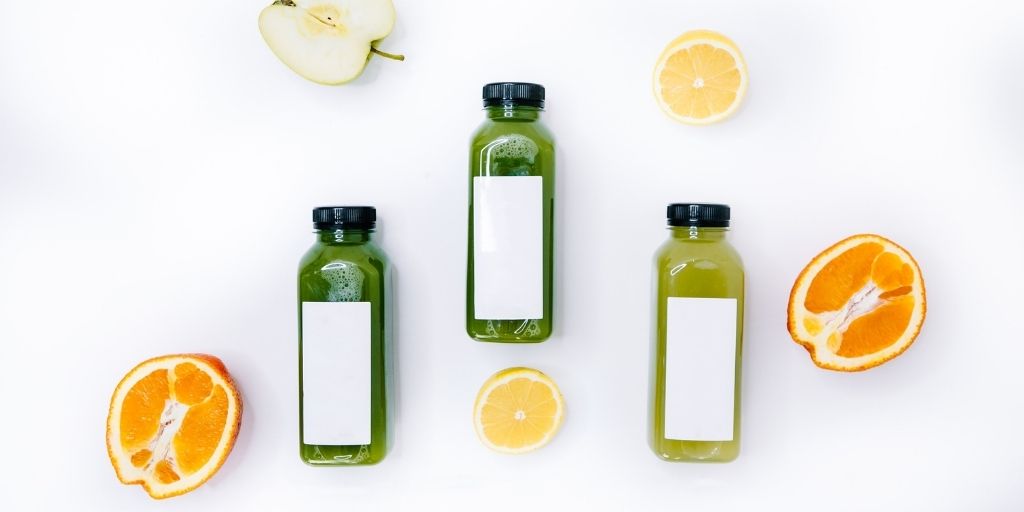
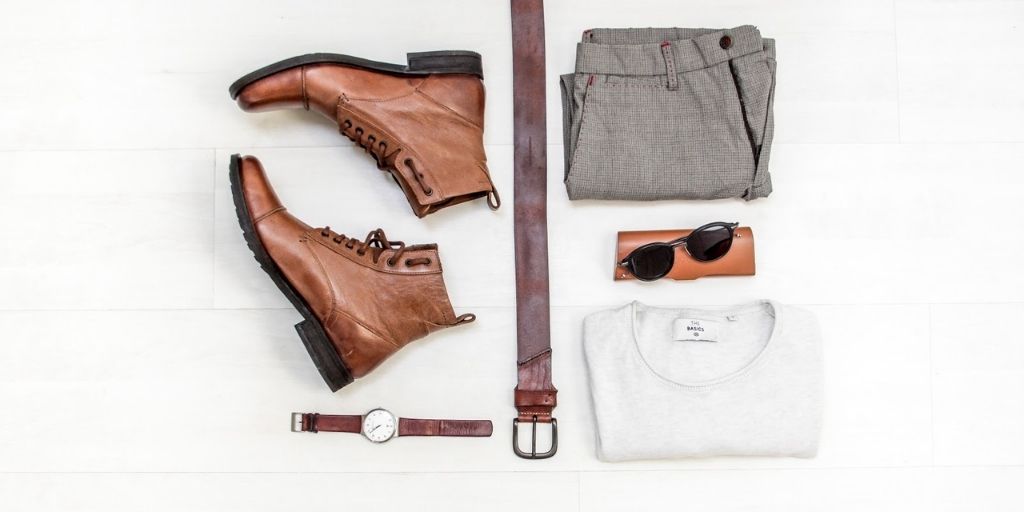
Flat Lay Photography Ideas
Now with all the above tips, we hope you are set to start flat lay photography. So here are some of the most interesting, eye-catching Flat lay product photography kinds you can use.
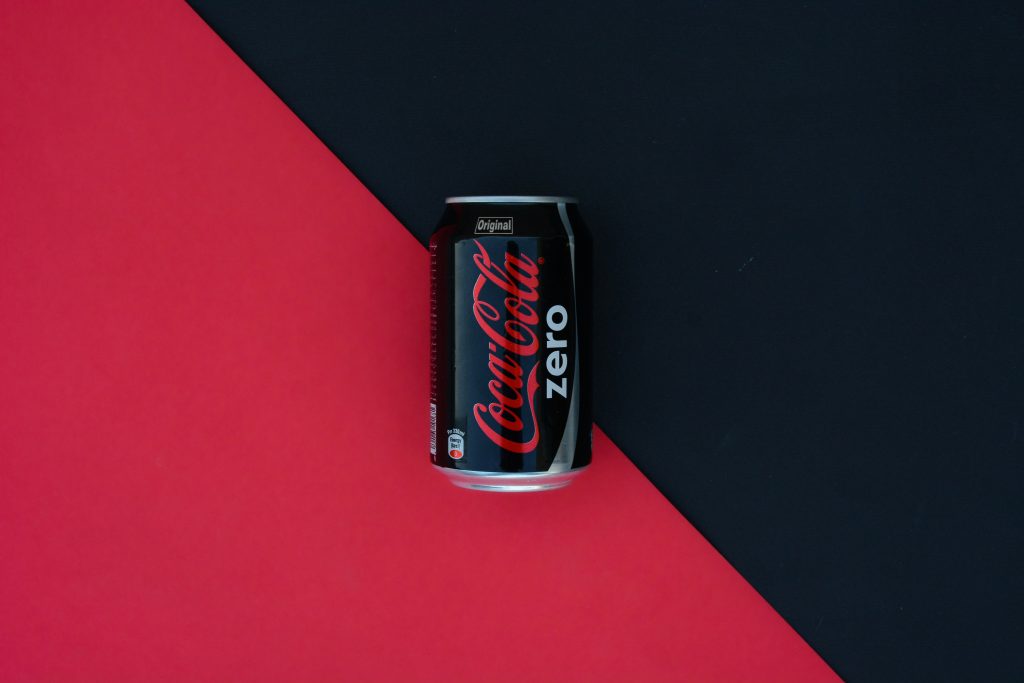
1. Negative Space
Here the product is placed strategically in order to leave enough amount of space around the product. This way the image looks more milimistics and the focus stays on the product itself as there is nothing more in the frame.

2. Cluttered / Un-grid
In the following image, numerous products in a single frame look scary. But in order to get these flat lay photography right, you would need to place all the products in a way that might look cluttered but aren’t annoying.
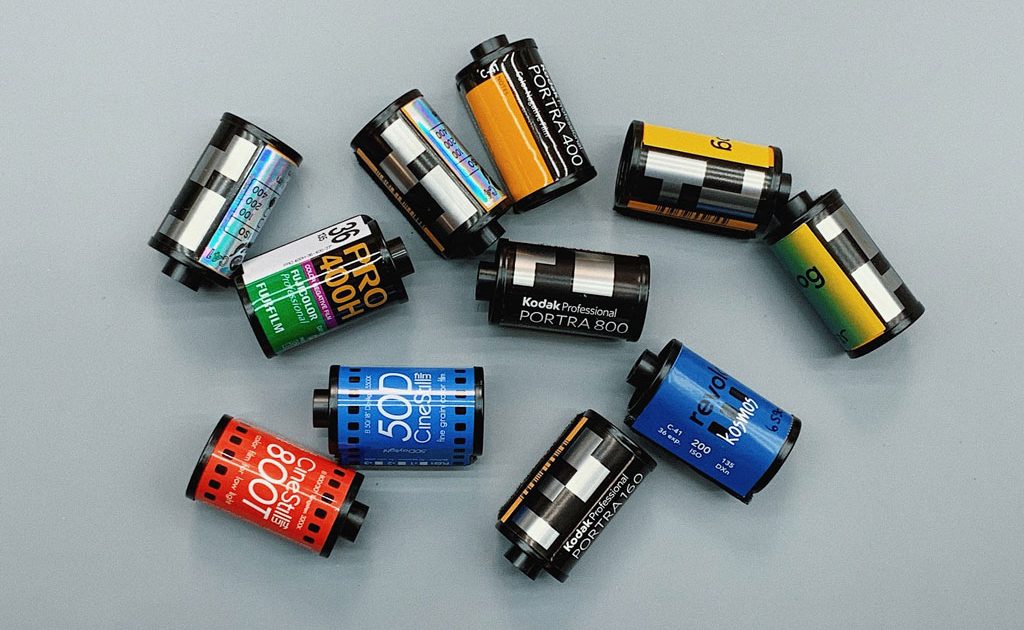
3. Grid
If you believe that clutter was not your way of photography, Grids might come in handy for your flat lay product photography. You can either create symmetry with similar products or if you have a bunch of different products, you can arrange them systematically.
4. Contract
Bring contrast in the frame gives you a great range to bring attention to the frame. Moreover, this is great if you are just starting your flat lay photography.

5. Adding Props
Props are a great way to fill in the frame, especially in flat-lay product photography, where the goal brings in a new perspective. But make sure that props drive attention to the main product and don’t catch the attention of the viewer.

6. Layering
As we have said before, adding layers is one of the finest ways to bring frames to an image. Adding different layers in your flat lay photography can help enhance the image and make the image look more professional.

7. Add Visual Depth
When you are trying to pull in the attention of the viewer, you can also use layers to depth in your flat lay photography. Since you are shooting from the top, adding a layer between the camera and the product adds some depth to the image.
8. Incorporate Branding
Banding in flat lay photography can be added through various elements. Background, colors, logo, product, and even editing style. You can always use these elements to emphasize the brand’s name—especially if the intent is to advertise products for reach and branding.
9. Use Props to Create Frames
The importance of prop has been widely discussed but the use case is still not explored. One of the many ways you can use your props is through using them as frames. A simple way to add context, as well as branding elements to your flat lay product photography.
10. Experiment with Angle
The ideal flat lay photography guide would guide you to place the camera right above the product. The advice is great for beginners, but if you have been looking to try something new, you can add a new angle, a new perspective for creative flat lay photography.
Photo Editing Tips for Flat Lay Product Images
Aim for Consistency
A consistent editing style creates a recognizable brand identity across all your product images. It helps the brand stand out and make a customer experience distinct for its audience.
It also helps in building brand awareness and strengthens the perception of professionalism.
For flat lay product photo editing, consistency can be optimized with background, cropping, margin, lighting, saturation and other editing elements.
Remove Distractions
An important part of photo editing is also removing any unwanted elements that can distract the viewer from the main product.
A random, brightly colored background or a photo with an unusual angle can pull a customer’s attention away from the product itself.
It is important to remove such distractions and focus on curating a scene where the main product is highlighted.
Straighten and Cropping
Each brand has a different way of presenting its products. Straightening, cropping, and margins are an essential part of this presentation.
For flat lay product photography, ensuring consistent cropping and margin is important. It helps in creating visual symmetry—important for a better customer experience.
It is important to create and stick with your style guide. It must include the cropping and margin information for different product types.
Add Depth with Shadows
Shadows are an important element in product photography. They add depth to product images and create a contrast between product and the background.
In flat lay photo editing, it is important to make sure that the shadows of all product images are consistent with one another. Consistent in terms of darkness, length, direction and spread.
With professional shadow creation services, you can even opt for natural shadow even if you remove the background and showcase the product on different backgrounds.
Recheck for Supportive Props
Flat lay photography often uses supporting props like pins to hold clothing products in place.
They are important while capturing straight, wrinkle free products. But in the end result, it is important that these props are removed.
An online shopper wants to see the product not behind the scenes right?
So it would be in the best interest to recheck for any supportive props and remove them to create an appealing product presentation.
Your Next Steps
If you are just getting started with flat lay photography, the best advice or tips you can get is to experiment a lot. It is a creative commercial style of photography that requires very less time to learn.a
Above we have shared a detailed guide on how to get started with flat lay photography & photo editing. Additionally, if you’d like to get a free trial of PixelPhant product photo editing service, sign up now.
PixelPhant is an ecommerce photo editing service—that delivers high-quality and customized photo editing solutions to eCommerce studios and photographers. Sign up and connect with us today.