How to Photograph Clothing for Online Store?
As a photographer, beginner or skilled, clothing photography is a tricky job. You have to create a setup to capture the details of the garment and the fabric. But why break a sweat thinking over it when PixelPhant got you covered?
If you are looking for a guide to help you take beautiful apparel product photos and prepare you for all the challenges, you are at the right place. In this article, you’ll learn about-
- Types of Clothing Photography for Online Store
- How to photograph clothes for eCommerce?
- Equipment for clothing photography
- 10 Tips to master professional clothing photography
So if you are ready to learn how to take pictures of clothes to sell them online, let’s get started with this in-depth clothing photography guide?
Types of Clothing Photography for Ecommerce
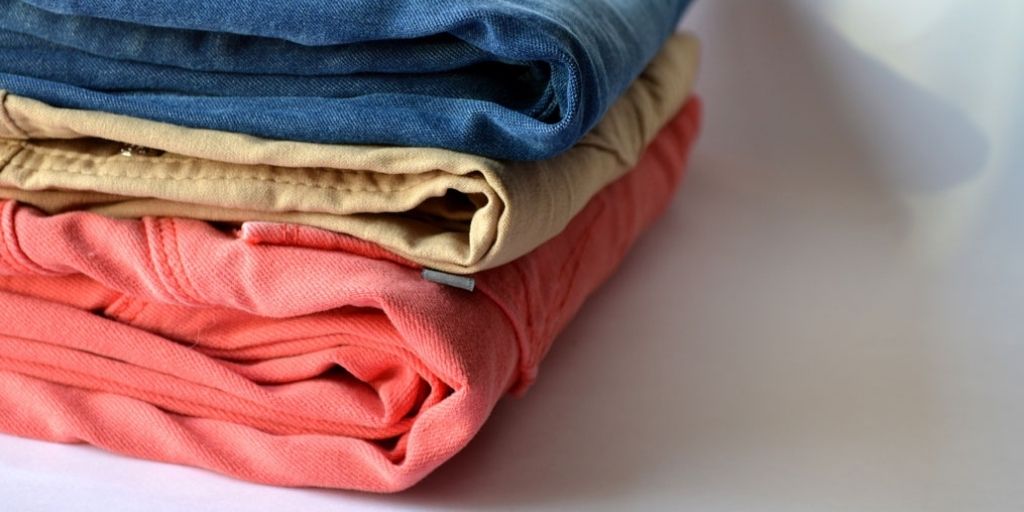
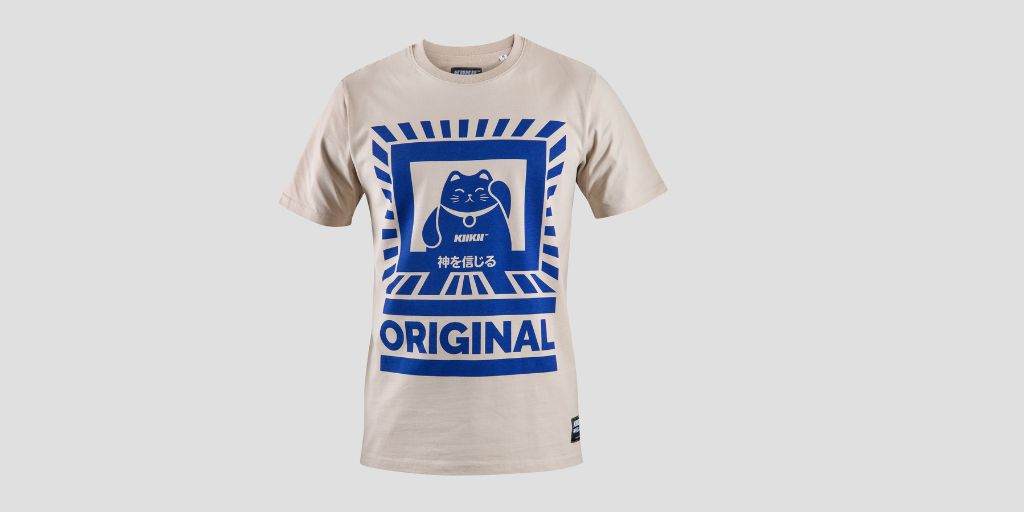
Flat Lay Photography
This style is perfect for showing off simple and minimalistic garments like t-shirts, trousers, beanies, and socks. All you need is a flat surface and a camera to capture your garments from a 90-degree angle. This style is gaining popularity in eCommerce and is a must-have for any brand’s product photography style kit.
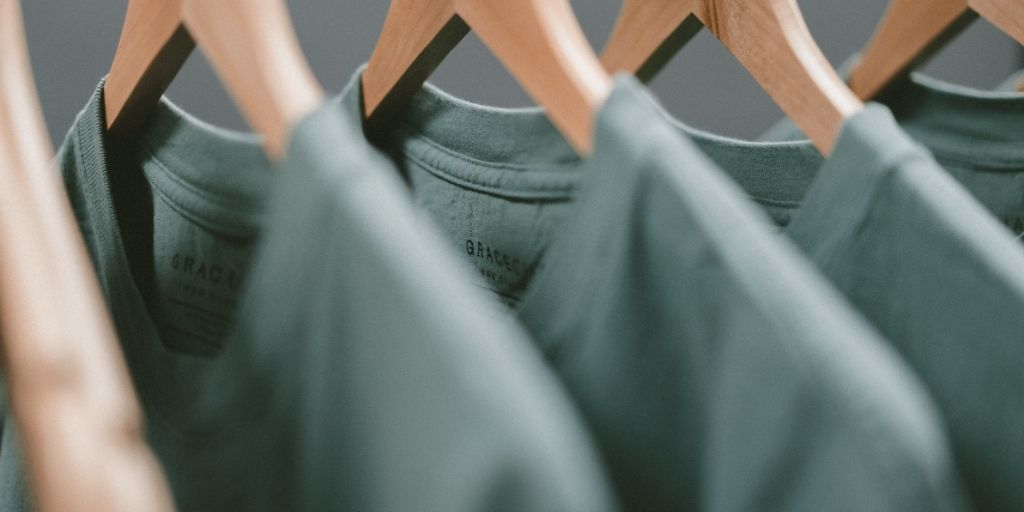
Apparel Hanging Photography
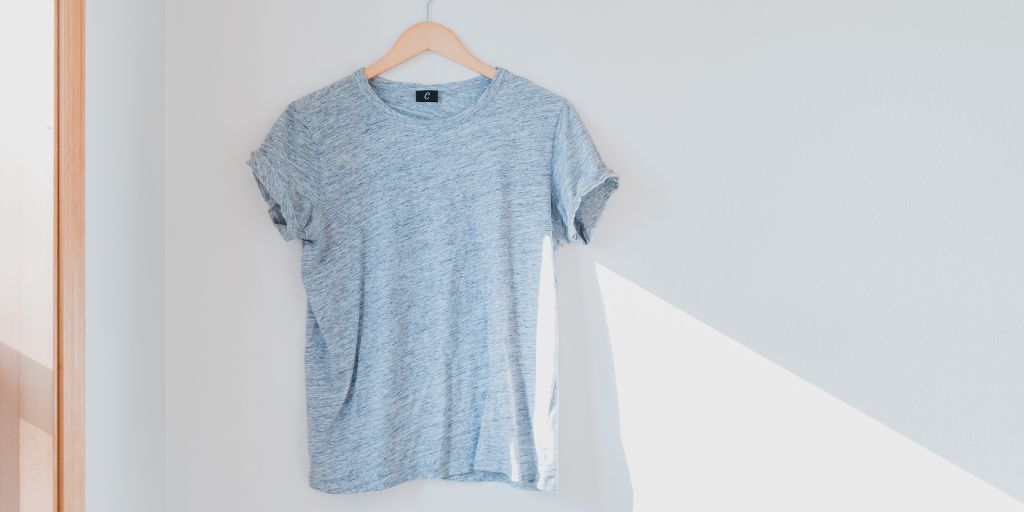
This style adds a little extra life to your clothing photos by hanging the garment on a hanger. It’s great for lightweight pieces like silk and satin and gives the buyer a good idea of how the garment will look when worn.
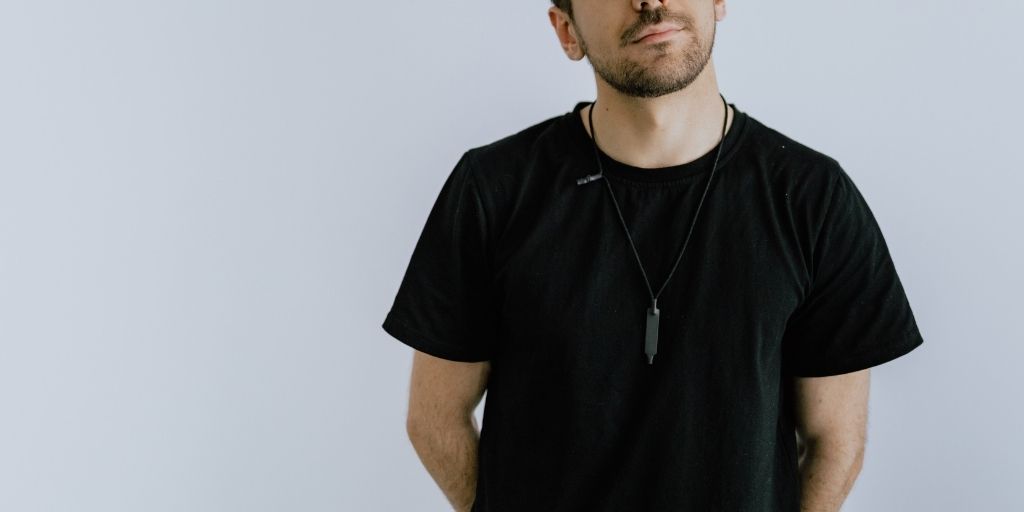
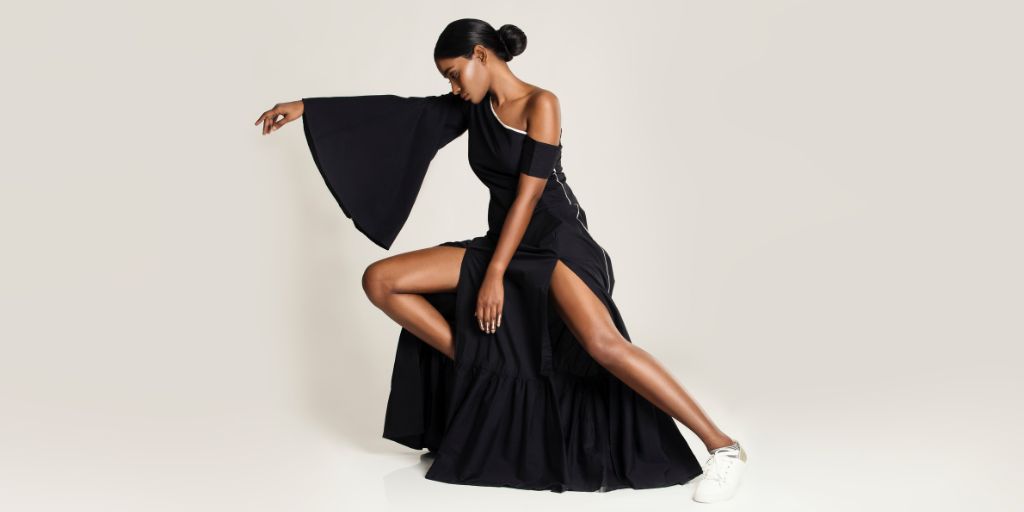
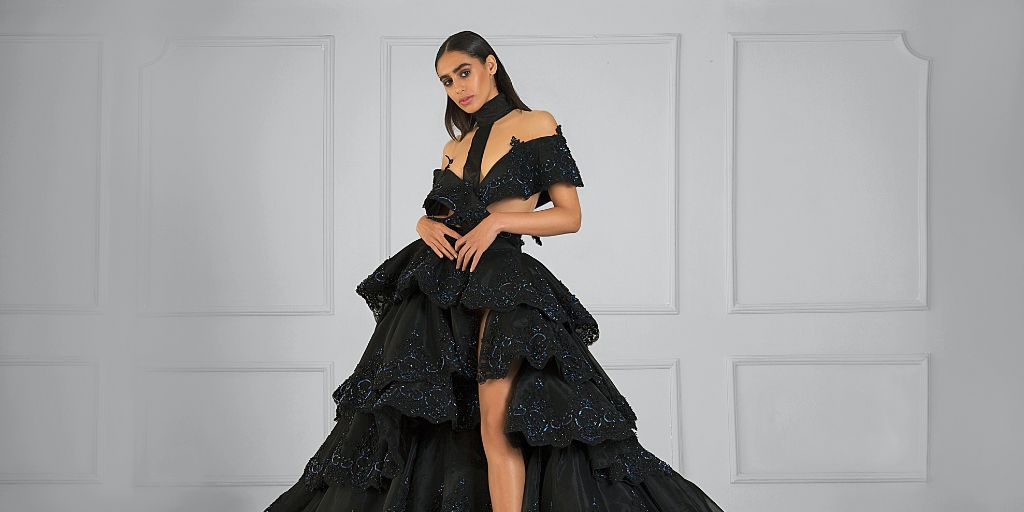
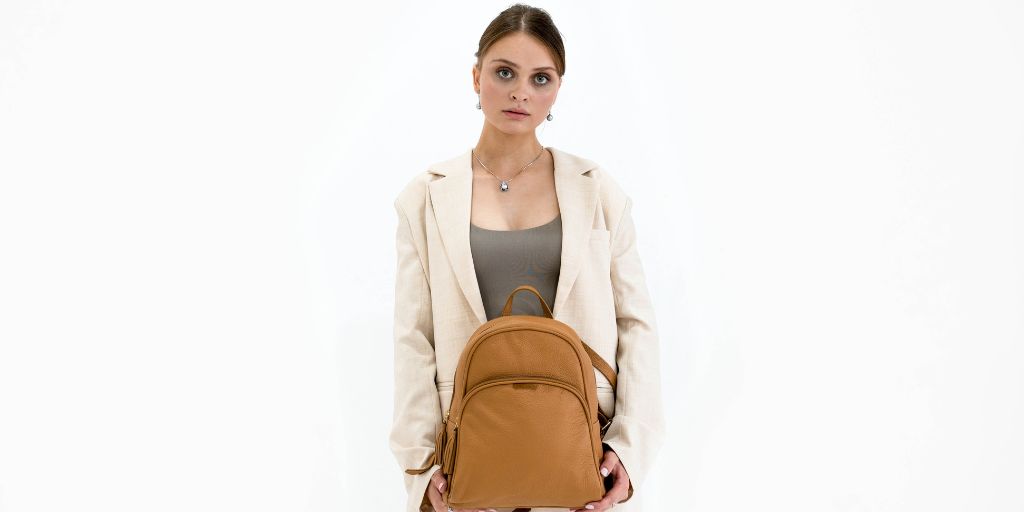
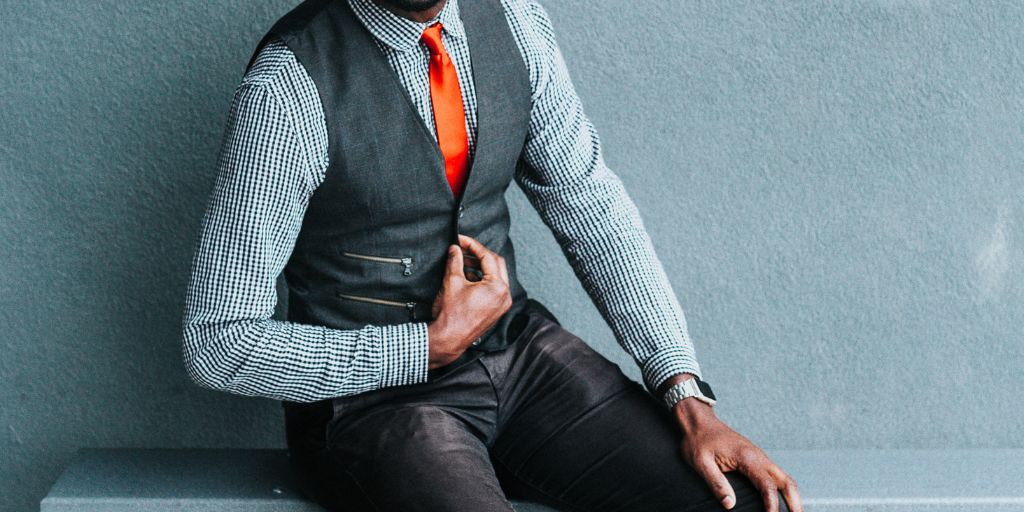
On-Model Photography
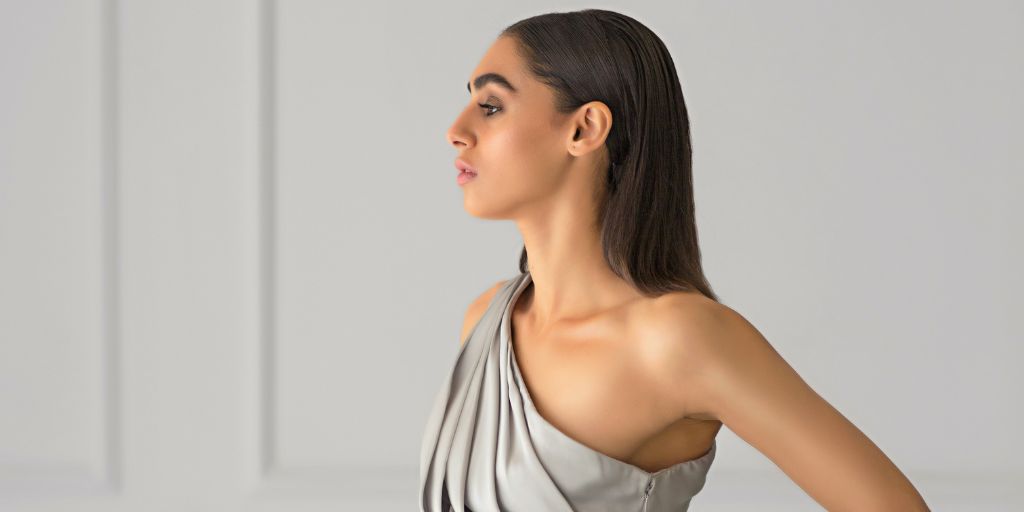
This style is one of the most popular and involves hiring a model to wear the piece of clothing. Model photography gives a more defined structure to your images and provides more detail about the fit, length, and bulkiness of the garment. Check out our Ultimate Model Photography guide for tips and tricks to advance your skills.
Ghost Mannequin Photography
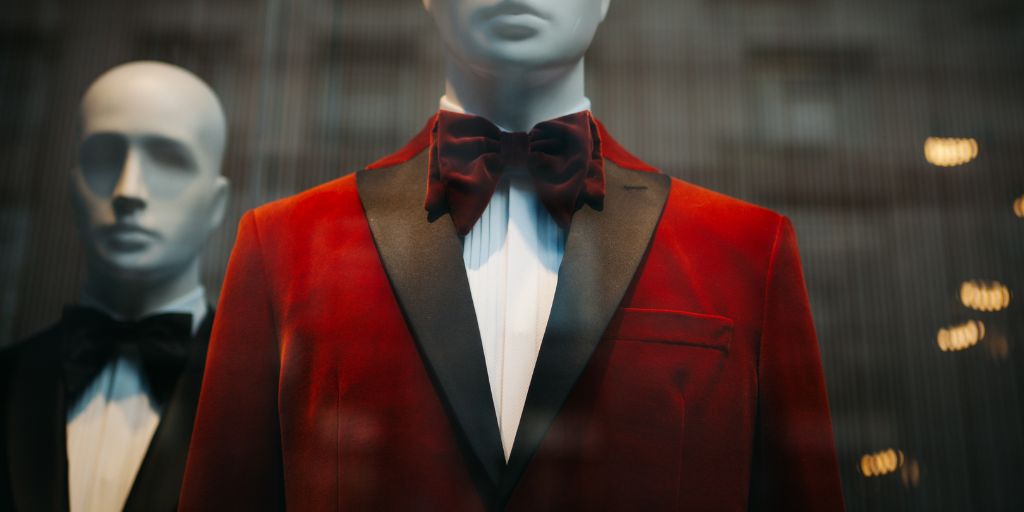
This trendy clothing photography technique involves shooting a mannequin wearing the garment and then capturing the inner portion of the garment separately. The shots are combined to create an “invisible mannequin effect.” Learn everything you need to know in our complete guide on How to Get Ghost Mannequin Photography for Clothing.
So, get your camera ready and experiment with these photography styles to showcase your clothing items in the most stylish and engaging way possible!
How to Photograph Clothing for an Online Store?
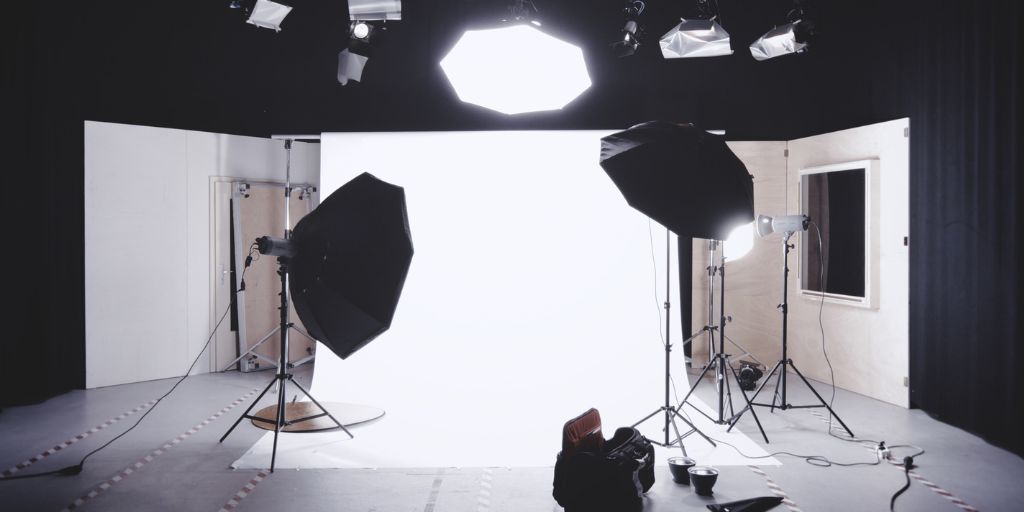
Setup your studio
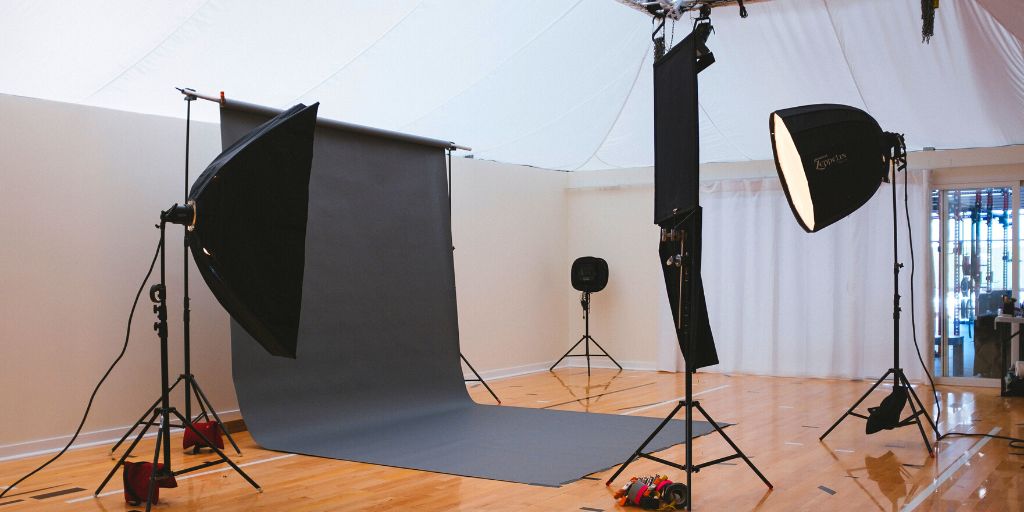
Step up your photoshoot game with the right equipment and setup. Whether you’re working with a professional studio or transforming a spare room, remember these key points to make your photoshoot shine. Get ready to capture stunning shots that’ll make your garments look their best!
- First, clean the space, remove all the clutter and organize it for the best work.
- Next, get your camera, backdrop, C-stand, tapes, and artificial lights in place.
- The distance between the camera and the subject should not be too close or too far.
- Your backdrop needs to be a clean slate. Clean or change the backdrop if it has any dirt or stain.
- Ensure your camera lens is clean, and keep a microfiber cloth handy in case the lens catches fingerprints.
- Make sure that the model/mannequin has proper lighting and no shadow is reflecting on the clothing.
Prepare clothes for shoot

Get ready to give your garments the star treatment! Before starting clothing photography, it’s crucial to have a tidy and organized workspace. Trust us, putting in a little extra time and effort here will pay off big time in the editing phase. Think of it as prepping your clothes for their close-up! Just make sure to give each piece the attention it deserves, so you don’t miss any tiny details in the final shot.
- Iron or steam the garment should be the first thing to do. Ensure the garment looks neat and wrinkle-free.
- Hide or fix any visible defect, stain, or tags using pins and cloth pegs.
- Pay attention to the details and make sure it’s buttoned up neatly, sleeves are folded smartly, and tassels are tied stylishly.
- Now examine the garment thoroughly from top to bottom to ensure it looks perfect to be clicked.
- Keep your photography tool kit ready to make the garment look consistent throughout the photoshoot.
And still, if you find something unwanted visible, no worries. It can easily be removed with the help of a ghost mannequin photo editing service.
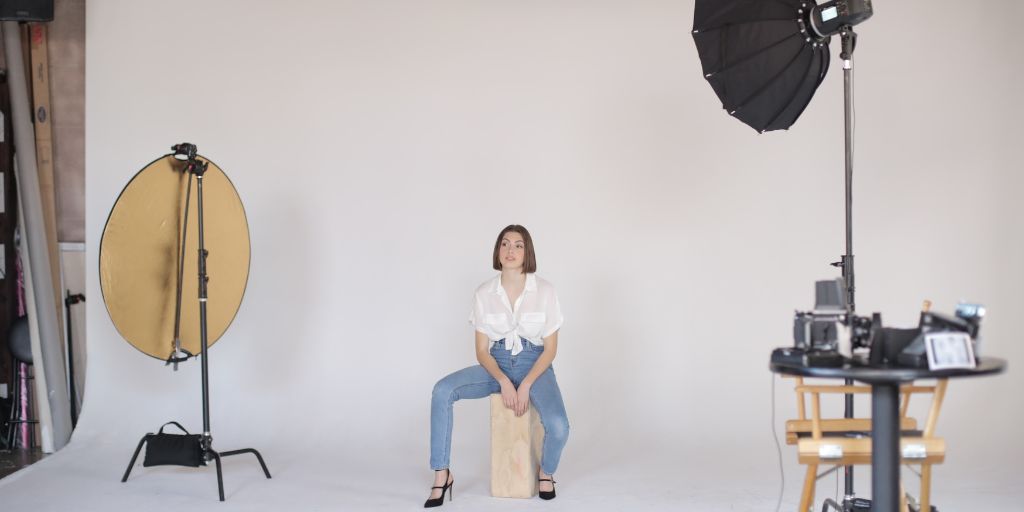
Setup the Lighting equipment
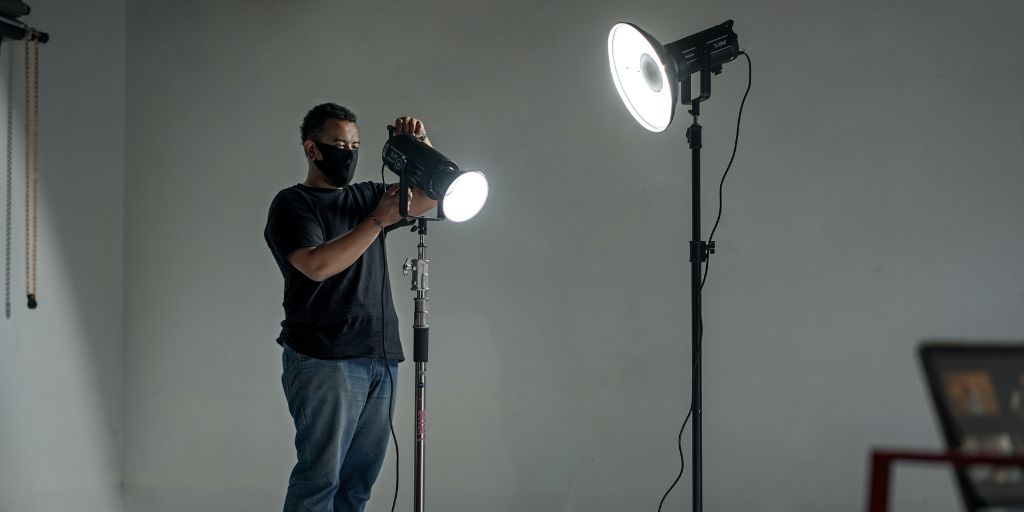
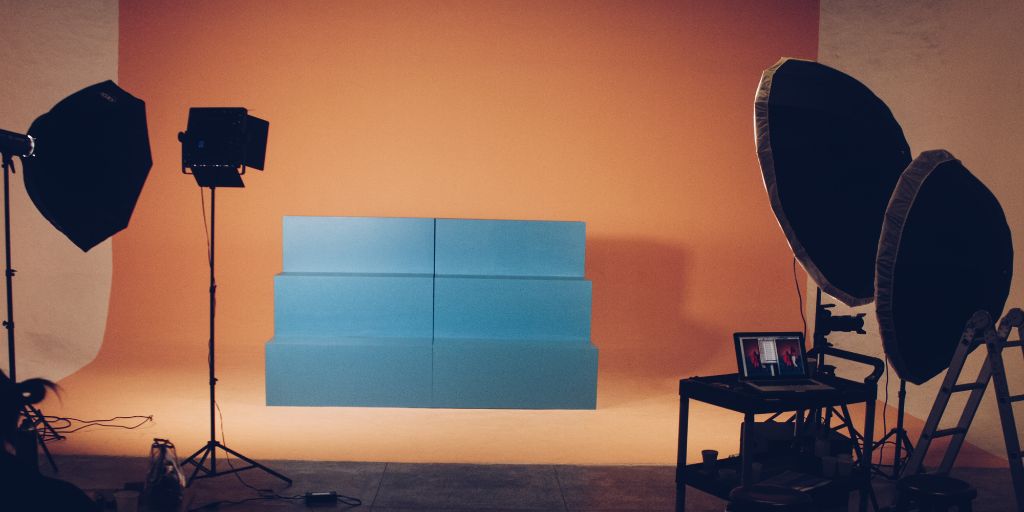
Light up your photoshoot with brilliance – Proper lighting is the key to capturing stunning shots. And, the three-light setup is the secret to success for clothing photography. Check out the picture for a visual on the ideal lighting, reflector, subject, and camera positioning. Get ready to shine the spotlight on your garments and take your photoshoot to the next level.
- Place the first light next to your camera, facing the subject. It will act as the key light.
- Set the second light positioned at a 45-degree angle from the subject and further away from the key light. This is the fill light that fills the light evenly throughout the subject.
- The position of the last light will be between and above the subject and the backdrop. It is called black light or hair light.
- The reflector reflects the light back to the key light source, adding clearer light and a balancing shadow.
- Additionally, some photographers use diffusers to create softer shadows and more even light distribution.
Styling clothes for better presentation
Styling clothes correctly can make them look more lively and reliable to the customers. Tips to remember while styling clothes for clothing photography:
- Styling is quite easy with a model than on a mannequin but remember mannequins are cheaper and take lots of time and effort in styling.
- While styling a model, choose the right size that fits the model perfectly and then leave the rest on the model to pose.
- Keep in mind that the model should show the details and specifications of the garment while posing.
- Use pins and cloth pegs to keep the garment fit and in place while styling a mannequin.
- Use transparent tapes to hide the tags and labels.
Setting up Camera for apparel photography
Setting camera for clothing photography. Things you need to understand and check in the camera are-
- ISO – Keep the ISO as low as possible for clothing photography. Higher ISO created distracting grains in the picture, which make it look more filmic. It should not be higher than 800 while shooting clothes in artificial lights.
- Aperture – The higher the Aperture more focused the image will capture. Therefore for clothing photography, the Aperture should be set high, which is between f/8 and f/11. That will make sure that your apparel photography is well-focused.
- Shutter Speed – The shutter speed of the camera should be 1/125 to capture the just right amount of details of the clothing.
- White Balance – The white balance setting controls how the camera defers the color it shoots. So, if you have captured something white it should render white in the picture. Setting the white balance at Auto in clothing photography is best. Let your camera analyze the scene and decide on the true white.
Take multiple shots
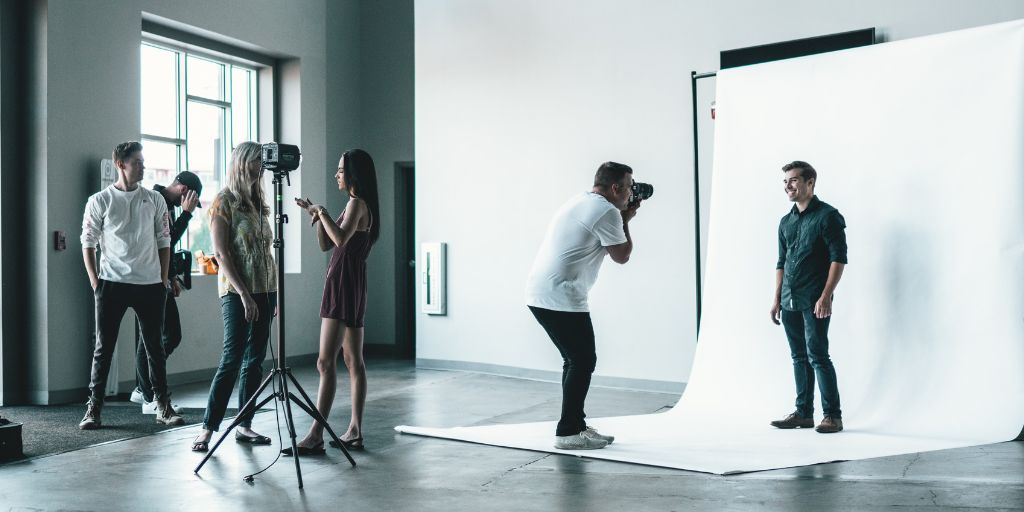
Now that you have thoroughly checked and examined the garment, studio, lights, and camera setups, it’s time to begin the photo shoot.
- Take some test shots first, and feel free to adjust the camera settings throughout the photoshoot as per the lights.
- The goal of clothing photography is to share information about the garment visually. So take multiple shots from different angles to show the complete garment perfectly.
- Don’t forget to take some close-up shots to highlight the specific details such as embroidery, tassels, fine stitching, etc.
Finalize in post-production
The job is not done yet, the actual magic of clothing photography for eCommerce happens after the photoshoot. Once you are done with the photo shoot, you need to make the photo ready for the web. Below is the process
- Firstly transfer all the images to your laptop or computer and delete the unwanted images from the catalog.
- Now the next step is to make the pictures look professional and consistent for online sales.
- The simplest and most beneficial way is to outsource. With the help of professionals, it becomes easy to integrate post-production processing with a 24-hour or less turnaround time.
Clothing Photography Equipment
Are you ready to take your clothing photography to the next level? Here’s a list of equipment that’ll help you achieve that professional look with ease!
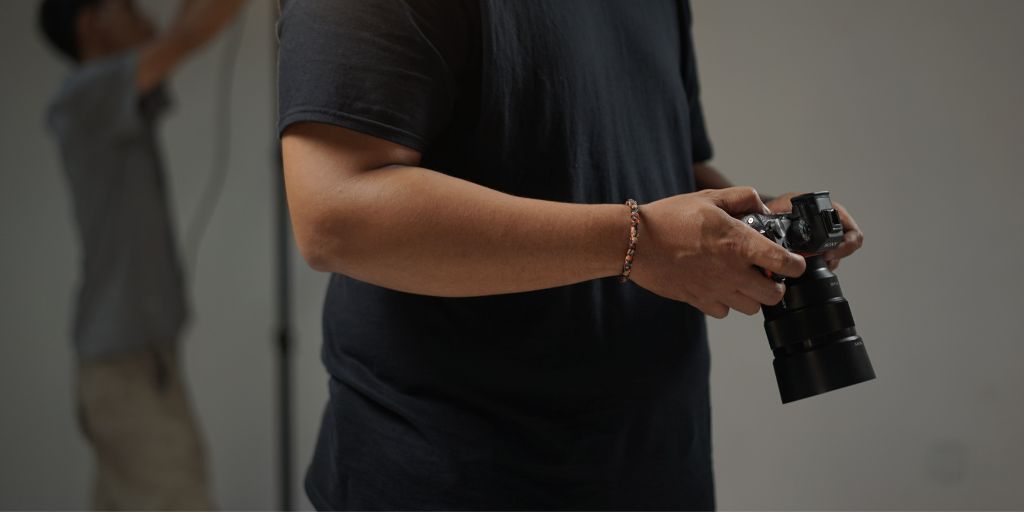
Camera
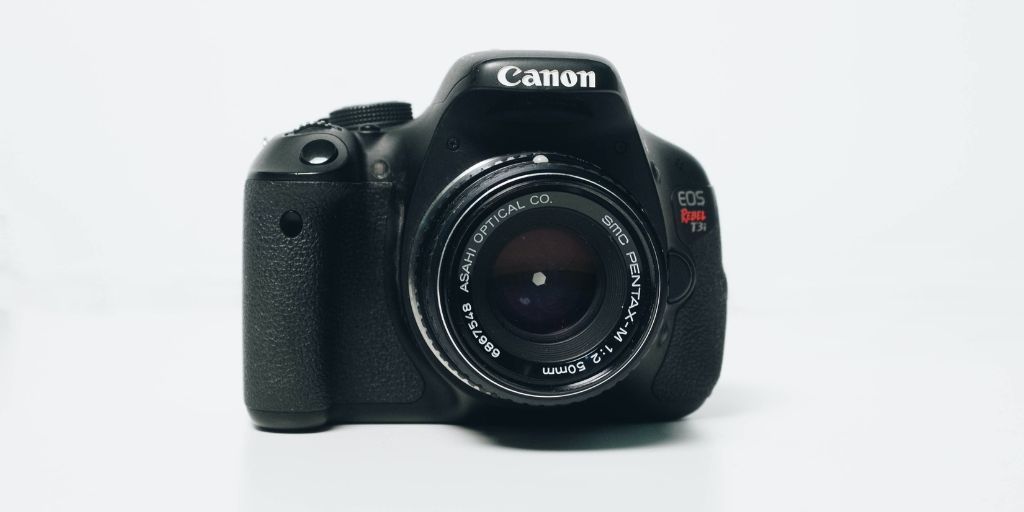
First things first, let’s talk about the star of the show – the camera. As a pro photographer, having a reliable camera is a must. And don’t worry, you don’t have to break the bank to get your hands on a good one. Here’s what you should look for:
- A high-resolution camera that can snap shots with at least 12 megapixels or more, so your images are crystal clear and zoomable.
- An Autofocus feature that’ll save you time from having to adjust the focus for each shot manually.
- A manual setting mode will give you control over ISO, shutter speed, aperture, and white balance.
- A camera that captures colors accurately, so your apparel pops!
- The ability to adapt to different lighting conditions, because who wants blurry photos because of low light?
If you’re in the market for a new camera, consider the Canon EOS 7D Mark II, Sony Alpha A7R III, or Canon 5D Mark IV – these are just a few examples of cameras that are great for professional clothing photography. Happy snapping!
Lens: A Key Element to Elevate Your Photography Game!
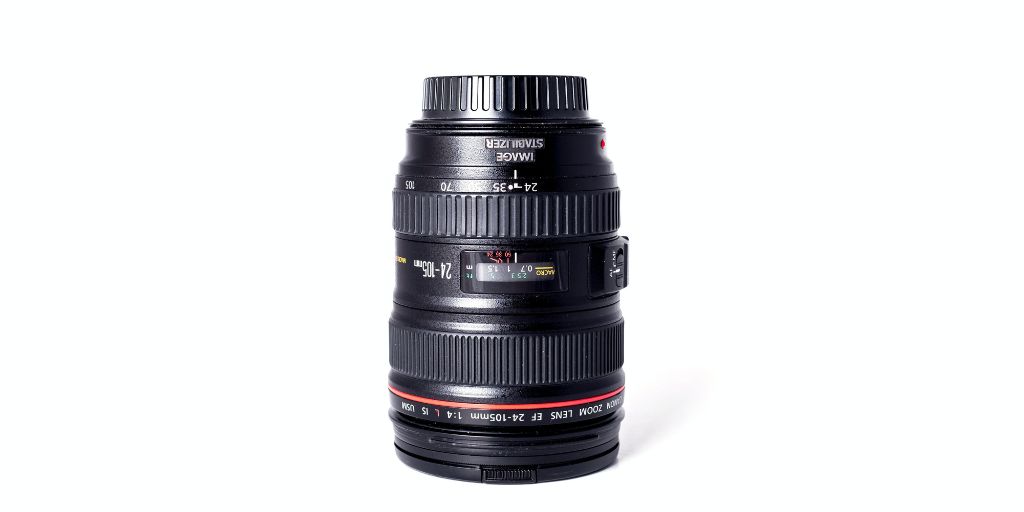
Are you ready to take your photography to the next level? Then, it’s time to invest in a high-end lens. With the right lens, you can turn ordinary shots into stunning works of art. There are two types of lenses that every photographer should know about: Zoom and Prime.
Zoom lenses are like having a magic wand – they let you change your focal length on the fly, making them perfect for capturing action shots or live models.
On the other hand, Prime lenses may only have one focal length, but what they lack in versatility, they make up for in image quality. These lenses are ideal for capturing still subjects in a studio setting, as you can easily switch between different angles.
Want some lens recommendations? We’ve got you covered! Check out the Canon 100mm f/2.8 L IS Macro and the Sigma 24-105mm F4.0 Art DG OS HSM lens. These lenses will make all the difference in your clothing photography!
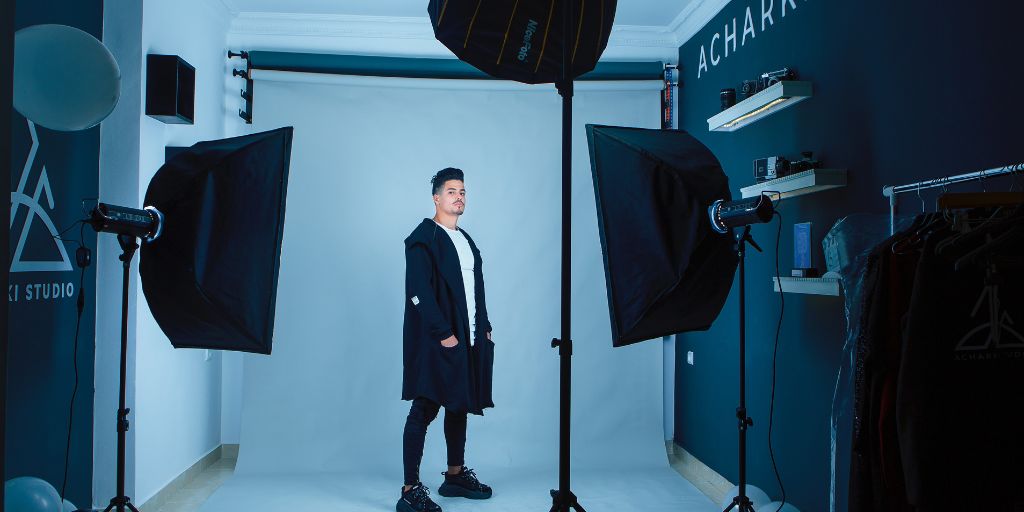
Lights
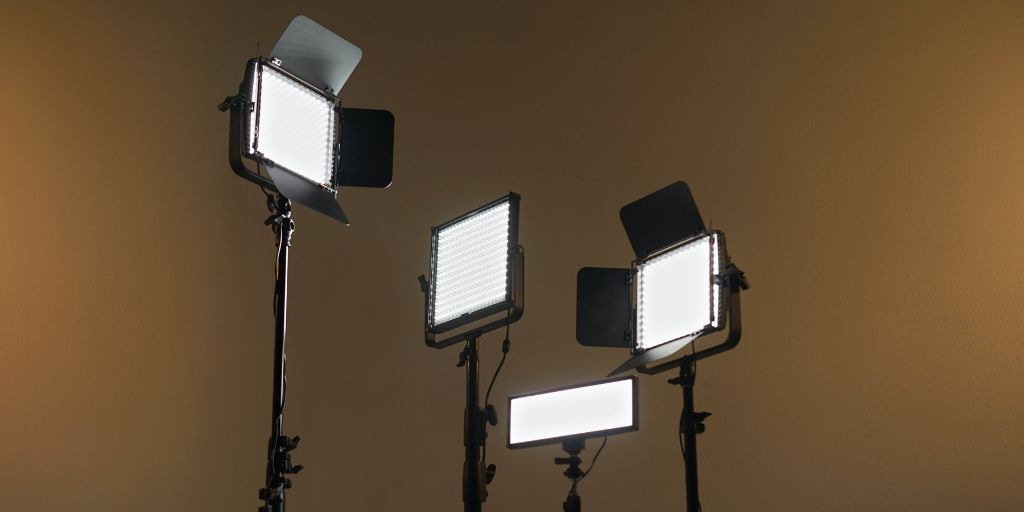
As an apparel photographer, you can’t always count on Mother Nature to provide the perfect lighting! But don’t worry, you don’t need to pack your bags and move to sunny California just yet. With a little artificial light magic, you can create stunning photos anywhere, anytime.
Think of it as a game of “lights, camera, action!” To get started, all you need are three lights: two sidekicks to illuminate your subject from either side, and a leading light placed above and slightly behind to add some depth and drama. With this setup, you’ll be able to capture eye-catching images every time.
A perfect light setup includes a light head, softbox, C-stand, battery pack, and a pocket wizard.
- The light head is the primary light source.
- Softbox diffuses light and equally distributes light over the subject for a clean shot.
- The C-stand holds the light heads and softbox around it.
- Pocket wizard sync camera and lights.
- Battery pack
Tripod
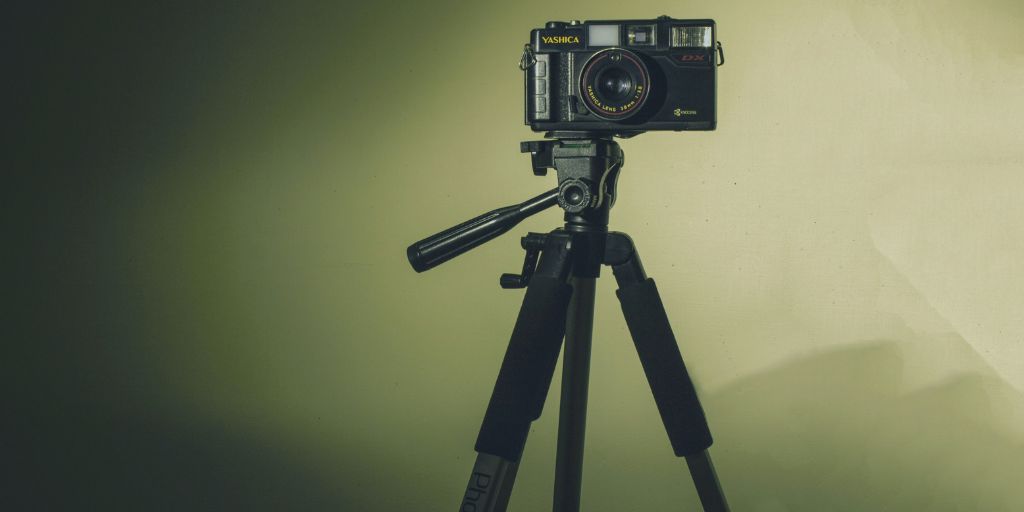
When it comes to clothing photography, consistency is key! You want your images to have a cohesive look and feel, and that’s where a trusty tripod comes in.
Think of it as your silent third wheel – always there to support you and keep your shots steady. With a good tripod, you can say goodbye to blurry images and hello to stunning, crystal-clear shots every time. So why settle for shaky shots when you can elevate your photography game with a trusty tripod by your side? Invest in one today and watch your images soar!
Backdrop
A white backdrop will be a clever buying decision for your background. Why?
- Most eCommerce prefer a white background for their products.
- The white background allows you to clearly define the product and make it easier to edit your product images.
- A white background also helps in capturing the colors of the garment accurately.
- In case you decide to have a different color, you can remove the background and replace it with your preferred shade. Removing background is important to make your product pages look more consistent, clean, and professional.
We recommend you buy a backdrop that includes a stand. A decent-sized backdrop length should be 10 x 20 feet so you can shoot a full mannequin in a single shot. It is also helpful for shooting long dresses and full-set garments such as cord sets.
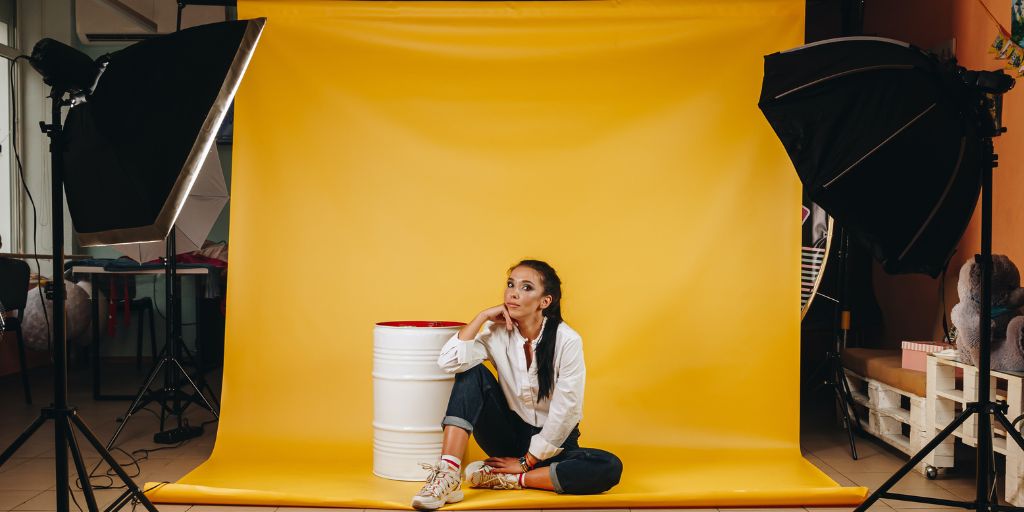
Reflector
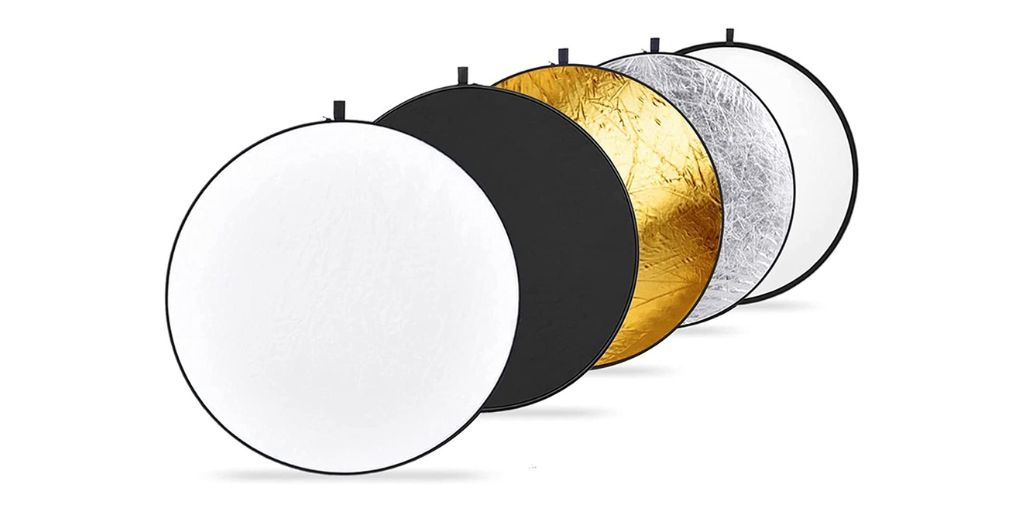
When it comes to lighting, there’s always a little bit of shadow lurking around the corner. But don’t let the dark side get you down! With reflectors, you can banish those shadows and bring brightness to even the darkest corners. Reflectors are great addon when it comes to clothing photography.
Think of reflectors as your secret weapon in the fight against the dark. Simply place one on the opposite side of your primary light source and watch as it transforms into a secondary light source, reflecting light and expanding the surface area of illumination. With reflectors in your arsenal, you’ll never have to fear the shadows again.
There are five types of reflectors, namely
- White – to reflect and soften the light
- Black – to block light
- Silver – to add high contrast
- Gold – to warm up the subject
- Translucent – diffuses the light and reduces the contrast
As mentioned above, each reflector has its use and utilization, while in clothing photography, you can use White Reflector.
There is also a cheaper alternative to reflector – White Foam Board. Like a reflector, white foam boards also bounce the light coming from the primary source and light up the darker side of the product. White foam boards are easily available in stationary and camera stores.
Image capturing software
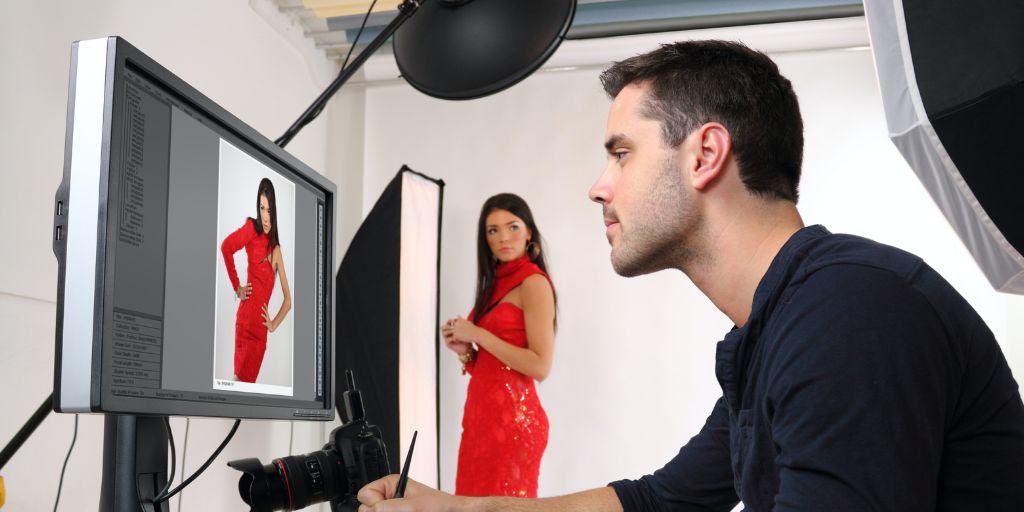
However, you can use the traditional method of transferring captured images to your laptop/computer using an SD card reader, but Image capturing softwares holds its own advantages.
- This software gives you the ease of shooting with your camera while tethered to your laptop or computer.
- The images you capture with your camera are directly uploaded to the designated folder.
- It reduces the transferring step and gives you live access to the photo shoot.
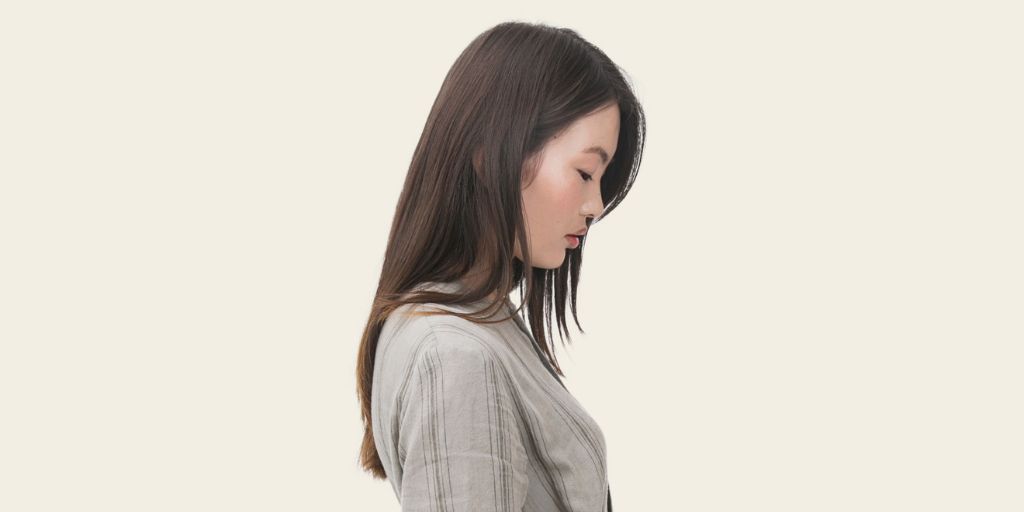
Model
Hire a model if your budget allows.
But why?
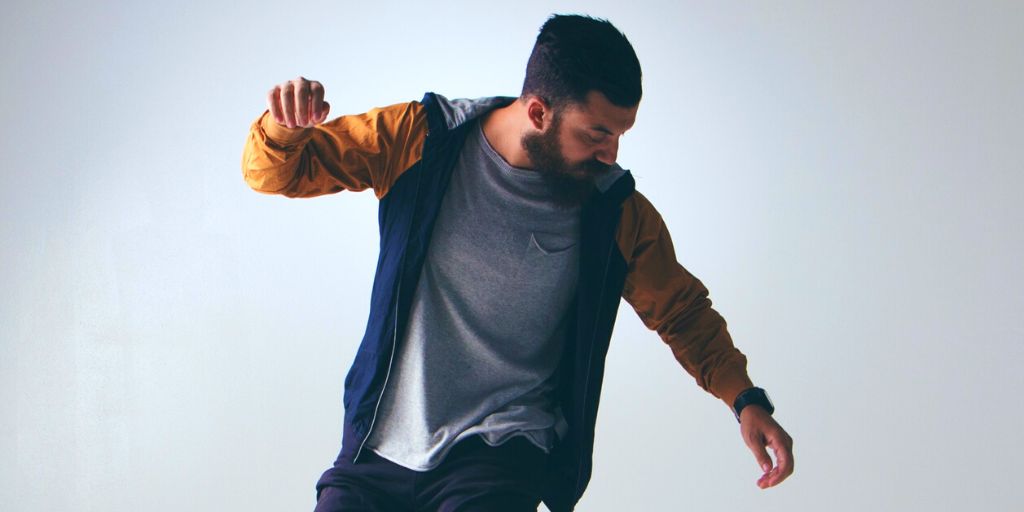
- A model can showcase your clothes in the best manner. Shooting with a professional model can entirely elevate the course of your clothing photography.
- They can show the details and different angles of the piece of clothing with different poses.
- The target customers feel more connected with the brand and clothes when they see someone wearing it. With this, they can imagine how the product will look on them.
Tip: Make sure that the model matches the overall style and look of the apparel. Take the example of Nike clothing. Being a sports brand, it always prefers models that reflect the demographics of its target audience.
Mannequin
What is the biggest disadvantage of hiring a model?
Correct!
They are expensive.
Mannequins are a feasible option for clothing photography because
- They are affordable and reusable.
- They give apparel a realistic human shape without making a hole in your pockets.
While clothing photography for e-Commerce, try to avoid mannequins with amputated arms. Clothing photoshoots with armless mannequins require a lot of time and skill in post-production to give the correct shape to those dangling sleeves.
Also, make sure you click pictures with mannequins standing straight if you are not planning to ghost mannequins in post-post-production. Imagine how weird the clothes will look while giving poses with no human in them.
Clothing Photography toolkit
Having a kit full of small yet essential knick-knacks is always helpful in clothing photography.
- If you are using mannequin clips, pins and cloth pegs are required to give the apparel a perfect and seamless fit.
- An iron is useful to make the apparel look crease and wrinkle-free. However, a steam iron is suggested for delicate fabric like silk, etc.
- Hangers to hang the apparel in hanging apparel photography or while using a steamer.
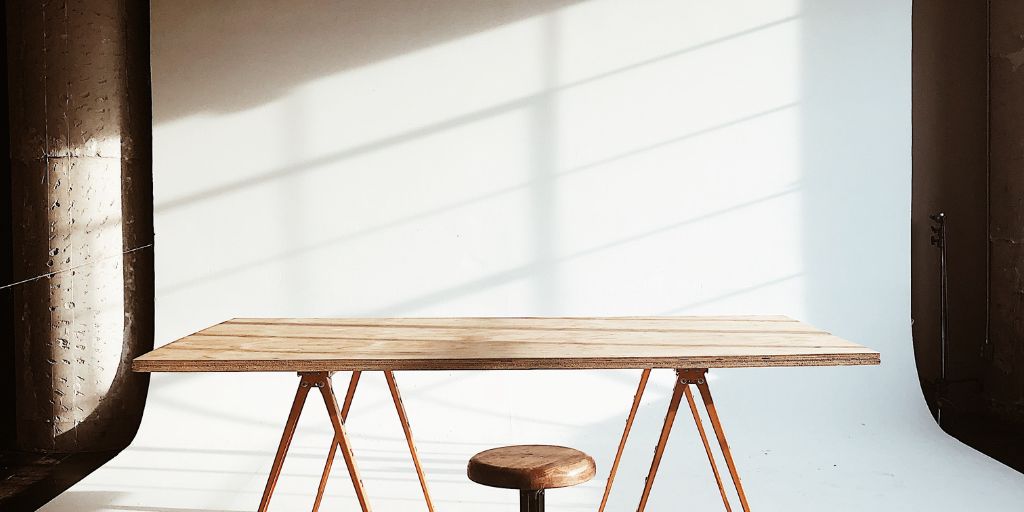
- A decent size table can be required for flat-lay photography.
- Tapes are necessary to keep apparel or sometimes backdrop in place
- Other items like extra pairs of batteries for cameras, bulbs for lights, etc.
10 Tips to master professional clothing photography
1. Check your calendar (date and time)

“Say Cheese! But before you snap that perfect shot, don’t forget to check your photography calendar! As a photographer, you never want to be stuck with a camera roll full of missed opportunities. So before you take on that next exciting assignment, make sure to manage your time like a pro.
Think about it, you don’t want to be that photographer who says yes to every request and ends up buried in a sea of photoshoots. Instead, plan ahead and schedule your photoshoots based on the type of project. Outdoor shoots, for example, require not only the perfect lighting but also a little extra time for travel and workflow.
So, to avoid the stress and ensure a successful photoshoot, always check your calendar first. Trust us, your clients (and your photos) will thank you!”
2. Choose the location as required
Shooting outdoors is an exciting adventure, but it also comes with its own set of challenges. To ensure a successful shoot, it’s important to choose the right location. So why not make it a fun day out and go on a location scouting mission! Get your cameras ready and hit the road to check out your options for the perfect clothing photography.
Once you arrive, take in all the sights and sounds and get a feel for the vibe. Look for the perfect spot that will make your photos come to life. Keep an eye out for peak times of public gatherings and plan accordingly. And while you’re at it, make a mental checklist of all the gear you’ll need to bring along.
If you find yourself facing any unexpected roadblocks, don’t fret. Use this opportunity to get creative and explore alternative options. After all, a change of location could lead to even better results! So embrace the unexpected and have fun with it. Happy shooting!
3. Check the lights
Lighting is everything in clothing photography, and it’s time to take control! The secret to stunning photos is all in the timing and preparation. By selecting the right time and location, you’ll be ready for any hiccups and breeze through your photoshoot with ease.
Let’s face it, outdoor shoots can be a bit of a wild card with so many variables out of your control. But have no fear, the studio is here! By shooting indoors, you’ll have everything at your fingertips to create the perfect lighting setup. Say goodbye to harsh shadows and color manipulation, and hello to white light and grey cards! These tools will ensure that the colors and tones of your clothing are captured just as they should be.
So, don’t let lighting be a source of stress during your photoshoot. Choose your timing wisely and embrace the control you have in the studio. Your garments will thank you for it!
4. Take some dummy shots
Let’s shake things up and get creative with some “test shots”! This is your chance to experiment and see what your camera is capable of. Take a few snaps to make sure all your settings and compositions are on point. Think of it as a warm-up before the main event. When you’re happy with how your test shots look, it’s time to start capturing some show-stopping photos.
5. Understand your client
First, there’s the client who hired you for clothing photography, who can either be a well-established brand or a new player in the game. If it’s an established brand, you’re in luck! You’ll have a clear idea of what they expect from you by looking at their past work. But, if your client is just starting, don’t worry! You can ask about their competition and what they want to achieve. By knowing who they want to outrank in sales, you can narrow down your focus and create images that truly stand out.
Second, there’s the audience for whom the pictures are being taken. Remember, clothing photography is a competitive field, so knowing your audience will help you stand out from the crowd. Take notes on what your client’s brand represents, and you’ll be well on your way to creating stunning images that connect with the target audience.
So, get ready to understand your client and create images that truly shine!
6. Choose the right shooting angles
When it comes to choosing the perfect shooting angles in clothing photography, the sky’s the limit! You’re free to get creative and experiment with different angles that catch your eye. But, if you’re looking for some tried and true tips, here are some classics to keep in mind:
Close-ups & Details – For those intimate moments, aim for a ¾ angle to really highlight the subject. Make sure to fill the frame with 85-100% of the product size for a bold statement.
So go ahead, have fun and play with different angles to capture your vision!
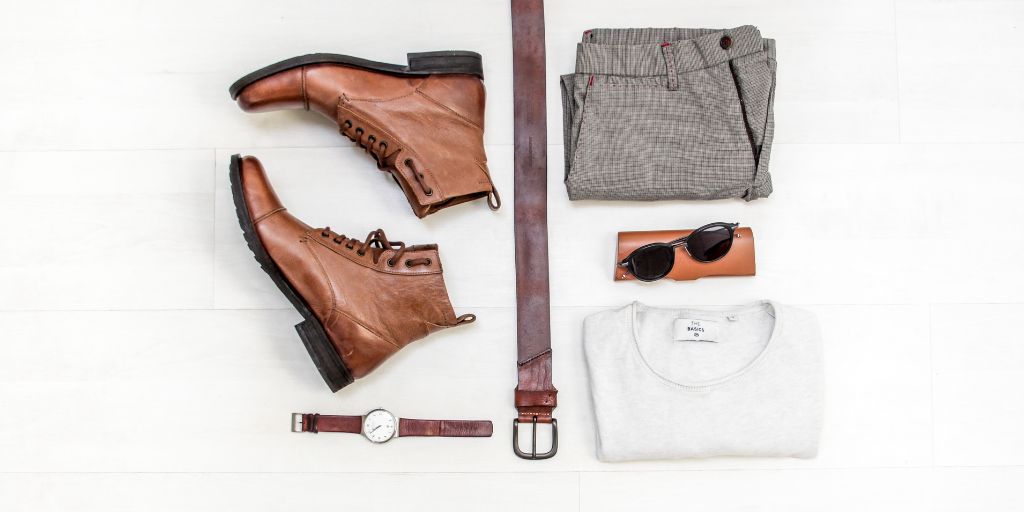
7. Go with props for social media
Step up your clothing photography game on social media with a dash of creativity! Adding visually appealing props can elevate your images and make them stand out from the crowd.
Think outside the box and try incorporating elements like statement belts, colorful scarves, stylish glasses, and more to add depth and a unique touch to your shots. Get creative and have fun!
8. Prefer Perfection
Chasing Perfection – The secret to nailing your photoshoot every time? Embrace the idea that there’s no such thing as a perfect shoot – but that doesn’t mean you can’t strive for excellence! Rather than relying on post-production magic to save the day, challenge yourself to capture the perfect shot in-camera. Trust us, your future self will thank you for not having to fix what you could have perfected in the first place. So, let’s make every click count and create memories that are as beautiful as they are timeless!
9. Take multiple shots
Get snap-happy! Maximize your photo shoot and build a stunning catalog by capturing multiple shots from every angle. A good rule of thumb in clothing photography is to aim for around 8 images per product page, but feel free to go all out if you wish – after all, sports brand Adidas has been known to showcase a whopping 28 photos per product!
Just remember to keep things fresh and exciting by showcasing a variety of images that highlight different colors, styles, and more. Don’t bore your customers with too many similar images – spice it up and let your product shine!
10. Value post-production

Get ready to take your clothing photography to the next level! The secret to stunning product images lies in the post-production phase. While capturing bulk photos can be a tedious task, outsourcing to the best eCommerce product image editing service is the key to a speedy process and professional results. Say goodbye to lackluster images and hello to breathtaking shots that will have your customers clicking ‘add to cart’ in no time. And the best part? You can get all of these expert product photo editing service for less than a dollar per image! So, why settle for average when you can have amazing?
Bonus read
Get ready to up your clothing photography game with these tips and tricks! Remember, the real magic lies in your skills, not just the equipment. So, focus on honing your skills with minimal resources and watch your work soar. And if you want to take it to the next level, be sure to check out the “8 Worst Mistakes You Must Avoid in apparel photography.“
But don’t stop there! Dive into “What Do You Need To Know To Make A Career In Photography?” for a comprehensive guide on turning your passion into a successful career and landing those dream clients. Trust us, with these tools in your arsenal, you’ll be a pro in no time and have a blast doing it!”