20 Photo Editing Mistakes and Tips You Must Learn Today

Believe it or not, photo editing has become one heck of a tool that we come across in our day-to-day life. Be it an eCommerce product photo editing, a studio photo editing, or even just a story on our beloved social media.
But while many of us are aware of the new age photo editing techniques, only a handful of people know about any of the photo editing mistakes that they may be part of.
And that’s going to change for you by the end of this article. Learning from your mistakes is good, but learning from someone else’s mistakes is great. Here in this article, we are going to discuss 20 photo editing mistakes that must learn to avoid.
In addition, get ready to learn some additional tips that can help improve your photo editing techniques. Sounds good? Well, it’s going to improve as we go through the article discussing what mistakes are must avoid and how you get the best image editing to collect all the sales and likes on the internet.
Without any further here are 20 Common Photo Editing Mistakes that you must not repeat.
20 Photo Editing Mistakes You Must Avoid
1. Improper Cropping
The first and one of the most common photo editing mistakes that we come across is improper cropping. Cropping itself is a great tool, but improper cropping can remove some of the important information from an image.
If an image is overcropped in portrait photo editing, the face can look oddly broad and unattractive. On the other hand, if the cropping is left undone or is not done correctly in product photo editing, it can distract the focus of a customer from the main product itself.
Pro tip: The first step here would be to learn about the exact aspect ratio of the cropping based on the platform it would be used on. If you are doing fashion photo editing for an eCommerce, learn about the aspect ratio they need. The same goes for studio photo editing and product image editing as well.
It will help you know what to include and what to crop out.
Next, ensure that you are using popular composition techniques to enhance the cropping. The most common ones are the rule of thirds, symmetry, golden ratio, leading lines, etc.
Here is a complete article for you to learn about the 24 best composition techniques that will help crop your image right.
2. Inaccurate Colors

Inaccurate coloring is another common photo editing mistake that couldn’t be left unnoticed. Today with the help of professional photo editing tools and image retouching software you can manipulate an image in any that way you want.
But in doing so, it is important to remember that the colors shall not come out as unreal.
Especially, if you are on to studio photo editing, product photo editing, and fashion photo editing, make sure that the colors are not manipulated unless specifically asked for.
Here, the most common examples of the following photo editing mistakes would be the images where the color of skin seems orange-ish. Unless you are going for an alien look on Halloween, you would just make the image look oddly distinctive.
The only tip here would be to keep the slider in control. Be it of the white balance, contrast, and saturation. Keep it till the point where the image seems perfectly balanced between the natural image and the edited image.
3. Losing Details
While we are discussing the photo editing mistakes regarding the colors, it is also important to remind you not to lose the details in any of the images that you are editing.
Moreover, if you are on-to product image editing, commercial photo editing, fashion photo editing, or the niche where the product is to be presented for commercial purposes, then make sure that details are clearly visible.
Also, don’t overexpose the details, as it can make the image look unprofessional and make it look unlikable. Too much of anything could result in efforts for nothing, hence keeping the bars balanced and the best image editing experience.
4. Over Sharpening

There is no denying that we all have fallen for this mistake while we were newbies. Sharpening is a great tool to make the image pop out and capture the attention of the audience.
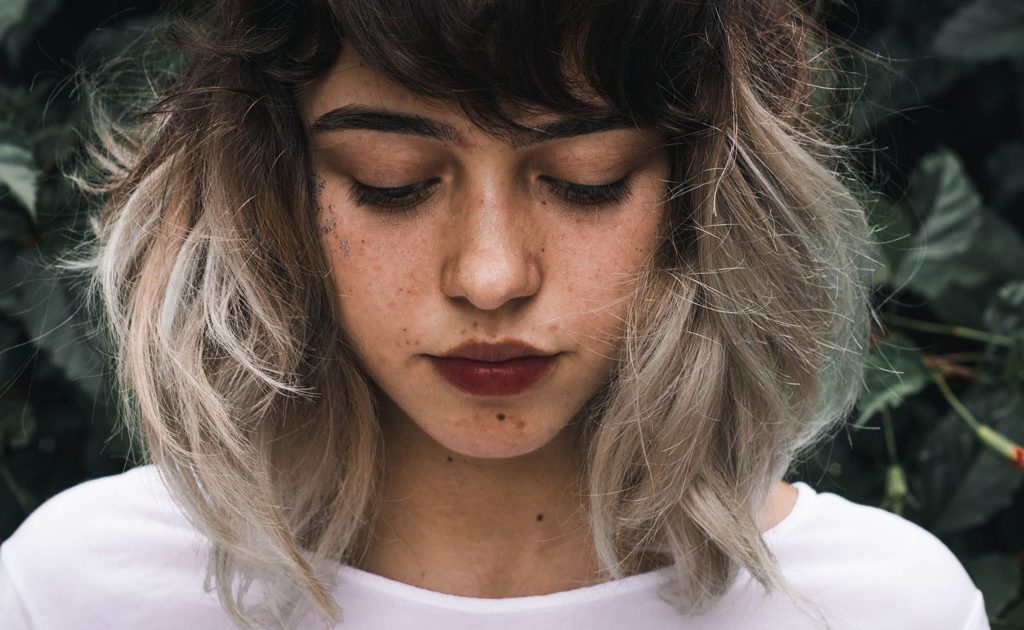
Overdo it and it becomes the most common photo editing mistakes on the internet that we all have come across or did ourselves. Especially in portrait photo editing, where you need to enhance the face, make the eyes attractive to capture the attention of the audience, sharpening can really be important, but a tricky tool.
But here’s one Pro tip for you. After adjusting the sharpening according to your will, reduce it by around 10%. Less is good here. Now move a step away from your image and check if it looks like an alien or not. If not, then you, my friend have mastered the art of sharpening the image.
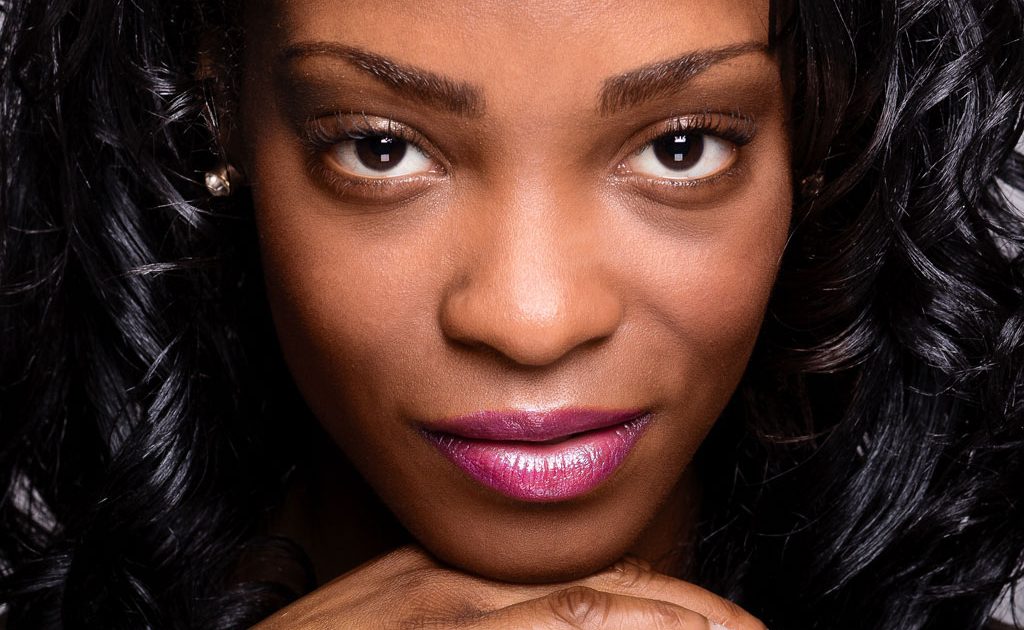
5. Making the Skin Plastic/too airbrushed

It is often seen that while working with the softening tool or stumping tool, the editors often lose the natural texture of the skin. Doing so, the skin starts looking smooth as plastic, and to be honest, it can’t be left unnoticed.
This is often among the common photo editing mistakes that lots of beginners might make, but for you, it is crucial to remember that you do not overly smooth out the skin.
Especially while you are up for fashion photo editing, ensure that the skin of the model seems real and believable. Moreover, if the subject is blush or has contouring makeup, you shall use the healing brush tools to keep the colors true to where they were.
6. False Contrast

Contrast is a tool that can bring definition to your image and make it look highly professional and attractive. But if you do it wrong, it can turn out to be among the most obvious photo editing mistakes that one may come across.
When you increase the contrast, you are increasing the darkness of the image. By doing so, you are also hiding away your details. Moreover, if you overdo it, rather than bring the definition, the image would lose all the details and you will be left with nothing more than a flat image.
Moreover, you may also remember that once the details are gone, they can’t be regained, which surely is among the most critical photo editing mistakes that can’t be undone.
7. Improper Colour Tonality
You need to remember that some color doesn’t go well with one another. And hence there is no need to put them together. These types of photo editing mistakes pop out when you edit the shadows and the highlights separately.
Here you need to make sure that if you are going for different tonality of an image you are using complementing colors.
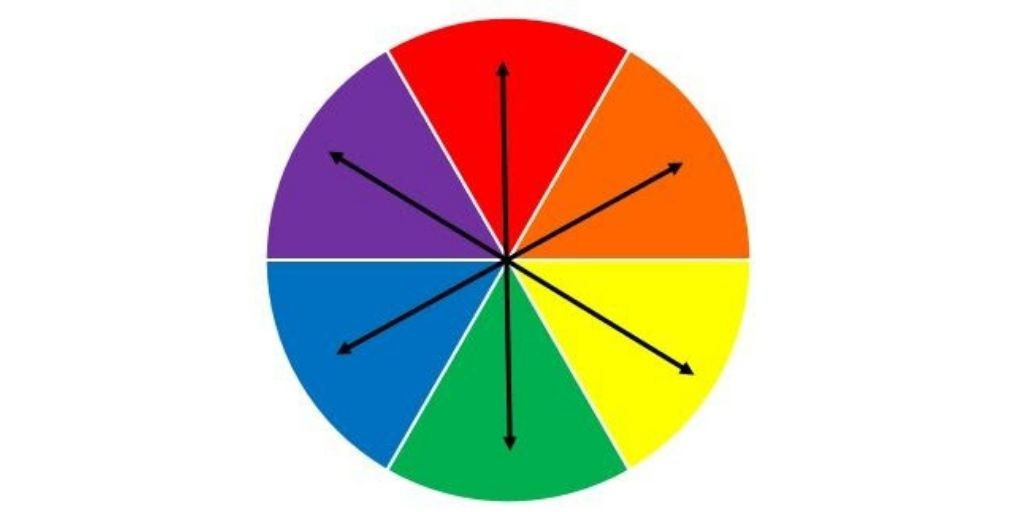
To start with, you can stick the opposite colors in the color wheel and you can expect a great result.
8. Too much HDR
HDR is a tool that enhances the highlight and shadows to a dynamic level. It darkens the shadows and improves the colors highlighted. But as we discussed in the sharpening, too much can turn the editing into common photo editing mistakes that can’t be undone if saved.
If your HDR increases a certain level, the highlight starts turning white and the shadows become darker. This flushes out the details and hence making the image too much of nothing.
Avoid such photo editing mistakes, by ensuring that everything fits in well and give you a result that is easy to accept by human eyes with all details intake.
10. Patterning while Cloning

Cloning is a multi-functional tool that can be used to copy certain portions of the image and paste it onto another seamlessly. But in doing so editors often fall for some of the common photo editing mistakes that are easily noticeable.
The most common is patterning while cloning. In it rather than using a different portion of an image to clone, one might use only one portion. It becomes easily noticeable as the core purpose is to make sure it looks seamless and natural.
Cloning is used in ghost mannequin photo editing to add the portion of the clothes that got hidden due to the mannequin. Here, it is important to ensure that the parts of the image are aligned and integrated seamlessly.
11. No Negative Space
Be it for eCommerce product photo editing, studio photo editing, fashion photo editing, or anything else. You must leave plenty of negative space around the product.
Moreover, if your subject is moving, leave negative space in the direction of the approach. If your subject is looking or painting somewhere leave a negative space towards the gaze.
Lastly, if you are on the product photo editing, leave a proper enough negative space around the product. The standard space for you to start with would be 7.5%, but it can vary according to your or your client’s requirement.
It is also the most common photo editing mistakes. Leaving this space around the product or the subject allows the audience to know more about the product and gives more detail on the subject. It also tells them that no information is cropped out and what they are looking for is complete from up to the bottom.
12. Selective Colouring
Just don’t do it. Selective coloring is a part of the past and is among the photo editing mistakes that repeal the audience.
If you are unaware, selective coloring is a photo editing technique where the whole image is turned into black and white, instead of a selective color that pops out.
Only one thing, don’t use it and as you would not like to be part of the fallen trend.
13. Obvious Vignettes

The vignettes are good. They bring a sense of atmosphere around the frame. Moreover, a bit of darkening around the corners would help you highlight the focus.
Do it more and it would make the image like a tunnel with your subject in the center. The only advice here would limit it to a point where it can’t be noticed a bit, and yet does its job of bringing in the future.
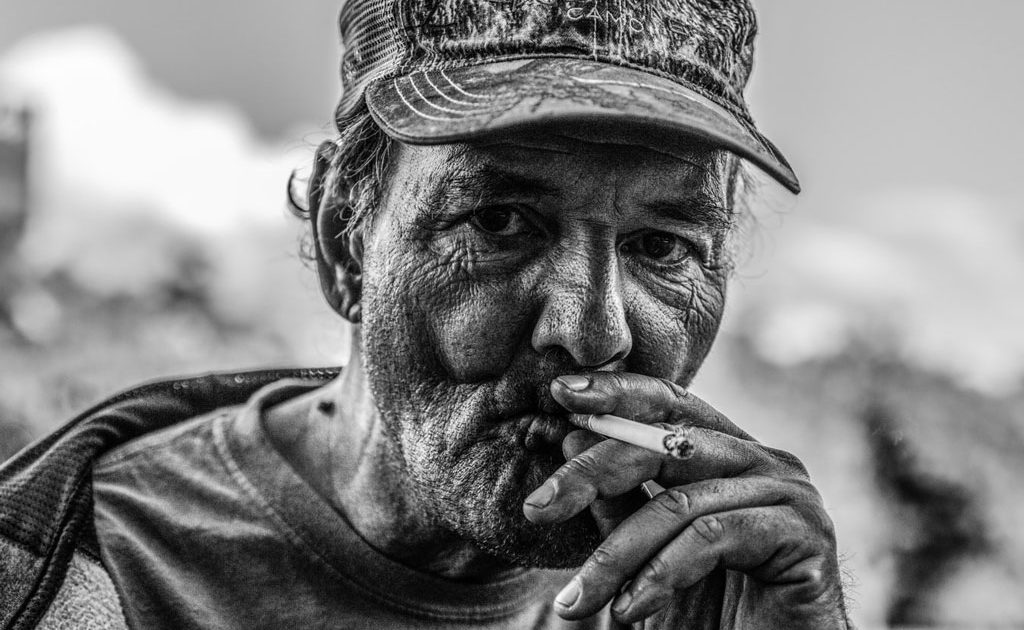
14. Graininess
While you might be thrilled to increase the exposure of your underexposed image, you must know about one of the common photo editing mistakes that you may become a part of.
Even though professional photo editing software is capable of manipulating the image, increasing the exposure could bring graininess to your photos.
Not only will it boil down the quality of your image but would also make it highly unprofessional.
15. Unedited Preset

Presets are like the settings that can be copied and applied to every single image with just one click. But here’s the issue with it.
Not every image is the same, factors change, every object treats light and background in a different manner, hence having a common unedited preset would not work the same for all.
Here, you need to ensure that every single setting is adjusted separately for each and every image to make the most out of the preset. Avoid these common photo editing mistakes that can ruin your photos and make you get the best photo editing experience for yourself.
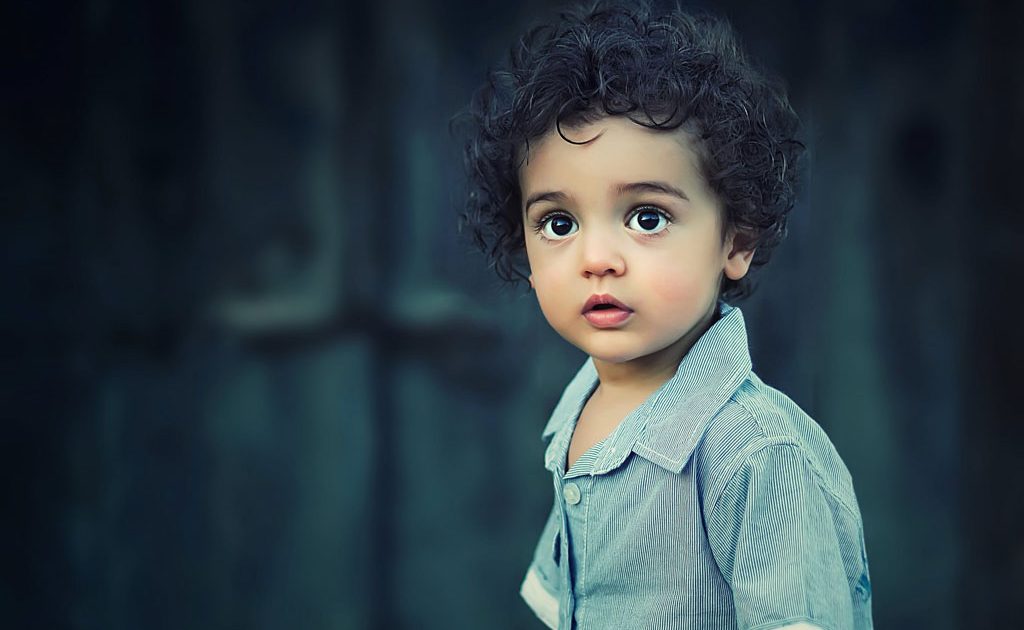
16. Sparkling eyes

While you might like your subject’s eyes to stand out in an image, they must not sparkle like otherworldly creatures (unless you are going for that particular theme). It is among the photo editing mistakes that grab the attention and builds questions around your editing skills.
We are most likely to come across such demand in-studio photo editing, fashion photo editing, and portrait photo editing.
Avoid these photo editing mistakes, Here, you can use white balance to ensure that the details are crisp and clear. Next with the help of the dodge tool burn the edges of the iris with about 50% opacity. This would reduce any chance of over-edited eyes and make the eyes look stand out appropriately.
17. White Teeth

Just like the sparkling eyes, too much white on the teeth is kind of creepy and is among the photo editing mistakes that call out for attention. Here you need to ensure that the teeth look natural and don’t catch the unwanted attention of the viewer.
We suggest you edit the teeth on the different layers and reduce the opacity to a point where teeth are not too white not too bright.
18. Uncalibrated Screen
Let us assure you that we are not here to suggest you purchase a high-definition monitor to avoid photo editing mistakes. If you can do well and good, it would surely help you. If you can’t you can just get a high-definition screen and add it to your current build.
You need to make sure that the colors that you are watching on your screen are real and would look the same on all the screens.
A bit extended process would be to share an image on different devices and have look at it to ensure the right colors are being used to edit. This would work if you have a few images but for more than that, you would need to make sure that the screen is calibrated correctly.
19. Editing on Original Image
There are a few unsaid rules that one must remember. Often during the early stages, editors are unaware of the photo editing mistakes that they are going to do and they start editing on the original image that they captured or received.
Surely, this might strike right away but you may also remember that mistakes can happen and in case you made one on the original image, you might not even get a chance to correct it.
Hence make it a part of your process to work on a duplicate image and ensure that you have the original images safe.
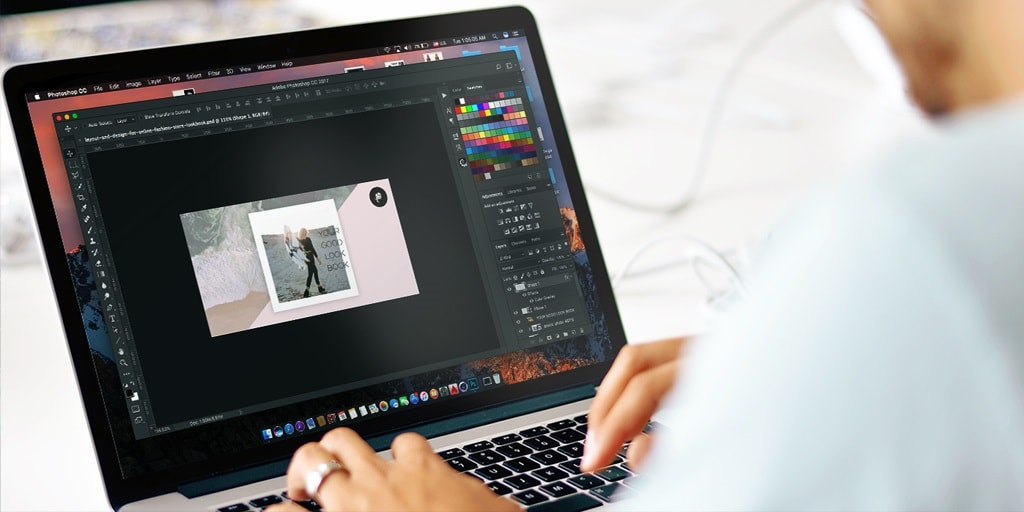
20. Unfamiliar Editing Program

Let us be very clear that we aren’t demotivating you to learn software, rather we are suggesting you learn it thoroughly to get the best result and avoid any photo editing mistakes that we discussed above.
To start with, we suggest you start learning the use of layers, mask, pen tool, cropping, and magic wand. The basic knowledge and skill of using these tools would allow you to explore and improve your professional photo editing techniques.
Key takeaway
And with this, we can conclude our list of 20 photo editing mistakes, as well as the tips you, must learn. In addition, we would like to remind you of one common practice to edit your images. That is making sure that you do not overdo or even underdo any of the editing. We hope these 20 Photo editng mistakes guides are very helpful for you.
What you need is to make sure that there is the right balance between the original image and the edited image. By doing so you can assure yourself to become an editor yourself.
Now, if you are running an eCommerce or a photographer looking to get your product image edited online, PixelPhant can turn out to be the perfect solution for you. PixelPhant is the product image editing done for you in 24 hours that is helping eCommerce and photographers with their editing needs.
If you wish to learn more and experience service yourselves, click on the “Get Started” button below and get your free trial now.