Product Photography Rule For Amazon And eBay You Must Follow

Every photo recites a story but would you say your product photo is telling your customers the correct story? Let’s see if you’re following the product photography rule or not.
Product Photography is a specific method to exhibit the goods and products in an alluring way that tempts purchasers to purchase the product.
Generally speaking, Product Photography is done to aspire your customers as the product picture is the first impression of your product. Your picture should be optimistic and make a longing in the client to claim the item. Photographs are the principal things that clients watch while searching for online stores. The dependability of a brand is estimated by its visual style.
90% of data transmitted to our cerebral is visual and 93% of the customer considered photographs as fundamental in buying choices. Product Photography is a key element of marketing. Images are the first thing that will catch the eye of the viewer, impart trust, and welcome the Viewers to investigate your online store.
You will probably frame long-term Association with clients and product photography stands out among the most critical instruments to accomplish that. In this blog, we are discussing product photography guidelines for Amazon and eBay.
Here are the guidelines you need to follow to upload your product images on trending eCommerce platforms. follow these product photography rule for eCommerce Marketplace.
Technical Specifications of Amazon and eBay
Amazon

In order to upload product images over Amazon, one needs to follow certain technical specifications. You can follow these Amazon Product photo-editing specifications right here:
- Format: TIFF (.tif/.tiff), JPEG (.jpeg/.jpg), GIF (.gif) and PNG (.png) only are supported
- Pixel dimensions for the image must be 1000 or greater in either height or width preferred
- RGB or CMYK color mode
- The name of the image file must include product identifier entity (Amazon ASIN, 13-digit ISBN, EAN, JAN, or UPC) with addition to the period (.) and the appropriate file extension (Example: B0012345.jpg or 023743485.tif)
Note: Adding blank spaces, dashes or any other additional characters in the filename can hinder your image from going online.
eBay
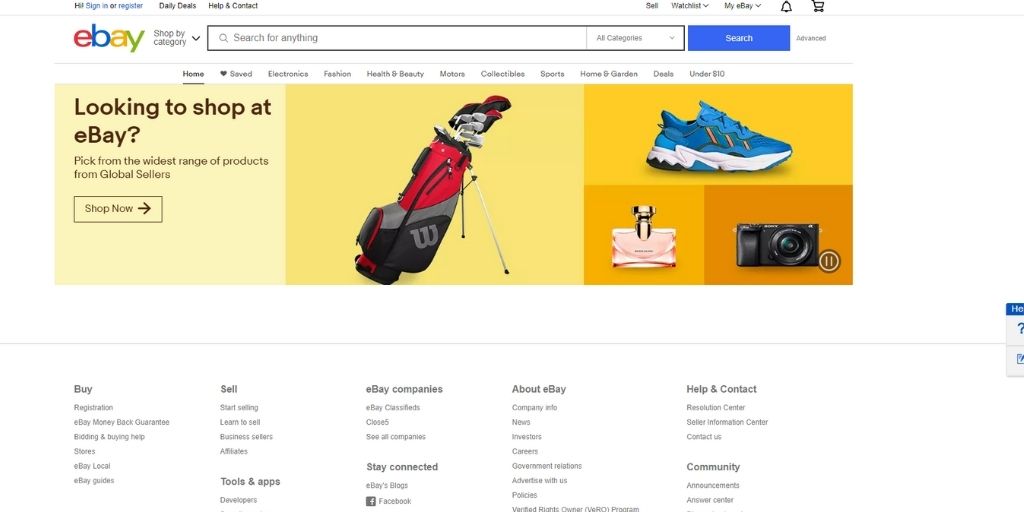
Adding photos on could be a little trickier. Have a look at these technicalities before uploading your product images. The eBay product photo editing is slightly different:
- The minimum image dimension is 500×500 pixels and the maximum image dimensions are 9000×9000 pixels (height and width), respectively.
- To ensure the best zoom-in functionality, it is advised to size your images between 800-1600 pixels on the longest side.
- Image size must not exceed 12 MB.
- Format: JPEG, PNG, TIFF, BMP, GIF
- Maximum number of images for each product:12 for non-motors products and 24 for motors products
Note: eBay is required to show the realist product in the images in terms of color, size, or the number of items in the bundle or multi-pack).
Now you have found out the technical specifications to upload your product photographs on these portals, here is how you can make them more appealing to viewers’ eyes. We will go over how to advance the photograph creation procedure for product photography to spare you time and cash.
Best Product photography rule for Amazon and eBay
Good Quality Camera
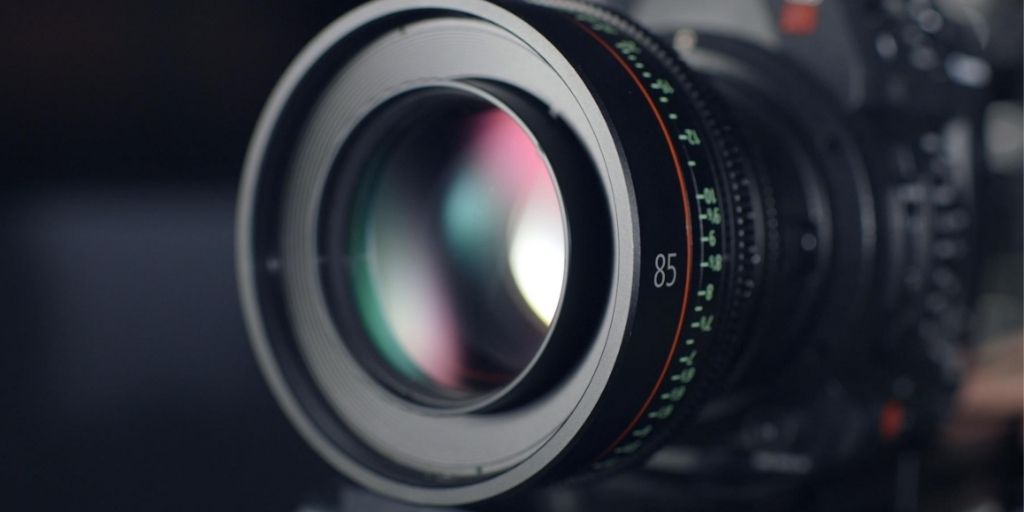
So the first and foremost requirement for carrying out Product Photography and following photography rules would be a camera. It is not necessary to use a high-end or expensive camera to get a good quality picture, you may also use a mid-range camera or a simple point-and-shoot camera. Plus, you can do pretty good product photography with your cell phone itself as Smartphone camera Technology has improved a lot and is delivering professional results.
Along with it if you are using a professional camera or DSLR you must be first aware of its operation and how to use it in different lighting conditions. Make sure the camera you are using has a good pixel quality and can shoot any subject without any distortion or chromatic aberration, giving you the finest details of your product. As your product photo should be crispy and clear to the viewer’s eye.
Use a sturdy tripod
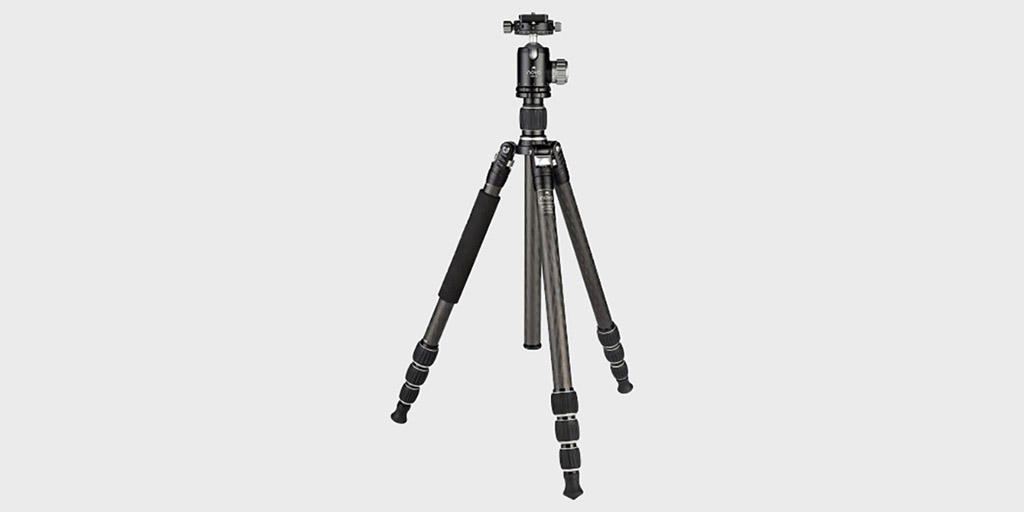
Another photography rule is using a tripod. Tripod is a must for still life photography. It doesn’t only reduce camera shake but it also helps you to take sharp and clear images of your product. A lot of you will prefer to shoot your product indoors and indoor photography requires excellent lighting conditions, if there is no good source of light, there are higher chances that you will face the problem of Blurry or shaky images.
One of the simplest ways to diminish camera shake is to swear by this photography rule. Use a sturdy tripod while doing product photography. It does not only reduce shaking but also improves the quality of the product’s image. So from the above points mentioned I hope you got to know the importance of a tripod in product photography.
Background
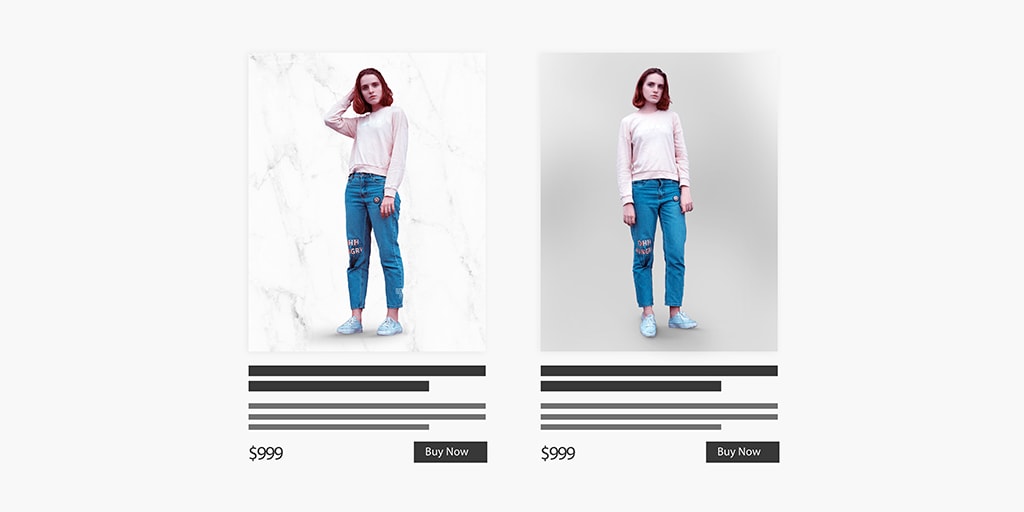
Taking background into consideration is a must-follow photography rule in all kinds of photography. Choosing a background is simple and easy. I will recommend you to use a white color background against your product. this will help in highlighting the product and also contribute to creating a contrast between product and background and consequently, this attracts the viewer’s eye as there will be no distraction due to the background and this will also make your product look more appealing due to the contrast of your product’s image.
Adding to it, most of the online seller websites such as Amazon and eBay only accept photos with a white background against its product. thus, following this photography rule becomes the only choice. It is not a big deal to produce a white background. You may use a white piece of cloth as a background. Don’t worry if it’s not pure white or has some dull spots over it, you can remove those spots during photo editing or even you may get it done by an online photo editing website specialized in editing product photographs.
Also, Read – Perfect Background for Product Photography
Provide good lighting condition
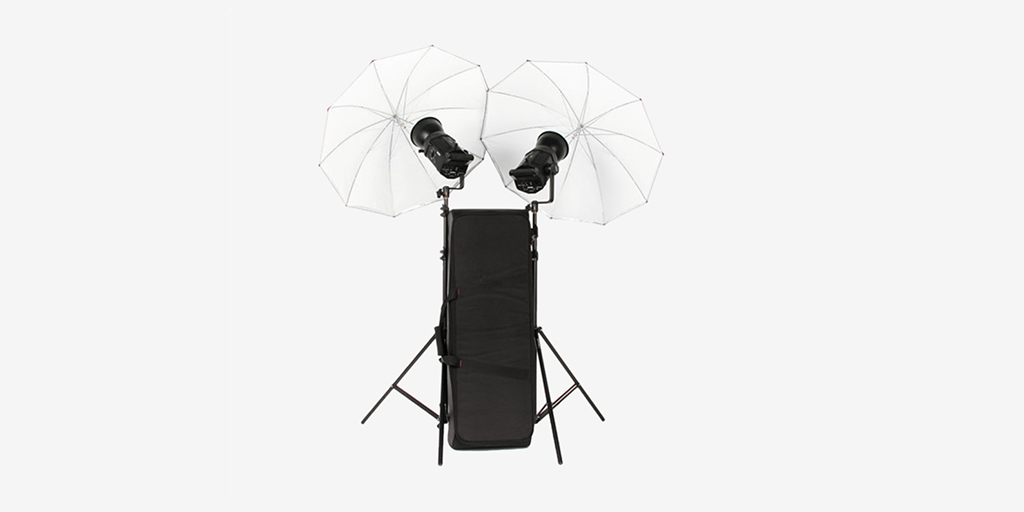
You can’t imagine photography without light. Indeed photography is defined as capturing light. In the context of photography, there are two sources of light. The first type is the natural source and the second type is artificial light. Natural sources of light include natural light obtained from the sun and artificial light is studio light or the use of flashlights or LEDs as a source of artificial light. I will highly recommend you use studio lights as it will make your work much easier and faster relative to natural light as you can throw lights as per your choice and can place your object as you wish.
While using natural light you won’t get many options to do it by your own choice. Cover your artificial light source with white paper or white cloth in order to achieve the softness in your product’s picture that would make it buttery smooth and make it look appealing to your audience’s eye. Studio light also may create some harsh shadows of your object which will spoil the beauty of your image, though it is possible to remove those harsh shadows during the image editing process.
Now talking about the natural light source, don’t perform product photography outdoors due to harsh sunlight as harsh light will spoil the exposure of your image and also add an unnecessary highlight in some parts of your images, This would result in a bad photo. You can make good use of natural light by shooting your subject by exposing it to nearby windows light. This will produce a good amount of shadows and make your image look better compared to the outdoor image.q
Composition
This is an amazing and very useful product photography rule. The composition is the key to obtaining a good photograph. Without proper composition, you cannot achieve good results. The good composition draws the viewer’s attention. So to explain this product photography rule in a simpler way, the composition is how you place your subject for the background, making a story out of the straightforward scene.
There are some golden rules for the composition of product photography. Let us break them into parts and understand each one of them.
I – The rule of thirds
Now the rule of thirds is pretty well known and it applies to most forms of visual art. The rule for this product photography rule is generally about two things
i) – If you divide a scene into a grid into three vertical areas and three horizontal areas and create intersection points between them. This point becomes a good place to place your subject in your image.
ii)- This is supposed to discourage you from placing your horizon in the middle of the scene, which would help in better composition.
You can apply this same product photography rule to any taller vehicle product in your scene by placing your subject in one of the horizontal lines.
II – Rule of odds.
This simple yet effective composition method was made to achieve some astonishing results. So the rules are to place the odd number of objects in your frame rather than an even number of products.
III. Angles of your product.
This is the most important aspect to look upon while composing the image for product photography and following this photography rule. Always try to shoot your product from different angles. Make sure the angle you choose highlights the name and logo of your brand and also captures the main part or special part of your product’s design.
IV- Aerial view
Aerial type of photography is the best kind of composition technique that will make your product look the best. Using this composition form in product photography will surely get you the best output of your product’s image. Shooting with the aerial technique means shooting your product from the top angle.
So these were some rules and composition techniques best suited for product photography. You may also shoot multiple images of different products and merge them later while photo editing you may even get your photos staked or manipulated at some best online photo editing sites out there.
So now we are done with the camera part. Now it comes to photo editing. Photo editing is the most necessary part of product photography yet the most difficult one. I hope the below-mentioned tips will help you out in carrying out photo editing.
Photo Editing
Photo editing can be confusing to some and following the product photo editing rules can be even more confusing. Though, it can also be simple for some. During photo editing make sure you don’t over-edit them. Always maintain the exposure level in a balanced condition. Don’t make your product look too bright or too dark.
Now, talking about the background photography rule, I feel it’s too necessary to make your background pure white for the betterment of your picture. Replacing a dull white background is not an easy task as it requires perfect cutting of the object and the editor has to also preserve the edges of the product. So you may get this task done on online Image editing websites that have some of the best services for background removal replacement.
Color correction.
Most of the camera fails to produce the colors the way they are visible to our eyes. Therefore, making use of this product photography rule is a must. So this adds another task of color correction of the image. Color correcting images might be easy but it’s a confusing task, you need to take care that you don’t oversaturate them or change the original color.
Short Message for you!
So these were some basic and easy step-by-step product photography rule tips for performing product photography, particularly for online seller websites like Amazon and eBay. With this, you will be able to increase your online sales drastically, with such little effort in no time. We hope this product photography rule/ guideline improves your eCommerce business. We highly recommended reading this article How Photo Retouching Can Give A Boost To Your E-Commerce Business.
If you wish to learn more about eCommerce, product photography, Product image retouching, and how to grow online, subscribe to the PixelPhant email newsletter below.