9 Best Tips To Perform Glass Photography | PixelPhant
Glass photography is a nightmare for every photographer. It’s tricky enough to photograph reflective surfaces, and, once you add transparency to it – You’re pretty messed up.
But, It’s easier than you think. If done correctly, glass product photography looks most aesthetically appealing and can add an edge to your skills.
In this article, I’ll be sharing with you the 9 best tips to perform glass photography that’ll change the way you handle glass products in a shoot.
9 Best Tips To Perform Glass Photography
1. Clean your glass product
The very first thing you’ll want to make sure of is that your glass is clean and smudge-free. It’s common to have scratches and fingerprints on your glass product while photography.
Thus, it needs utter care and handling when working with glass products. You don’t want your glass to look dirty and unprofessional in your product photos.
Here’s what you can do to avoid scratches and smudges:
- Keep your glass wrapped in soft and fluffy cotton or muslin cloth when not using
- Hold the glass from the bottom edges instead of holding it from the top or center
- Use a muslin cloth and glass cleaner to clean it whenever required
2. Put the light behind the glass
When you photograph glass from the front using a flash or lighting equipment, it can leave an ugly reflection at the front of your glass photo. On the other hand, when you put that same light behind the glass, that reflection is contained at the back while your glass is illuminated equally.
You can put a white foam board or a reflector to bounce back the light. Also, putting the light right behind the glass gives it defined edges that separate it from the rest of the background.
3. Placement: Use two identical glass subjects

The placement of the glasses plays a huge role in glass photography. Placement of the glasses is easy especially if you’re working with drinking glasses like wine glasses.
Turn the wine or tall glass upside down to create a platform. Mount another similar glass on top of that (the actual subject).
This gives you a more elevated look and your glass has a by default clear reflection at the bottom. It looks beautiful and you feel proud in the end.
4. Surround your glass with black foam boards
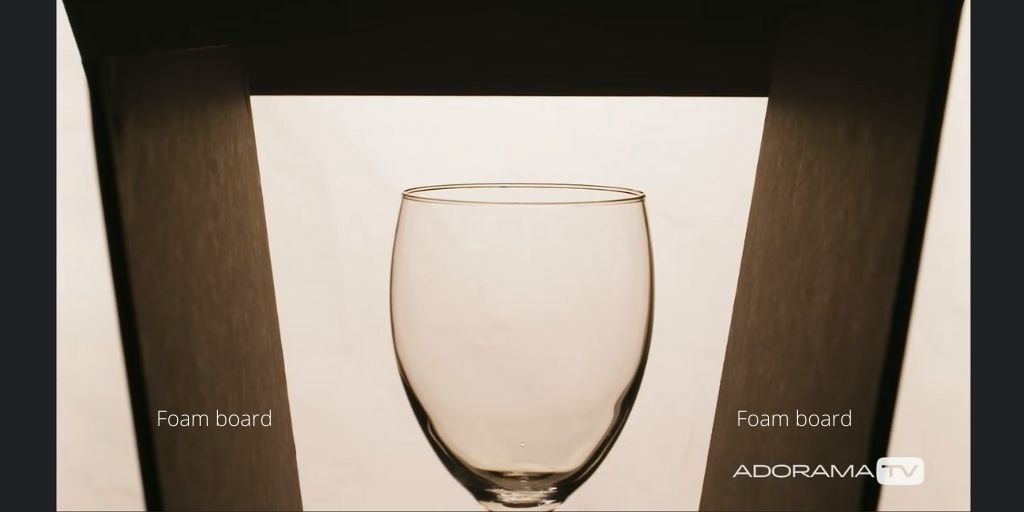
If you see the light scattering from your glass and you’re struggling to get those detailed curves, then surround your glass with black foam boards or paper.
Place your glass subject in the center. At the left and the right sides, place the black foamboards and turn on the light from behind.
These black foam boards will help you contain the light in the defined area and you’ll be able to see a beautiful black rim around your glass. This rim will give detail to the edges and make your glass look cleaner and more reflective.
5. Use a black background

Another great trick to add some action and edge to your glass photography is to use a black background. The black background compliments the transparent and reflective surface of the glass product.
It enhances the look of the images while ensuring that there is an even distribution of light around the glass. You can always get more creative and use other dark or bold colors like dark-blue, maroon, bright orange, or red for the background of your glass photography.
6. Use a long focal length
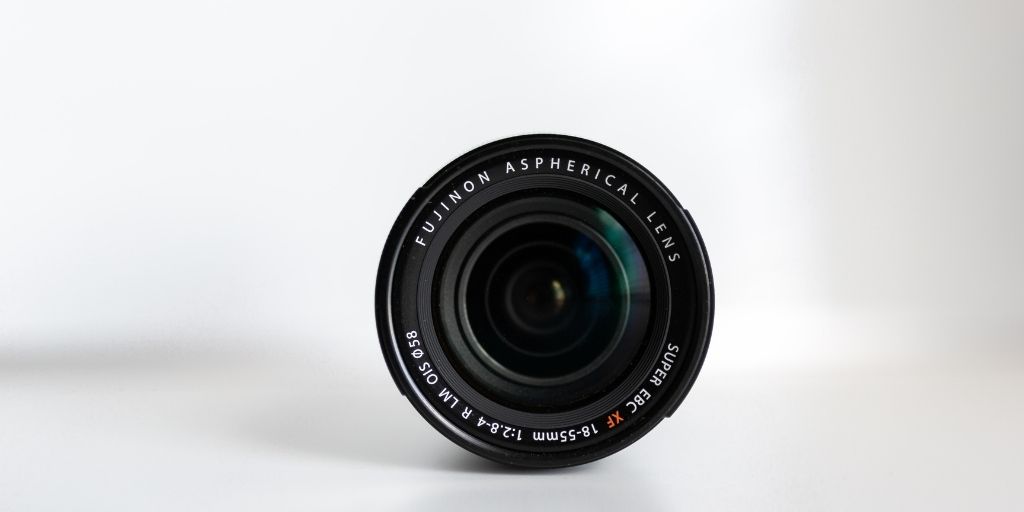
Using a long focal length gives you two major advantages. First, it allows you to be at a distance from the glass which eliminates the risk of getting your own reflection.
Second, it allows you to use smaller backgrounds since the focal length compresses the space area and this makes the camera see less space around the subject.
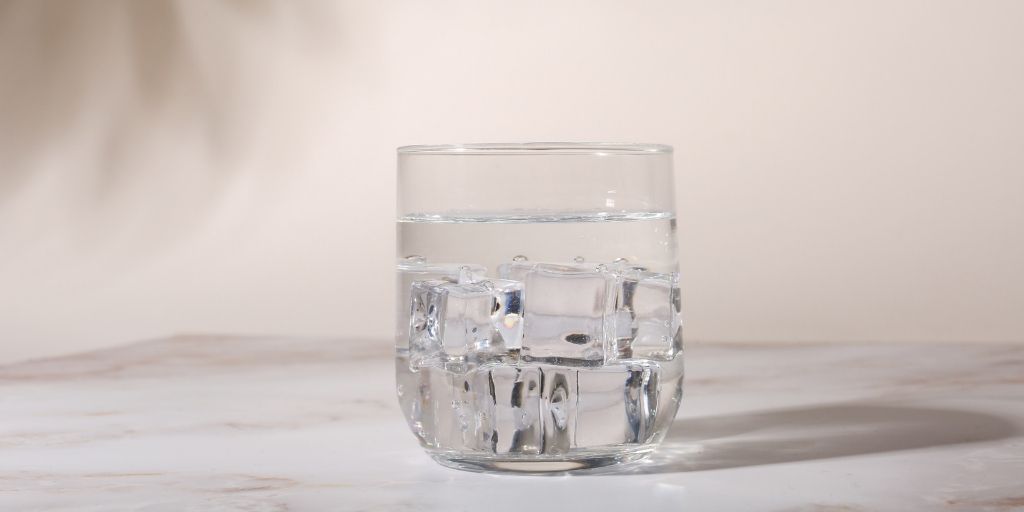
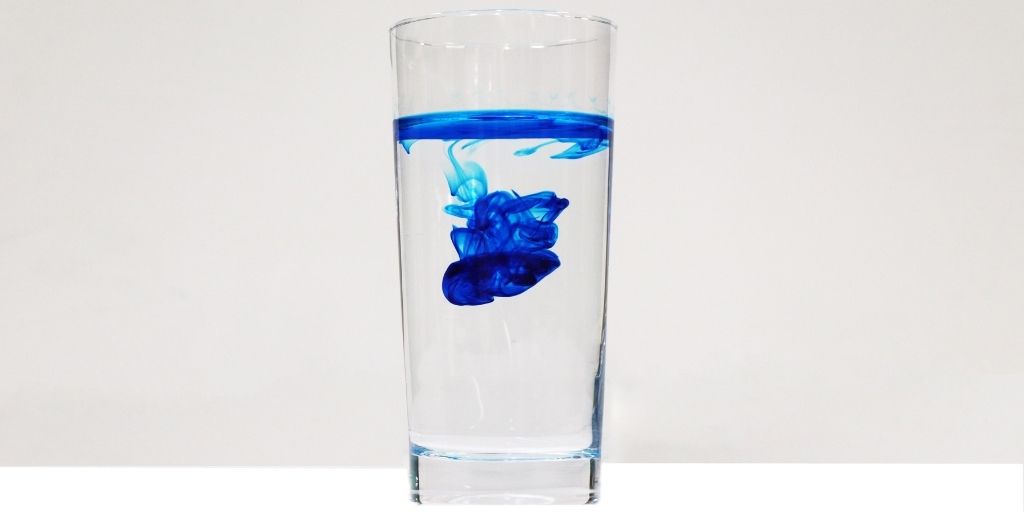
7. Take advantage of reflections for creative photography

Being a photographer, you must already know how glass and water can create beautiful reflections that can be used in fashion photography. You can use those same reflections to your advantage in glass photography too.
Fill the glass with water – clear or colored – and place the light above and behind the glass. Use diffusers and black foamboards to absorb and direct the light.
Photograph glass from the top and different angles to capture the ripples and reflections of water around the glass to create an enchanting effect.
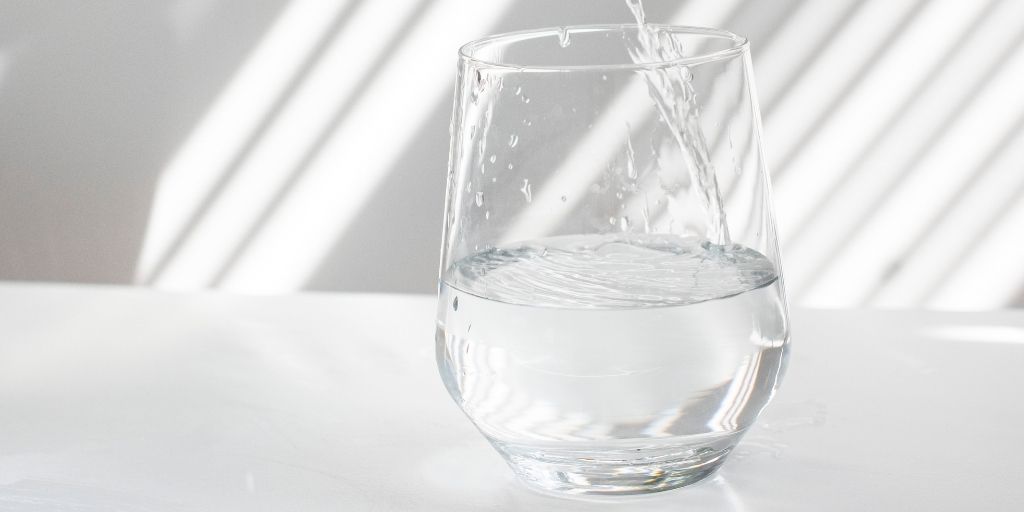
8. Add drama to your glass photography
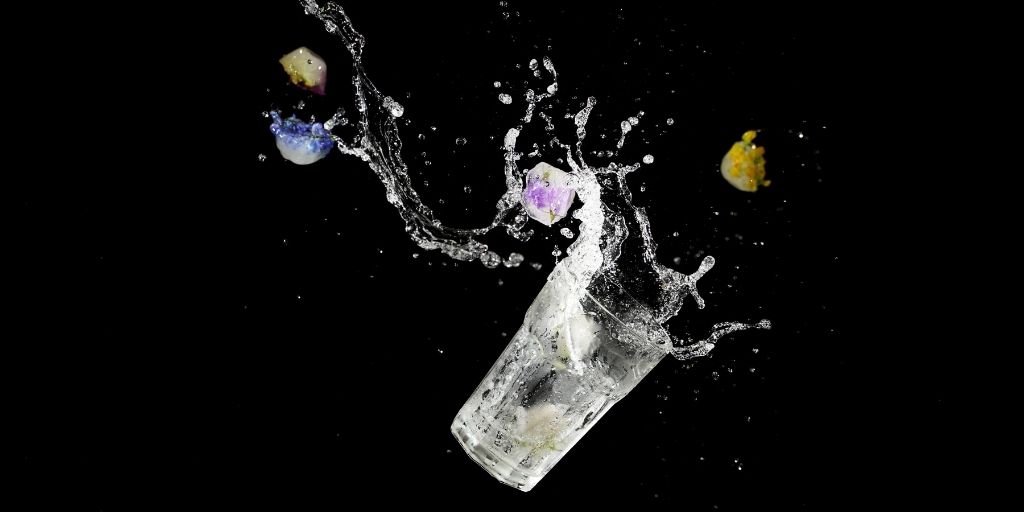
Have fun with your glass photography and be as creative as you can. Take those splashy shots by pouring the juice or coffee from the height or fill your glass with a fizzy drink to capture bubbles.
Use night gels to create a glowy neon effect in the dark or use interesting props to make your glass photography more creative. If you like, you can also use hand models to add drama to your glass photography and captivate the viewers.
Photography is all about being an artist. Get inspired by your surroundings, or, if you’re working for a client, ask them for some inspiration photos to make them excited for the shoot.
Glasses are very versatile because of their transparent, reflective surface, and the mix and match with different ingredients and props are always appealing.
9. Edit your product photos
It’s obvious to have reflections in your glass photography. It could be the reflection of yourself, the window, or the lighting equipment. It’s impossible to avoid these reflections.
But you don’t need to worry about these. Reflections, scratches, and smudges can all be easily removed during the post-production process.
Use software like Photoshop to edit your glass images or simply outsource post-production to professional photo editing services to do the tedious work for you. Editing your glass images is crucial to make them look clean, consistent, and professional.
Bonus Read
Glass photography can be tough, but at the same time, it’s the most exciting creative product photography. By applying these 9 glass photography tips, you can easily capture creatively amazing images in no time.
Keep experimenting with angles, placements, and distance until you find the best position. And, remember not to forget about the product photo editing.
Wait, got thousands of images but no time to edit? Outsource photo editing with PixelPhant. Look professional with PixelPhant’s professional photo editing service for eCommerce, photographers, and freelancers. Try it for free ?.