How To Photograph Reflective Products Like A Professional?
Photographing reflective products can be a little tricky. Unlike the usual, non-shiny products, it’s quite challenging to bring out the details and make the product look real and stunning.
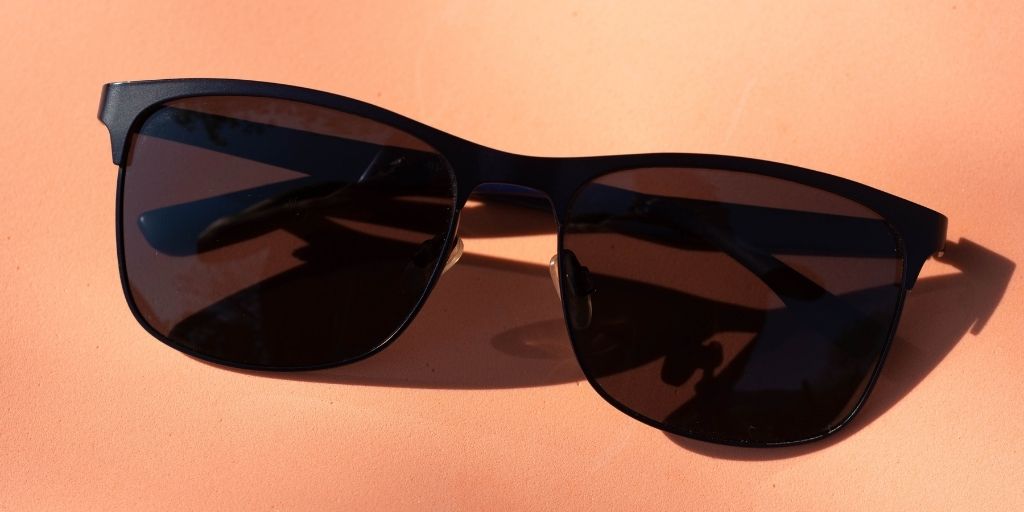
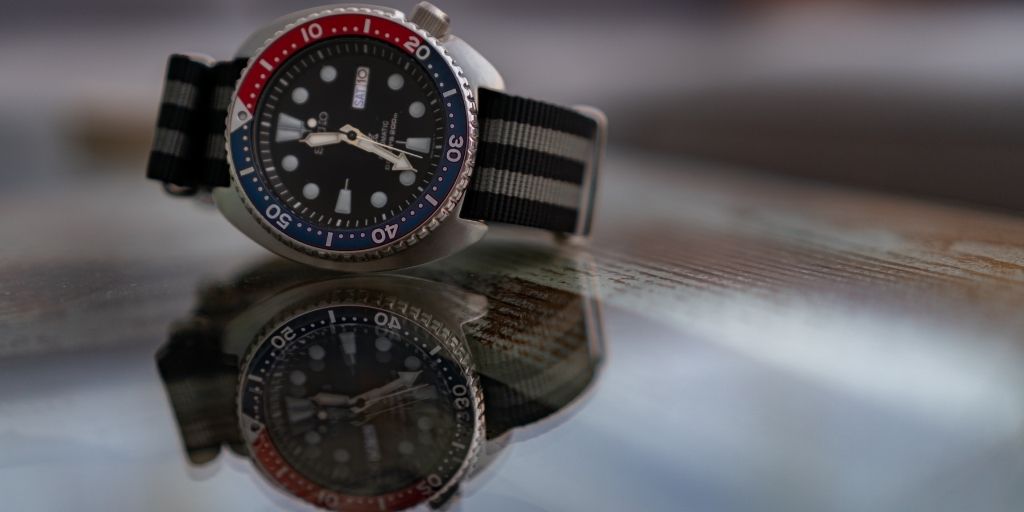
This situation is especially troublesome for eCommerce business owners who sell sunglasses, watches, glassware, or shiny jewelry.
Uploading high-quality, professional-looking product images to your online store is crucial for attracting new customers and increasing eCommerce sales.
In this article, we’ll be learning how to photograph reflective products like a pro.
Table of Contents
The Aim of Learning Reflective Product Photography
The major things that you’d like to achieve once you photograph reflective products are:
- Controlling reflections in the lenses. Basically, you don’t want to see yourself and the camera in the reflection.
- Hard shadows can ruin the look of your products, for which, you’d like even lighting with soft shadows. This type of light will make your products look applauding.
- Make sure that the images are crisp. Also, make sure that all the edges, details, and logos are present on products like sunglasses.
- Capturing the correct color as in real life. When your customers are looking at your reflective products, they kind of create an image of themselves in them. Hence, you need to be sure that the colors are exactly the same so that your buyers don’t get disappointed after receiving the product.
How To Photograph Reflective Products?
There are just four major things you need to follow well in order to photograph reflective objects at their best:
- Camera Setup
- Studio Setup
- Lighting Setup
- Product Photo Editing
1. Camer Setup
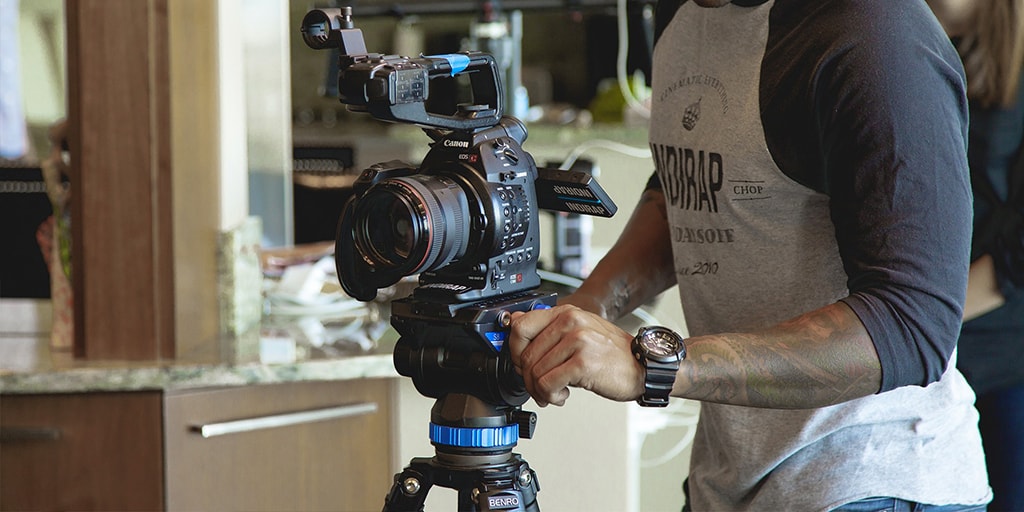
A good digital camera and a macro lens are essential for reflective surface photography. While you might consider using your iPhone, you can’t capture those highly sharp and precise details using a smartphone.
Also, investing in a good digital camera brand can help you in the long term with your photography and eCommerce business. The macro lens should be between 55 and 105 mm.
For settings, adjust your white balance depending on the photography lighting you plan to choose. If you’re not sure how to set your white balance, it’s best to use the automatic white balance setting.
When you photograph reflective products, It’s better if you can shoot in manual mode as it allows you to choose your focus and give you complete control over the other elements too to handle.
Set your aperture between f/11 and f/16 to capture well-defined details. For ISO, use the lowest setting possible to again focus on the details.
If you’re using constant lightning in your reflective product photography, I suggest you use light meters to detect over- or under-exposure.
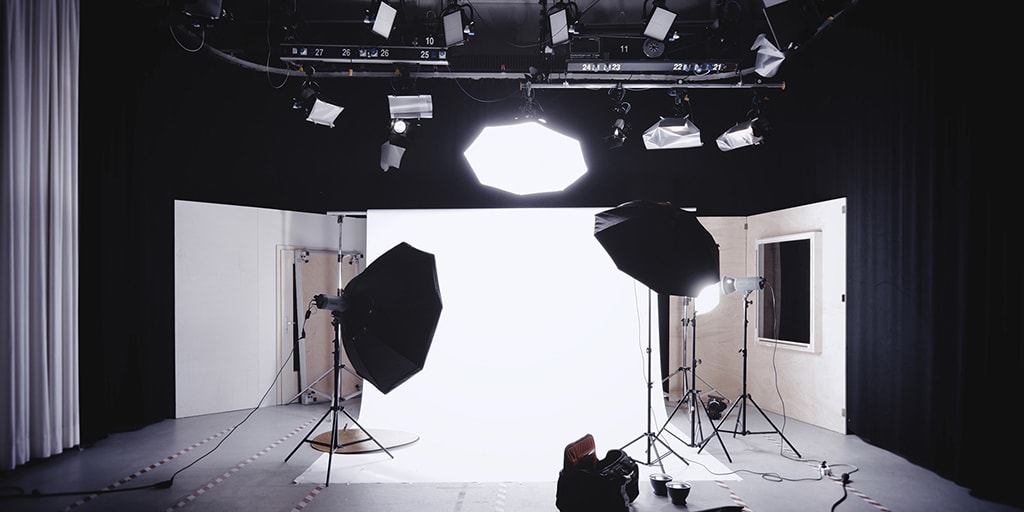
2. Lighting Setup
Product photograph lighting for reflective products works as a mirror. So, if the light source comes from the same direction as your camera, it can cause mirror-like highlights resulting in blown-out spots with no texture.
Therefore, stick with the basic principles of light that were taught in school. As per the law of reflection, if you project light on a flat reflective surface, then the angle of incidence will be equal to the angle of reflection.
The bottom line is that you should never point your camera and flash in the same direction when photographing reflective products. Instead, use studio lights.
Use softboxes for small objects. You may consider umbrella lights and a few diffuser elements for larger objects.
3. Studio Setup
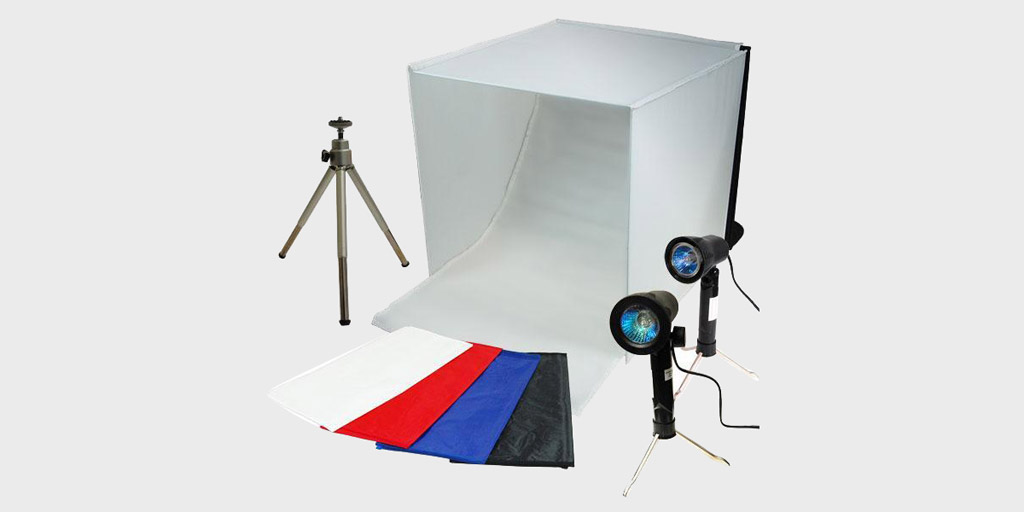
Your studio setup includes both the setups explained above and a few more additional things.
Stands
When you photograph reflective products, You’ll need the stands to support your lighting equipment. Make sure that you have at least one stand with a boom arm so you can position your lighting appropriately.
Softboxes
Try to keep one that is at least 32”.
Tripod
Whether you should use a tripod for your reflective surface photography depends on what kind of shots you’re looking for. If it’s just for an eCommerce website that requires a single type of product image, a tripod will help you avoid shaky images.
If you are moving your body positions to take distinct shots, you may avoid using a tripod but emphasize maintaining the focus and adjusting the shutter speed.
Background
The background plays an important role when photographing reflective products. Most photographers and eCommerce store owners prefer background removal techniques and adding a completely different background when editing product photos.
Though many photographers do it themselves, many of them, along with eCommerce business owners, hire product photo editing and background removal services.
As many lack experience or struggle with time, product image retouching services help in providing expertise, a professional look to the images, and saving time.
4. Let’s hit the post-production

eCommerce product photo editing and product image retouching are the basic actions that get performed at the time of photo editing.
Let’s face it: you can’t have it all with your camera, especially when you photograph reflective products. There might be a few missed details, an unwanted glossy effect, camera reflation, background reflection, or not enough exposure at a certain part of your reflective product photography.
As said above, background removal is also crucial if you’re posting images for your online store.
People who sell on Amazon specifically need to have a plain background. Adding shadows and adjusting for such cases can be taken care of at the time of product photo editing.
Finishing Up
In the end, it all comes down to combining all the elements appropriately and executing the whole reflective product photography ‘campaign’.
I hope that these tips will help you photograph reflective products with ease and will give you a well-constructed path to carry them out. If you think it was helpful, do let me know in the comments!