7 DSLR Setting Every Product Photographer Must Know
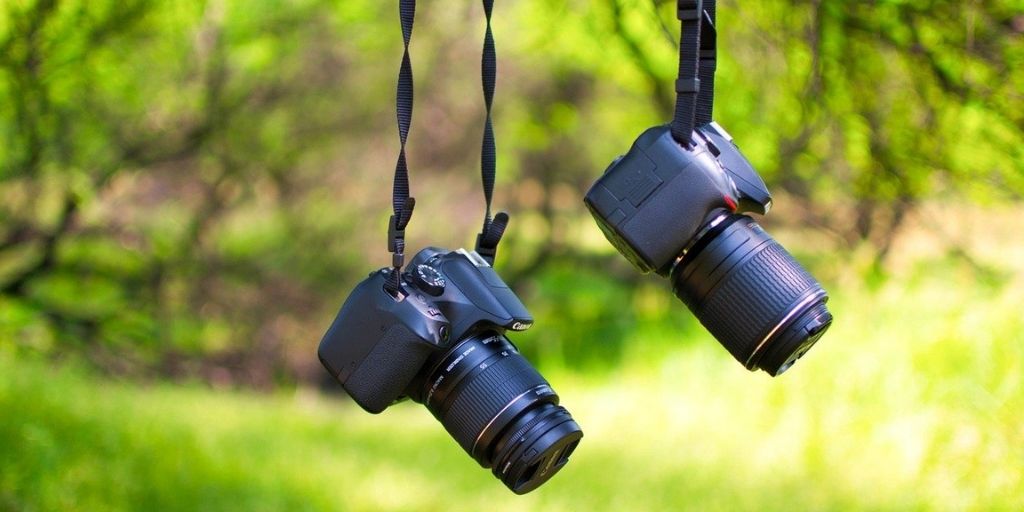
DSLR. Among the most versatile tool, yet still unexplored to it true potential. Photographer with years of experience is still exploring the new features it has to offer. But we thought to make it a little easy for you.
We are sharing 7 DSLR Settings Every Product Photographer Must Know. And believe us it’s going to help you capture the best product images with your same camera.
Let’s get started.
7 DSLR Settings Every Product Photographer Must Know
1. Aperture Priority
In this mode, you take full control of your aperture in photography. You can make the background completely blurred while focusing on the subject only or can make the background naturally without blurring it out.
When you use this mode another setting like shutter speed etc is automatically set as per your choice of aperture.
2. Shutter Priority
Just like Aperture Priority, in this DSLR setting, you take complete control over your shutter speed. This enables you to play with motion capturing. That is, if you keep the shutter speed high, it will capture the subject quickly without showing any motion.
Whereas if you set the Shutter speed at low, you will be able to capture the motion like a trace of light. If you use it creatively, you can use it in product photography to add a certain mood to it.
When in this mode, you only have to worry about the shutter speed rest of the settings are set automatically.
3. ISO
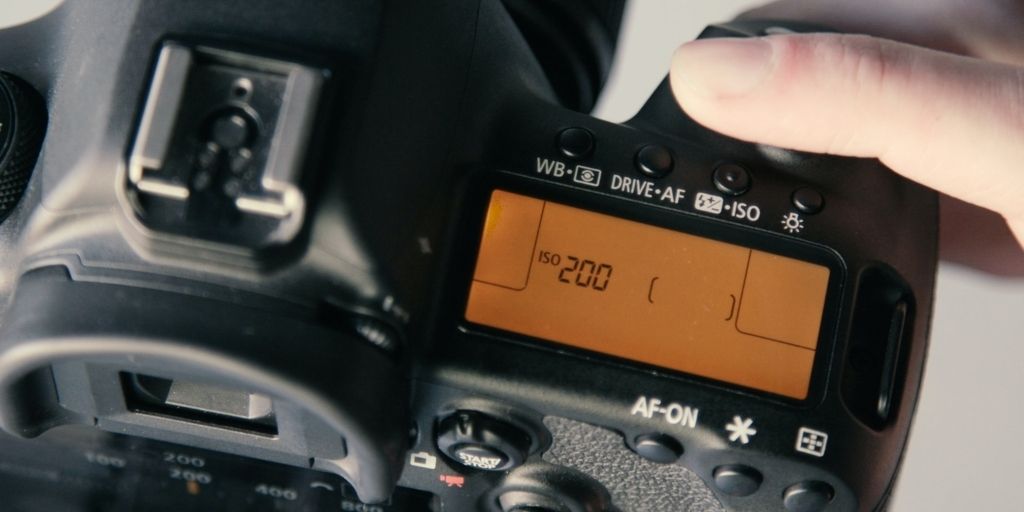
The next setting out of the golden triangle is the ISO in photography. This DSLR setting deals with the light sensitivity of the camera. In simple words, It will determine how much the much will be darker or brighter.
Also remember that the higher the image is exposed to the light, the lower its quality falls.
The ISO setting varies from ISO 100 to ISO 2000 and beyond. Pick up your camera and find out which delivers the best result for your studio settings.
By the way, if you are stuck at home and are looking to make it to the studio, do it in the right way. Here is an article about How to set up a Studio At Home?
4. Single Point Focusing Mode
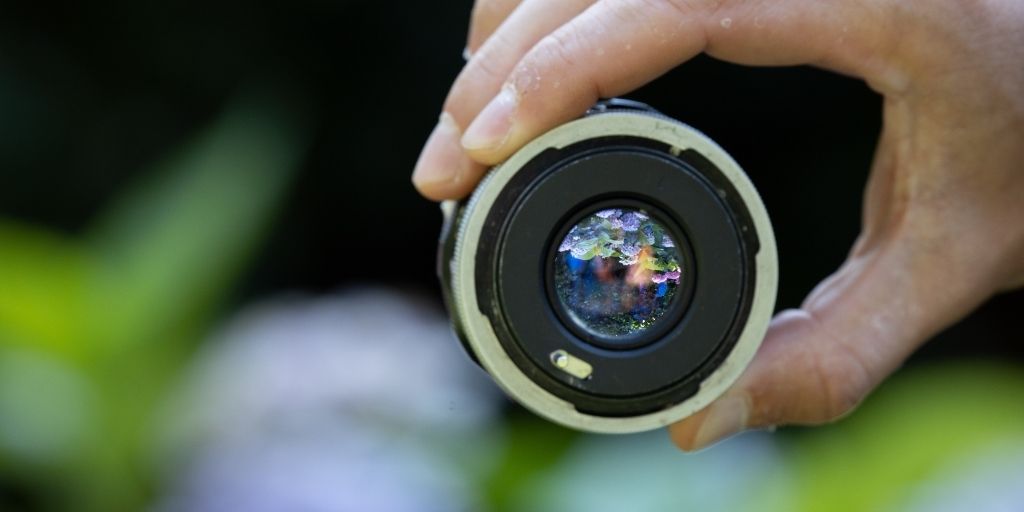
There are two main types of focus modes in your DSLR settings. The first one is the automatic, also known as spectrum mode. Here, when you turn on your camera and try to focus on your subject, you will find red & green dots around it.
This typically works, but can sometimes be super annoying when you aren’t able to keep them in focus. In this case, you can switch your setting from spectrum to Single Point Focus to get the control back in your hand.
5. Exposure Compensation
Light is among the main components of any photography, but if you are shooting in the dark, it’s nothing but stressful.
Here’s when you can control the exposure of your camera. It is a DSLR setting that will expose your image to light which allows you to capture your image at night.
Now one might think to use ISO in this case but, it is worth keeping a note that it might just overly brighten the image. In case there is a street light in the background, during the night increasing ISO will brighter up to point that it destroys the whole image.
In this case, the best way to make sure that your image is well lit up is by increasing the exposure. On a normal setting, it is set at 0. Increase it to increase the exposure and move it towards the negative side to decrease it.
6. The White Balance

As said before DSLR settings are a tricky place to play with. And the next on this list is white balance. On a regular day, a photographer keeps the white balance setting to Auto which works fine.
But when you are shooting indoors, under artificial lighting for product photography things might start changing. Often you will have to remind your camera to balance to keep the settings to normal.
For that, you can take a clean white sheet or piece of cloth, fill the frame with it and click an image while focusing on it. Adjusting the white, in this case, will tweak back the setting as it should be and continue with it until you switch to another white balance setting later.
7. Highlight Indicator
Highlights are great if you have time to experiment and learn about the scene you are about to capture. But it still is a tricky game. Using highlights while capturing an image can brighten some parts of the image to a point that it might just ruin the details of an image.
And the worst part is, that it can’t be corrected even with the most advanced tools available by the experts. A highlight indicator will tell you when your highlights are high to warn you about the territory of probability that you are about to enter.
Bonus Read
Using a good digital camera brand is one thing and mastering its settings is a whole new game. After reading the amazing DSLR settings in this article, we are sure you are all set to capture some amazing product images.
That being said, you can always outsource your product image editing to the PixelPhant. PixelPhant is the best product image editing service, helping photographers all over the world with their image editing work
Learn more, and get a free trial from PixelPhant by clicking on the Get Started Button Below.