12 DIY Furniture Photography Tips For Modern Photographers

Compared to handy products, furniture photography comes with its own unique challenges.
The first one is their size.
You have to ensure consistency, good lighting, and professional presentation of your products. And when the size of the product increases, the challenges associated with photography setup also grows.
However, one can’t simply skip a project or an opportunity because the size of the product is big. Right?
To make sure you are prepared for furniture photography, these 12 tips will give you a heads-up on what to look for.
They are simple and, more importantly, crucial to avoid any scenarios of re-shoot. So without any further ado, let’s get started right away.
12 Furniture Photography Tips For Photographers & Ecommerce
1. Assemble your furniture
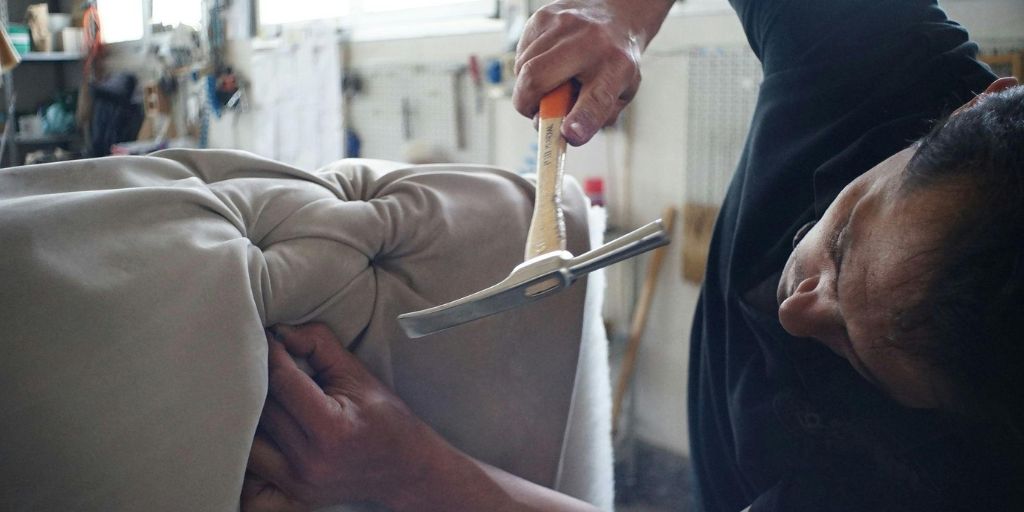
Your Furniture photography can often start with assembling the products. Here, be cautious to avoid scratching the surfaces of the product.
Handling high-quality furniture is a challenge in itself. Make sure to follow the step-by-step guide for quick assembly.
During pre-shoot, every step and part of the product must be handled with care.
You can use Protective Covering, such as blankets, mats, or cardboard, to cover the floor. At the same time, make sure to screw the products tightly.
Finally, before you are ready for the shoot, do a thorough check to ensure the product is aligned the way it is intended to be. These small checks are very important in ensuring high-quality presentation.
In case you notice scratches, make a note to share it with your photo retouching service partners to remove unwanted elements from the image.
2. Remove Packaging and labels
Customers are interested in the product. That way it looks and how it can be incorporated within their lifestyle.
If your furniture photography showcases a wrapped product, it negatively affects the customer experience.
When you are selling only pillows, showcase them without pillow covers. In the case of tables, ensure to remove stickers.
In furniture photography, it’s the small mistakes that will hurt your images the most. A tag or sticker on the product, unwanted spots, uneven legs, and wrinkles are the common culprits.
Accuracy of product photos leads to customer satisfaction and thereby increases sellers’ reputation as e-commerce sellers.
As a photographer, ensure that you abide by the rule of quality presentation while ensuring authenticity in your product photography.
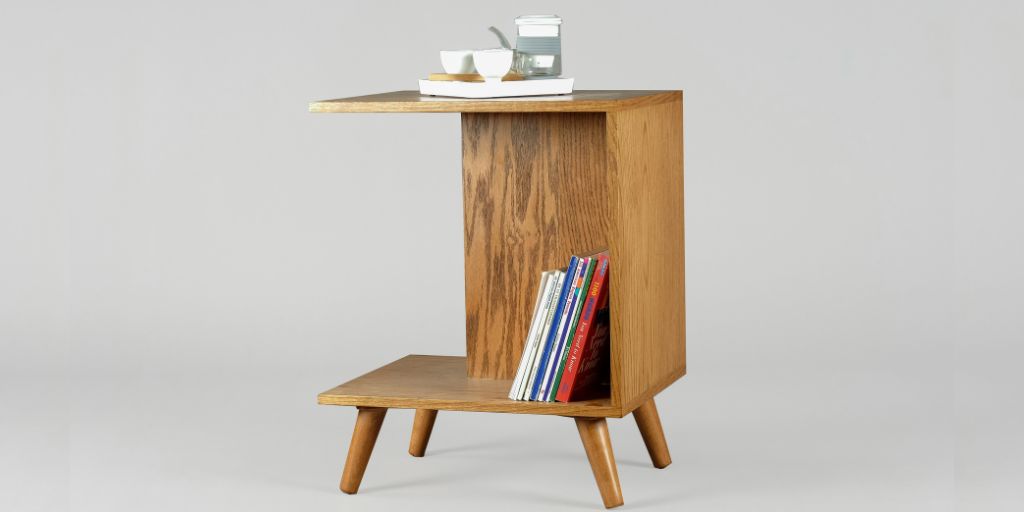
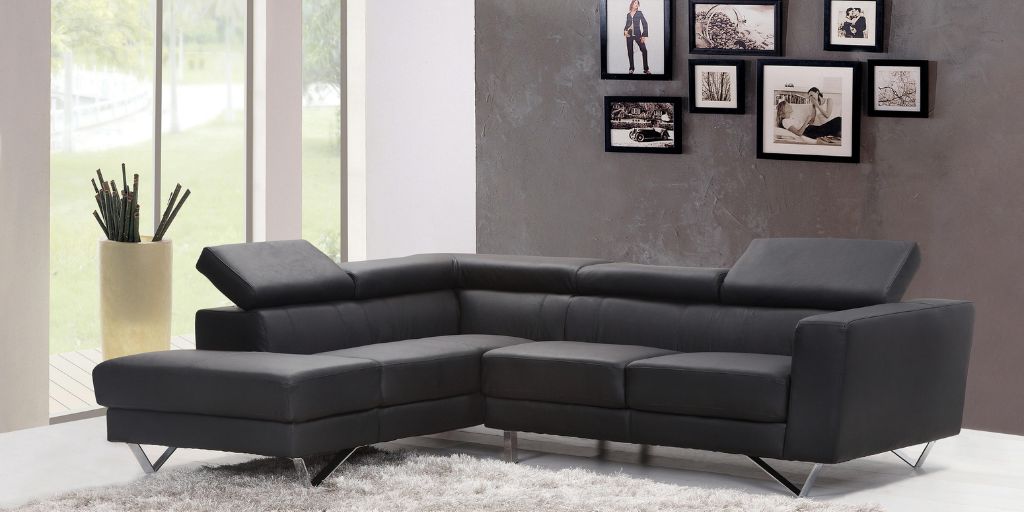
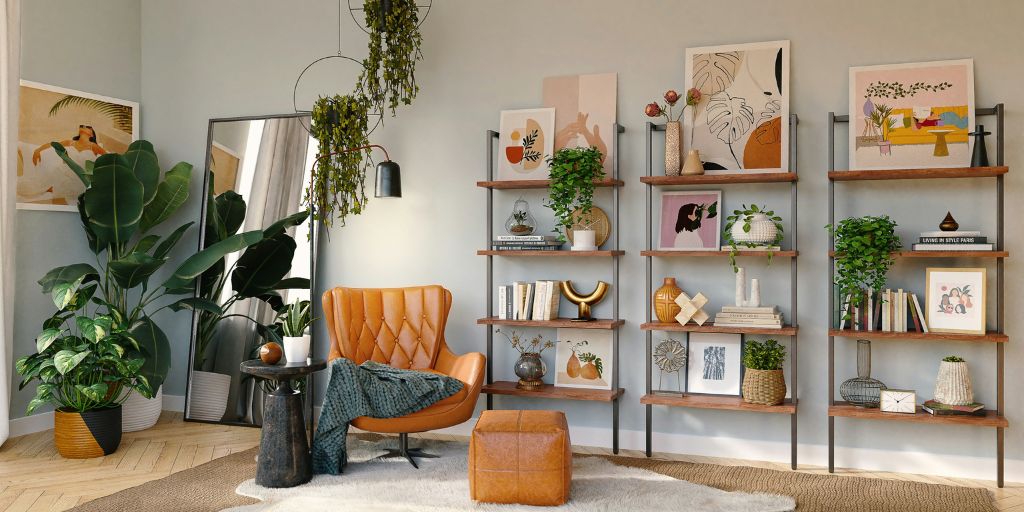
3. Avoid busy background
Furniture photography often consists of two styles of images. One is eCommerce product photography, and the other is lifestyle product photography.
While eCommerce product photography uses a plain background, it is vital in lifestyle images to avoid busy backgrounds as well.
A textured wall, curtains, shelves, etc, are a welcome scene. However, they should not take away the focus from the products.
Photography composition styles like contrast, leading lines, framing, the familiarity of scale, etc will assist you in creating a better scene.
On the other hand, you can choose from the six best product photography background colors for eCommerce furniture images.
While they make your product images stand out, your furniture products always take center stage.
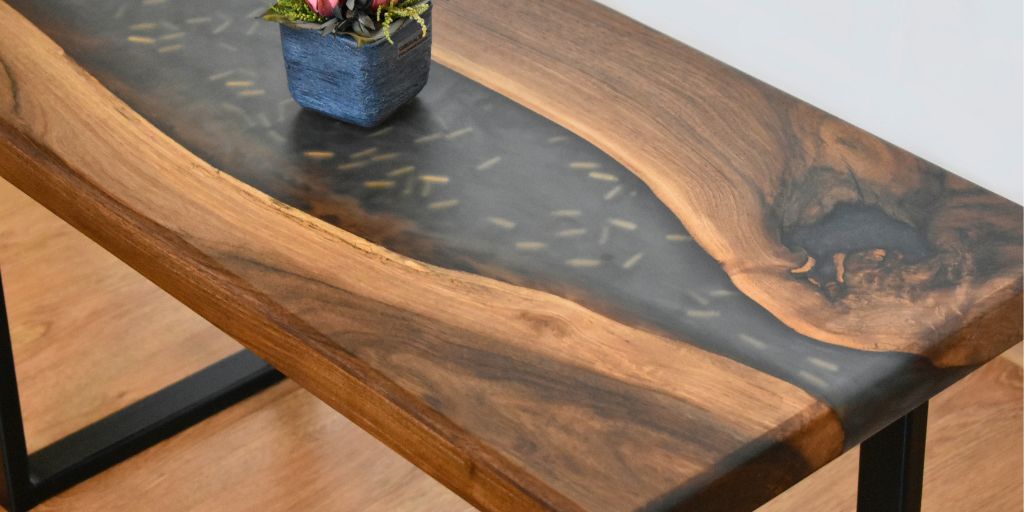
4. Clean your surfaces
Just when you are getting started, it is very important that you prepare your furniture for the shoot. Let’s call it the last minute product touch up.
At this time, you have your product placed with the right background and proper lighting.
Now before hitting the shutter button, clean the surface with microfiber cloth to remove any dust or fingerprints from the surface.
Ideally, your furniture photography must be high-quality. It should let your customers see the product in detail.
To ensure they have a pleasant experience when interacting with the product—make sure there is no visible dust on any side of the furniture.
Still, if there are any unwanted scratches or dust left, they can be removed during eCommerce photo editing.
5. Use uniform and neutral lighting
Lighting can be a complicated element in furniture photography. The size of the product itself requires light to travel a long way; hence, you’ll most likely be using a multi-light setup.
It is recommended to use top lighting, along with the setup, to light up the furniture from both sides. This should enhance the product presentation by making sure the texture is clearly visible.
Regarding lighting itself—make sure you use neutral lighting. In product photography, you should make sure that the colors of the furniture are not affected.
Using uniform and neutral lighting will ensure the same while making every side of the product in the frame clearly visible. You must also ensure consistent lighting across all sides of the furniture product photography.
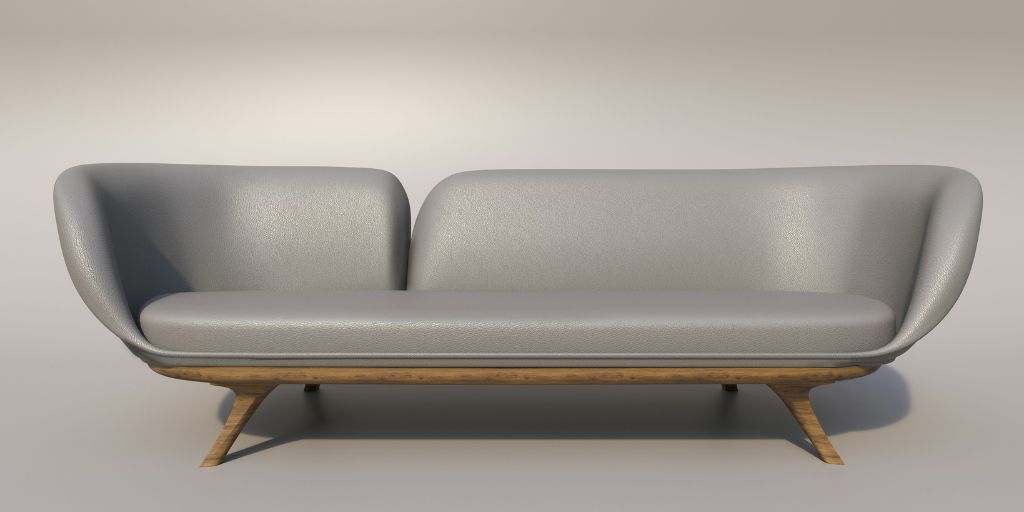
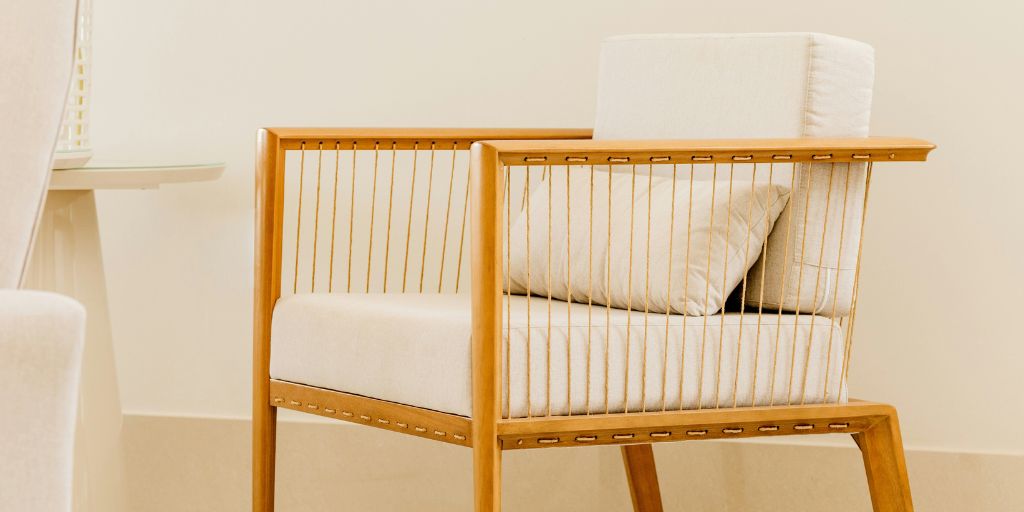
6. Highlight Unique Design
If your furniture has a unique side, make sure to feature that well in your eCommerce furniture photography.
It is important for customers to learn about this style and make an informed decision. These unique sides of the product improves the customer experience and engages them with the product.
Showcasing them makes customers more confident with the purchase, hence increasing their experiences as shoppers.
While not all products will have a unique side to them, you can feature their grills, textures, shapes, and other details that tell the viewer a little more about the product.
7. Use a small aperture
In furniture photography, it is important that the whole product is visible in one frame. No sides should be cropped or out of focus.
This can be achieved using a small aperture for photography. It’s difficult to do it manually, so set the camera aperture settings on priority and move the aperture dial.
With the use of small aperture settings, the minutest details are captured; this will enhance image quality.
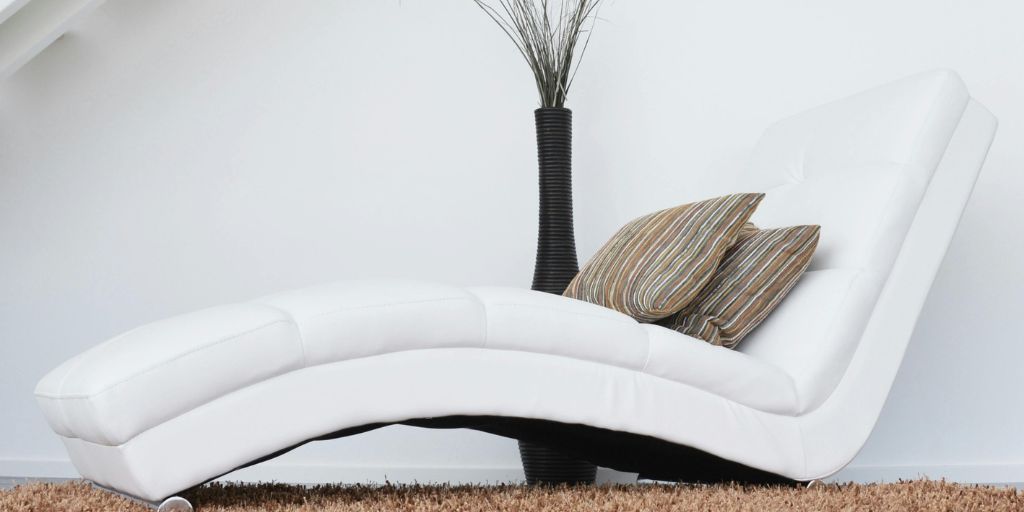
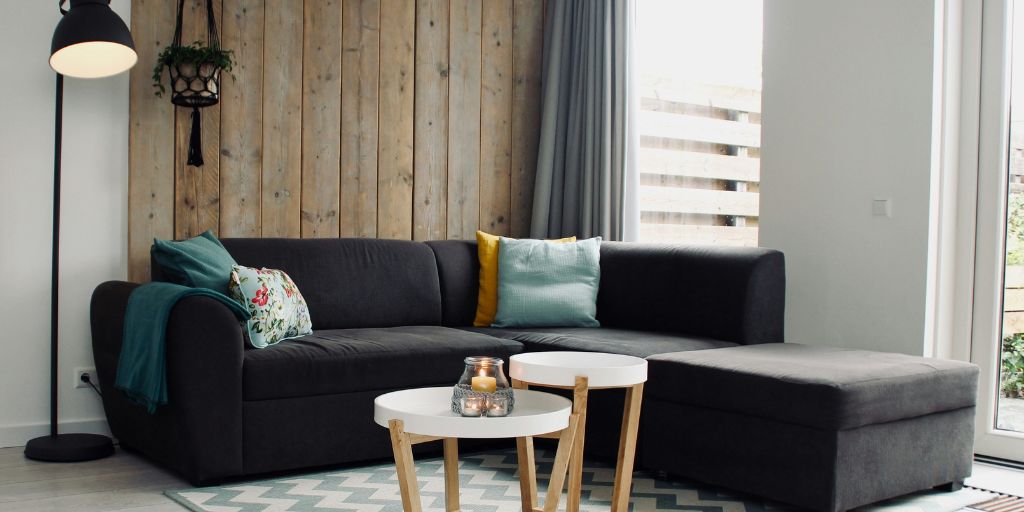
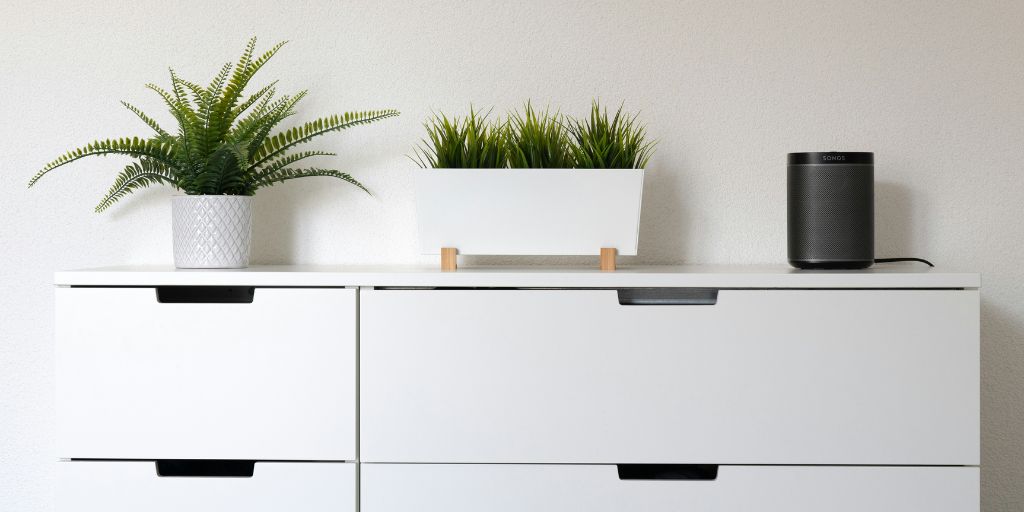
8. Avoid over styling
The use of props is very common in furniture product photography. We usually see the use of pillows, blankets, and even stuffed toys being used in furniture photography for lifestyle images.
All is good until it starts to distract customers from the product itself. The goal is to share how the product will look, and that can’t be overshadowed by the use of props.
So, it is highly recommended that you avoid over-styling the furniture and focus only on making it the most informative furniture product photography.
Keep the scene minimalistic while making sure your furniture holds the attention of the viewer.
9. Give more context to the setup
It is often seen that a furniture eCommerce often oversees the importance of showcasing the product in its natural environment. Plan a shoot day for your furniture product photography where the products are showcased if they would be used in real life.
This will further help the customer see how the product might look in their space. In addition to this, also try shooting in natural lights. This will further enhance the way your products are perceived and will surely help your customer choose the best product from you.
10. Showcase Multiple Angles
The more, the better. Quantity is always preferred. Instead of taking a single shot, it is advisable to take multiple shots from different angles.
For an amateur, it is difficult to get a perfect product image in just one go. To increase the probability of getting perfect pictures, multiple shots are suggested.
11. Use the correct perspective
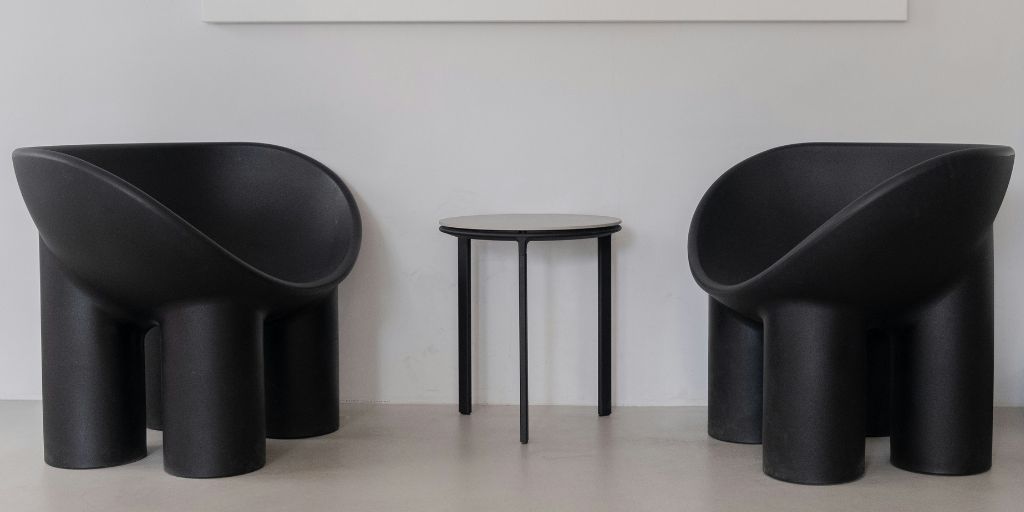
Choosing the right perspective in furniture photography is crucial. It guides your customers regarding the proportions and actual size and shape of the product.
The goal, as we have been discussing, is to help potential buyers visualize the furniture in their own space.
By shooting from various angles and showcasing the product details, structure, and functionality—you build trustworthiness. This approach makes the furniture appear more tangible and trustworthy, ultimately aiding in customer decision-making.
Avoiding extreme angles and instead focusing on natural, eye-level shots can enhance realism and attractiveness.
Ensuring the right perspective helps create informative, appealing, and accurate furniture photography that drives sales and customer satisfaction.
12. Optimize in Post-Production
Post-production is crucial in furniture photography. It ensures that the final images are polished and look professional.
Furniture photography post-production may include Adjust brightness, contrast, and saturation to make the furniture look its best while maintaining realistic colors.
It may also include retouching the surface of the furniture to eliminate any remaining dust, smudges, or imperfections. For images with busy, unwanted background, eCommerces also use background removal service.
All this is done in order to present a clean image to the customers.
Conclusion
And with that, we wrap up our 10 DIY furniture product photography tips for eCommerce. But that being said, the work is still not over.
You need to make sure the furniture photography is presented in the best way possible.
And that’s when professional eCommerce image editing services like PixelPhant can help you.
We are a team of image post-production experts helping eCommerce brands and photographers with their product images.