How To Prepare For Product Photoshoot – 7 Easy & Useful Tips
Product photography is one of the most essential parts of the eCommerce industry. If you want to sell products online, without good quality photos, your product just can’t survive the competitive market.
Be it social media platforms or your own website, the first thing that entices your customers are your product images.
No matter how good quality products you deal with or how reasonable your prices are, if your product images are dull, distorted, and unattractive – you’re probably aren’t gonna make enough to keep running your online store.
To boost eCommerce sales, your product images must allure your customers into exploring your products further. In this age of social media – the one that entices wins.
Thus, it is crucial that you prepare for product photography well to ensure better eCommerce sales.
7 Tips to Prepare For Product Photography
To make sure that you’re fully prepared for your product photoshoot, here are some great tips to accomplish the purpose.
1. Get Inspired

Before you start anything, you must have something in your head that’s pushing you to do it – in the same manner as you desire. It applies similarly when you start to prepare for product photography.
It is better to have a clear idea of how you want your product images to look. If you’re shooting for a client, then it’s required that you ask them to share the photos for reference.
This product photography tip will help you stay on the same page with your customer. The inspiration images enable you to have a clear design of what you’ll be doing during your product photoshoot.
You can refer to Pinterest, Instagram, and even your competitors’ websites to understand what kind of product photography is in trend and what’ll work best for you.
Such platforms have a plethora of images to get inspired from so that you can prepare for product photography in advance.
2. Create a Shot list for your Product Photoshoot

Doesn’t matter how long you’ve been a professional photographer, you are bound to miss a few things.
I understand that most photographers just work with the flow and hate writing things down. But trust me on this one. This is the best thing you can do when you prepare for a product photoshoot.
Writing things on your computer’s Sticky Note or on a notepad is going to put you in action as soon as you look at it. A shot list can help you to be more planned, organized, and professional.
Write special requirements and details that must be shot or props to include in your product photoshoot.
3. Pick the Correct Background

The background is another element that you need to be mindful of as you prepare for a product photoshoot. Don’t think of background as something that’s gonna stay behind and have no effect on your subject.
In fact, it’s completely the opposite to it. Your background is what compliments your product. You want your whole product image to look incorporated and well-executed.
To do this, make sure that you’re using the colors that are going well with your website color scheme.
If you want to sell products online on Amazon, then your photography will have to have a transparent/white background. Therefore, for such purposes, you will require to use the background removal technique.
If you’ve collected the inspiration already to prepare for a product photoshoot, then choosing the background would be a lot easier for you.
4. Choose the Props that Enhance the look

Using props can instantly elevate the look of your product images, especially when you’re going to post them on social media. As I said, social media is all about ‘shout-out’ and creating a buzz. Hence, your images should be highly eye-pleasing and captivating.
Props simply help you achieve this. The best thing to do is to use the props that are most relevant to your products.
For example, if you’re to shoot the images of a Lavender Hydrating face Oil, then the best thing to do would be to scatter a few stems of lavender around your product with a few drops of oil dripped around.
For a coffee scrub in your product photoshoot, you can mount raw coffee beans or powder next to your scrub. This gives your product a more aesthetic look and makes it more appealing.
Therefore, knowing what props you’ll be needing is essential white you prepare for a product photoshoot.
5. Prepare your Products

The first thing you’ll want to do here is to keep all the products gathered at a place that needs to be shott. Once you have all the products handy for your product photoshoot, you can now start to prepare them. How? You need to take care of a few things like:
For non-garment products
Make sure that your product is dust-free, smudge-free, and has no scratches
If you’re shooting for a garment
Make sure that it’s wrinkle-free, spotless, and of correct fit for your model/mannequin
Ensure that the makeup and hair of your model are sophisticated and put-together
6. Prepare your Tools

While you prepare for product photography, make sure that all the tools that you’ll be needing are available.
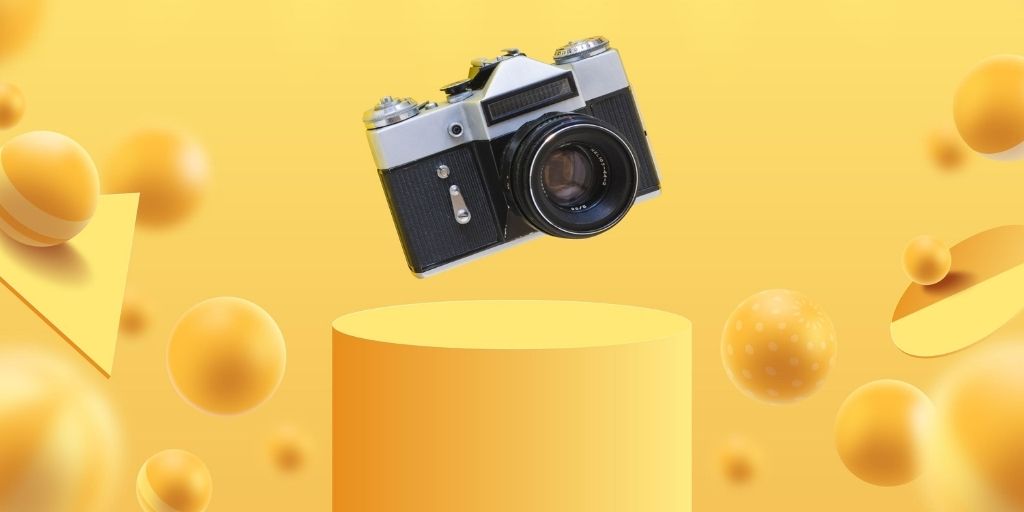
Camera
Your camera is the primary tool for your product photoshoot. If you’re shooting products for a client, make sure that you’re well equipped with a good digital camera and a wide-angle lens.
If you’re an eCommerce business owner, then you may invest in a good camera. If not, then you may use your iPhone for taking pictures too.
I’d also recommend that you use a tripod for product photography to avoid shaky images.
Lighting
Make the necessary lighting adjustments as you prepare for a product photoshoot. It depends if you’re to do product photography indoor, in the studio, or outside.
Using the correct lighting equipment is very essential to ensure the best shots.
- Use a lightbox for small products
- Use reflectors if you have a model representing your products
- Be mindful if your product is made up of any reflective surface like metal or glass and make the adjustments to light accordingly.
- Make use of natural lighting as much as possible to give your products a more original, unique, and fresh look.
- Use a diffuser to create a soft, white light, and even tone effect
Base
- You probably must be using various bases to place various products on. Ensure that the base you’re using is as clean as your product. It shouldn’t be something that’s over-powering your product.
- If you’re using a turntable, make sure that it’s spotless and clean. If it’s a piece of furniture for your base, make sure that it’s clean too and have a color that’s working well for your products.
- Your base and the background shouldn’t create an odd match and must be complementing each other.
- All your elements need to look well-combined rather than different scattered pieces.
7. Invest in Post-Production

No matter how hard you prepare for a product photoshoot, you just can’t deal with a few things that are not in your hands.
The minor scratches, the wrinkles on your garment as your model moves, the unwanted reflection in your reflective products, and unwanted elements in the backgrounds are a few things that your camera just can’t control.
Therefore, it’s pretty much required that you invest your time in post-production. The product image editing can help you make necessary corrections in your product photoshoot along with making them look more appealing and professional.
Though, it might be difficult for you to edit each image one after another as you might’ve clicked thousands of images of all your products and must’ve finalized hundreds of each.
Hence, editing can become a very tedious and time-consuming task.
But, posting the raw images directly on your site and social media would be a disaster. You might think that your product images look pretty awesome – but try looking at the images available on Pinterest, and compare your images with what your competitors are posting.
Do you think that your product photos can compete with them? Try asking yourself – would you stop scrolling your screen and stop exploring your products if you see those images?
If not, then product image editing is the only way.
Here’s what most professionals do to save time and get all their images website-ready. It is advised to hire product image editing services. They have highly experienced experts that can edit hundreds of images within a few hours.
The quality is fantastic and professional-looking. Outsourcing product image editing can save you a whole lot of time and get your images professionally edited at affordable prices.
Meanwhile, you can prepare for another product photoshoot or invest your time in much more important tasks.
Conclusion
Product photography along with product photo editing is essential to boost eCommerce sales. Therefore, while you prepare for a product photoshoot, it’s important to cover the above-mentioned tips.
These tips will help you to be more organized, planned, and ready to shoot killer product images that instantly generate traffic to your online store and increase eCommerce sales.