How To Perform Natural Light Photography Like A Pro?

When we think about a photography shoot, we think of a studio, heavy studio lighting, lightboxes, flashes, and professional cameras. But believe me, you don’t need all these heavy and expensive accessories to capture high-quality images.
That’s right. A professional photo shoot can get successful even without the heavy studio lights, all you need is an open area or a huge window panel. Yes – I am talking about the best natural light source – the sun! And, what you can master is natural light photography.
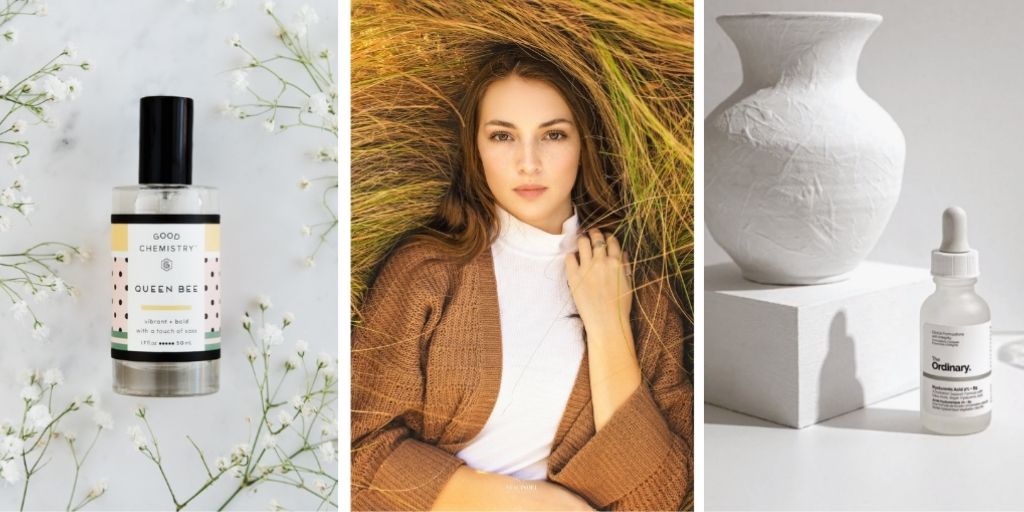
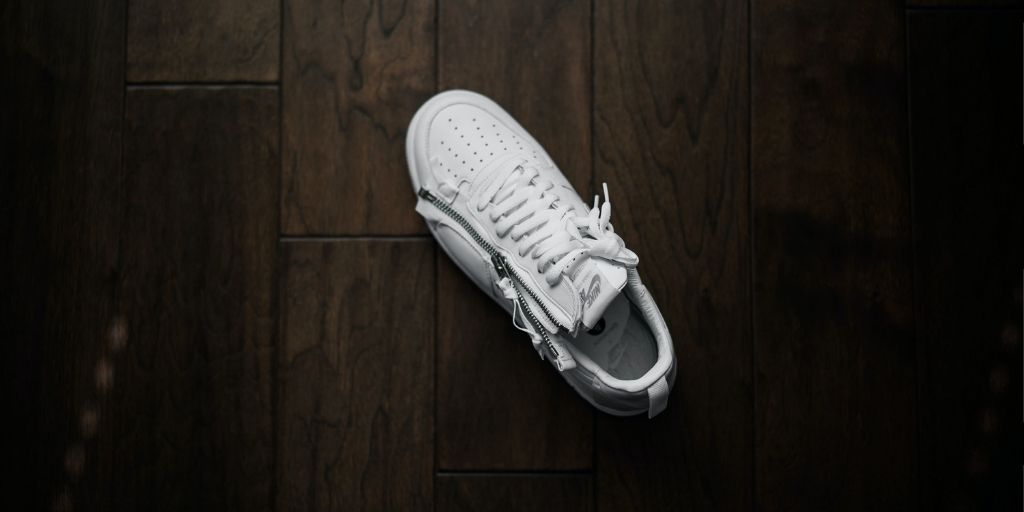
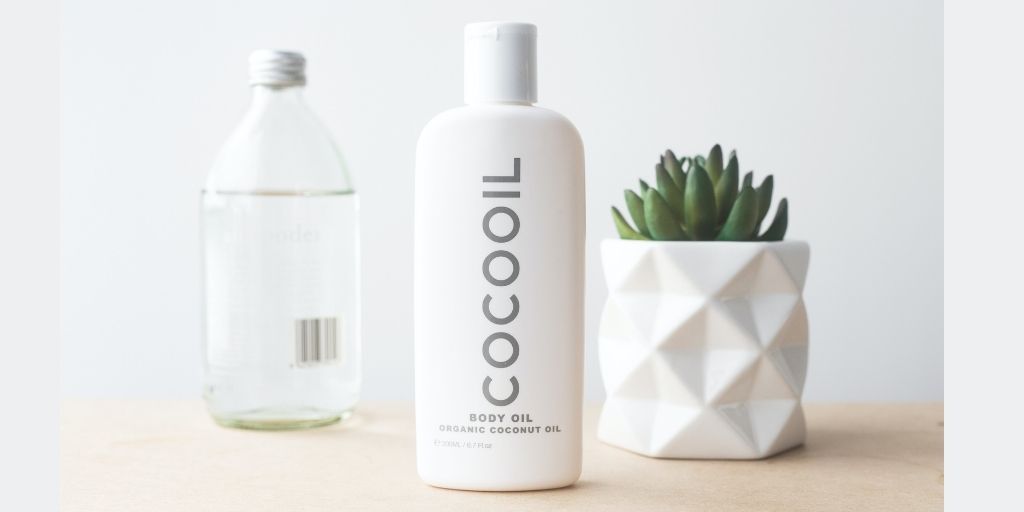
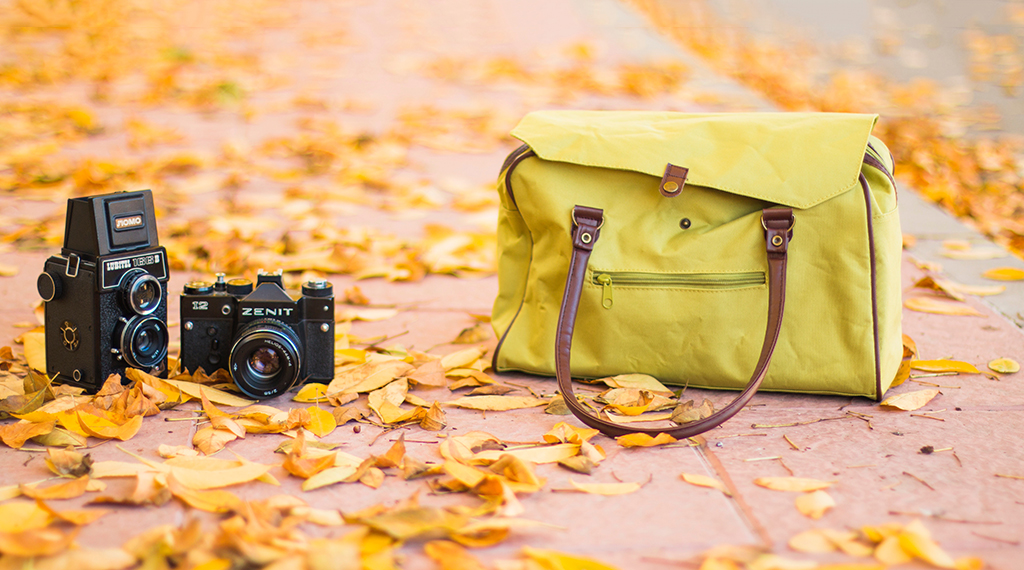
Look at these images. All these were taken in natural lighting and edited later. You can’t possibly tell whether any studio lighting was used in these. But interestingly, this is completely natural light photography.

What Are the Benefits of Using Natural Lighting?
1. It’s Free!
Who doesn’t like free? Photoshoots cost a lot, even for a single product or a model and the major cost that’s added in a photoshoot is lighting.
However, for the photographers who shoot outdoors, natural light photography can be the most efficient and useful source available to light the subject. You can use various reflectors to steer the direction of light and choose the kind of shade.
For a more white kind of glow, use silver reflectors that tend to reflect the most light. Use a golden reflector to bounce the light that gives more of a golden, warmer glow.
2. It Gives a Beautiful Effect
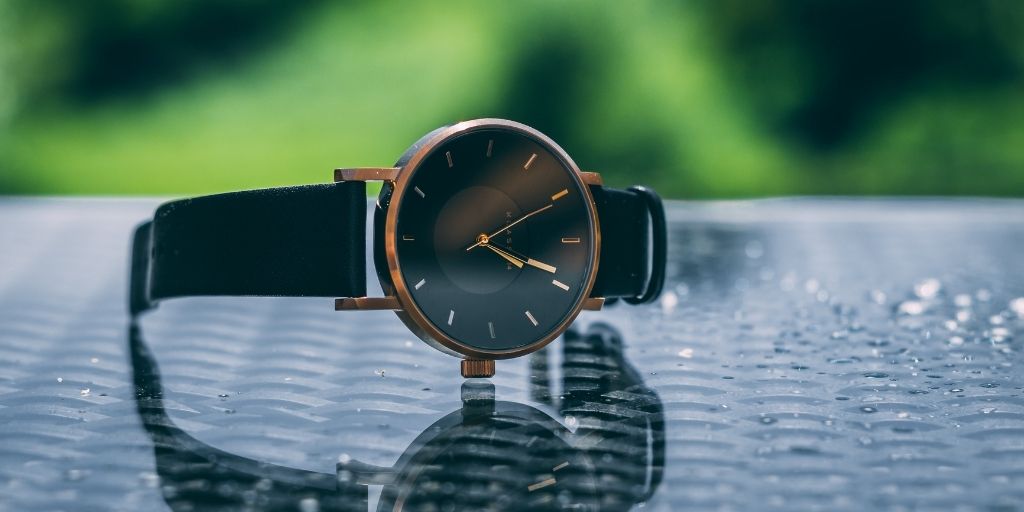
Natural light photography gives you the optimum amount of light that’s needed. The details, the curves, and the shadows all look natural and beautiful. This makes your model or product photography feel life-like.
3. It’s Everywhere
No matter what your location is or if you’re required to switch between the locations, the best part of going natural light photography – it’s everywhere.
Hence, it saves you time and effort for moving your lighting equipment and adjusting it at every place. Of course, the sun will set with time, so you’ll have to plan ahead when working with it.
However, the setting sun can give you a whole different atmosphere to capture your images that may not be achieved through any artificial lighting. After taking the Images, we easily remove the background to make them look like even better products.
4. Natural light Adds a Dreamy Effect

When you use natural lighting coming through doors and windows, it creates an airy, romantic feeling to the picture the photographer takes. This effect isn’t as easy to achieve when artificial lights are used.
This effect is especially useful in wedding photography and outdoor model shoots. Clients prefer the king of images that uses natural lighting for a setup.
The Key Elements of using Natural Lighting

The key element here is to use the sunlight as an indirect light source so you light up the whole image as opposed to reflecting a direct light on the product. For the best shot, try capturing your product near a window or in a shady outdoor area.
The outer area is required to be shady so as it gets the diffused light effect.
Basically, using natural lighting for product photography can either make or break your photo depending on how well you handle it. Here are a few things that you can follow to make sure that your natural light photography looks professional:
Tips for Performing Natural Light Photography
- Perform natural light photography at the brightest time of the day – preferably during the late morning and early afternoon. As, during these hours, the lighting is at its fullest which gives sufficient lighting near the balcony, window panels, or outside the home.
- Use translucent sheets like the shower curtains to diffuse the light and create a natural white-cast over your product.
- Use a black ‘reflector’ to absorb the extra light. This may not give you a white-cast kind of effect but will take away the unnecessary shine that the sun might be reflecting.
- When performing natural light photography, determine where the shadows are falling. As some shadows tend to hide the details of the products, it is necessary that the direction is carefully chosen to avoid such things. Using a window with grills or positioning the camera in the sun’s direction can create such unwanted shadows.
- Do take your product photos at the same time of the day, if possible, to maintain consistency. The amount of light and even the shades of light changes throughout the day as time passes. Usually, morning light is brighter and has less color as compared to the afternoon light which has warm undertones and more saturation which needs to be taken care of in natural light photography.
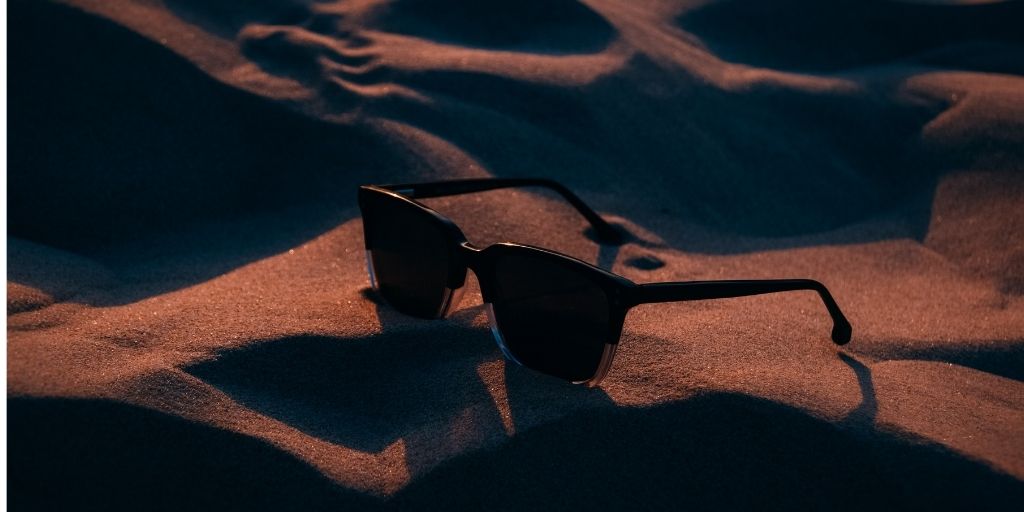
Furthermore, evening light will give you vivid hues of orange, yellow, red, and violet that give great contrast to your product photos.
You can always balance the light and make it cooler or warmer in the product photo editing that suits you best.
- Look at the direction in which your window is facing. Windows that face east provides the best, soothing, nice bright morning light that we’ve been talking about.
On the other hand, windows that face west let in the direct orange light close to sunset. This time of the hour is also known as the ‘Golden hour’ which often creates sun flares. However, mostly, this kind of natural lighting is not preferably used for product photography.
It is because the sunset can create hard shadows or appear to be too warm for a regular product image that is supposed to show the item as it is.
Mistakes to Avoid During Natural Light Photography
There are a set of things that you should always avoid while natural light photography to shoot the best photos possible.
- Never place your subject behind the light source, otherwise, you’ll be getting a very dark photo.
- Don’t place your subject more than a foot away from the window when shooting indoors. The only reason behind doing it is because the farther you keep your subject, the lesser it gets the light.
- Don’t let the sharp sunrays fall directly onto the subject. You can weaken the light by using a thin covering or paper, translucent sheet, or shower curtains as explained above.
- Never forget to focus on the product. Capturing an eye-appealing and nicely arranged image of your product can be really useful and natural light photography can create beautiful effects. But, be sure that you have a simple, well-lit image of your products that has no distractions.
- Do not forget to leverage Model Photo Editing and Product Image Editing to make your images of high-quality, professional, captivating, and unique.
Conclusions
Natural light photography instantly adds a natural feel to your products. This can be very beneficial for you as most viewers nowadays prefer something that is not highly manipulated but rather simple and original.
Doing natural light photography can be very tricky. Therefore, it is necessary that you be mindful of the few mistakes that most photographers commit. At the same time, following the above-mentioned tips can be very useful in improving the overall look of your product images.
If you wish to learn more about eCommerce, product photography, Product image retouching, and how to grow online, subscribe to the PixelPhant email newsletter below.