Headshot Photography Guide: Tips And Ideas You Need
Headshot photography is a popular and important photography style. It is used for corporate IDs, modeling portfolios, and even eCommerce model photography.
With its wide range of usage, it can surely be difficult to grasp if you are a beginner.
That is why I am sharing with you this ultimate Headshot photography guide. We’ll discuss tips, poses, and the difference between a headshot and portrait photography.
Let’s get started from the basics without taking any more of your time and learn how to capture professional headshots.
What Is Headshot Photography?
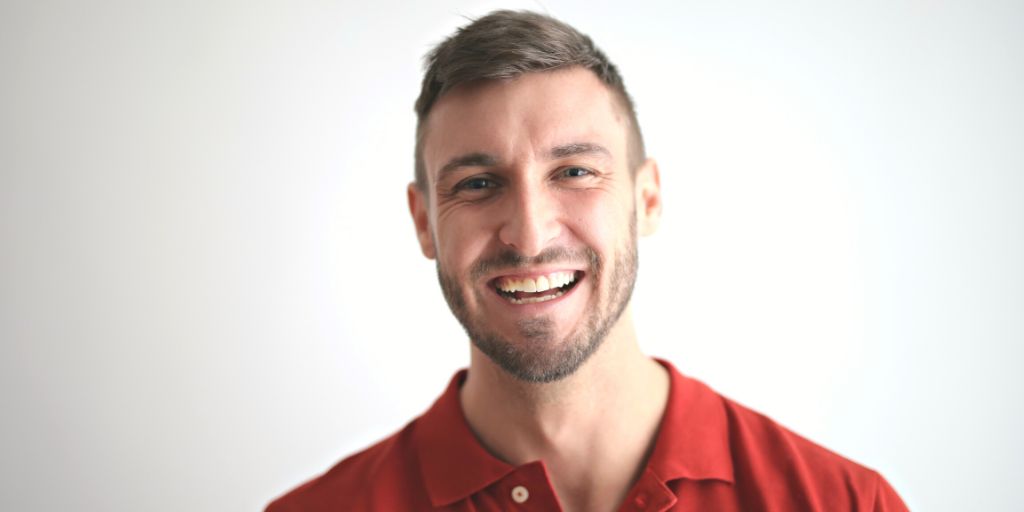
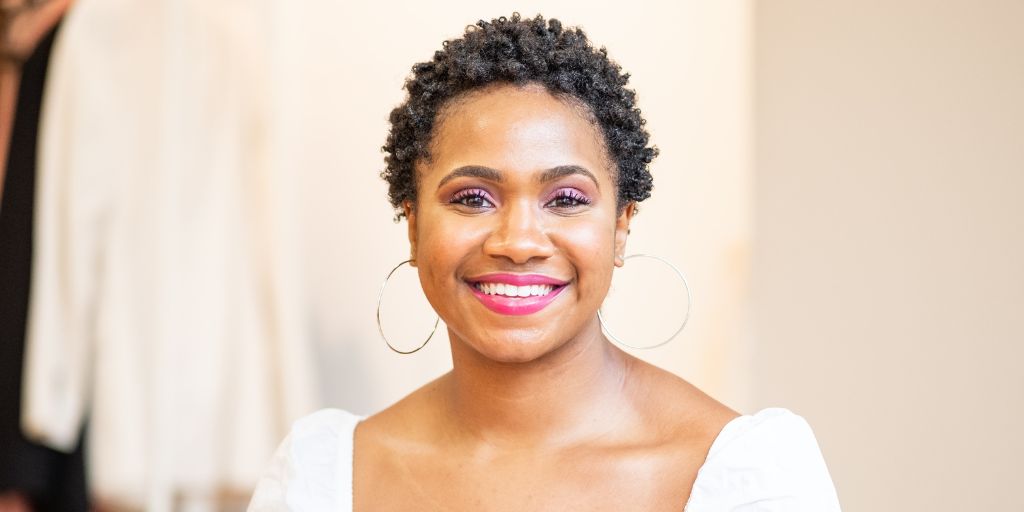
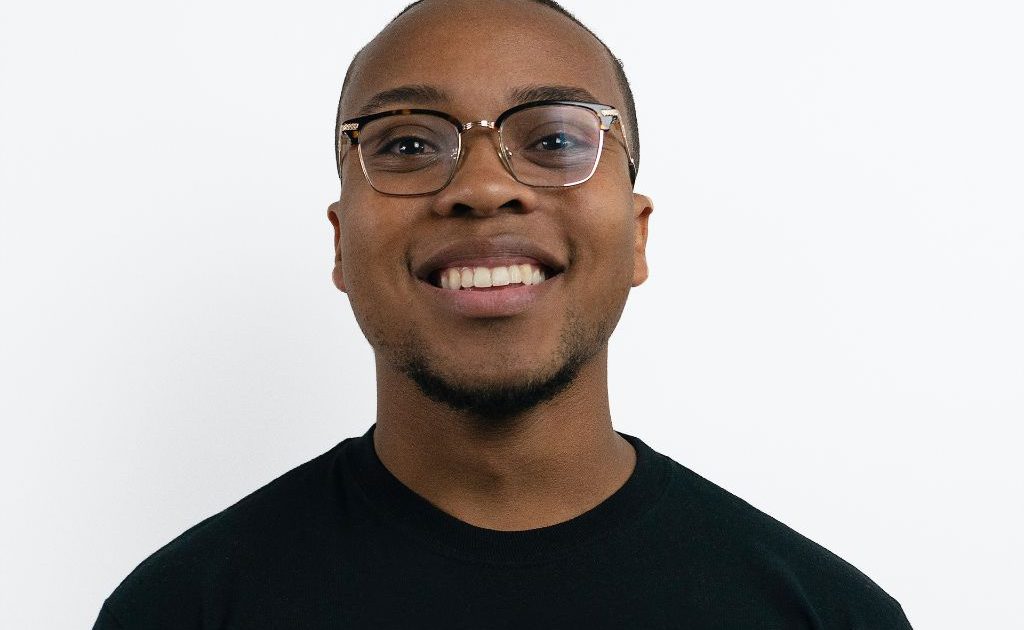
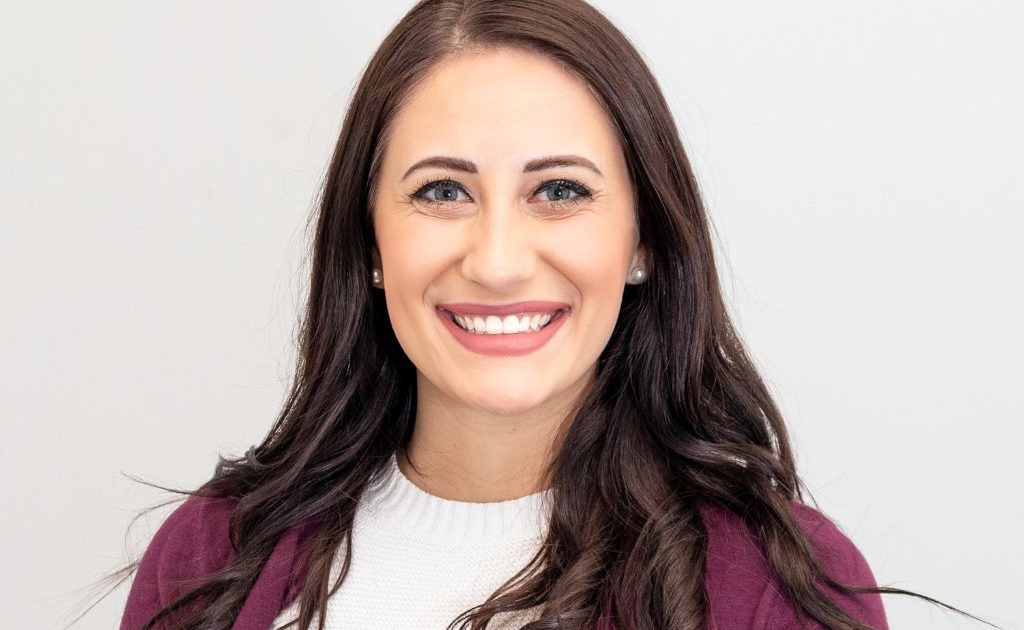
Headshot photography is a photography style where the face of the subject is the main focus. These shots are usually taken mostly for identity purposes and used for corporate id cards. Social media profile picture, portfolio, or company website.
You’ll also notice that most headshots ensure that the frame is mostly filled with the face of the model, leaving a very little margin on the top and some on the sides.
The focus is only and only the face while a solid background color is used, or the background is completely blurred out for a busy setup.
Headshot vs Portrait Photography
Headshot photography and Portrait photography are different styles but within the same industry genre.
Headshot photography is a style where you focus on the face and remove all the distractions from the background. No props are used, and the image is usually kept sharp, clean, and simple.
On the other hand, Portrait photography has no such rules or guidelines. Here, all you need is a subject, which should be your photography’s main focus.
It can be a model and even a product as well. You can use props to create a frame, use visually appealing lighting, use various camera angles, add in different backgrounds and explore a lot of new shots.
One can surely argue, Headshot photography is a part of Portrait photography that focuses only on the face and eliminates any distraction from the frame.
9 Tips for Professional Headshot Photography
Learn about the use of the photos

Before getting started or preparing for headshot photography, as a photographer, you must ask about how the photograph will be used.
Will it be used in a specific magazine and column, or will it be published on a website besides others?
Many guesswork and revisions can be eliminated if you know exactly what the image will be used for and how it should be shot.
It will also be a great idea to ask your client if they have any reference images that they can share with you. If not, head to Pinterest and collect sample images to share with the client.
Understanding the expectations helps set up the shoot, choose the equipment, and make the right decisions.
Choose the right backdrop
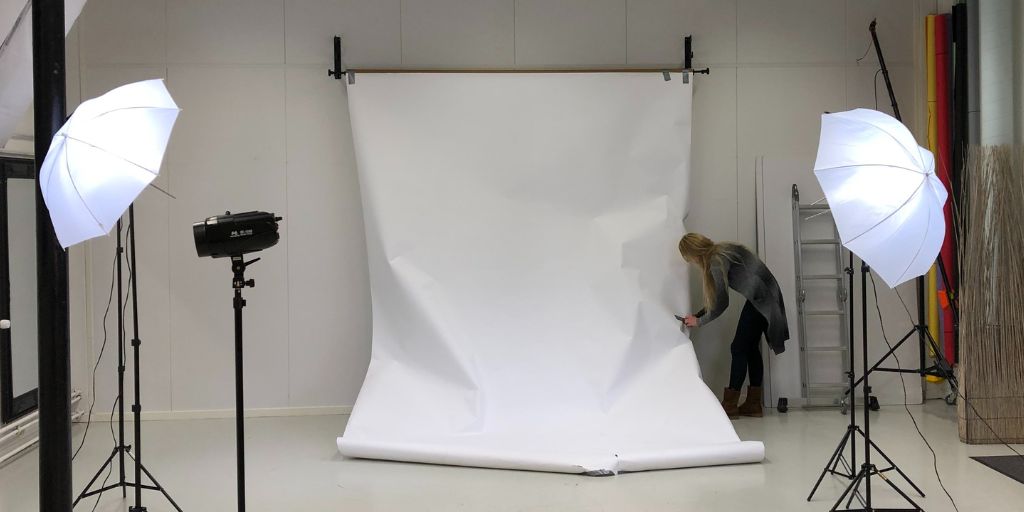
Like in every photography style, the backdrop of your headshot photography will play an important role. It helps in setting up the feel of the image and has a huge impact on how the model is presented.
The best background for headshot photography is simple, uncluttered, and neutral in color. Normally, a plain white or gray background will be great, as it allows the model’s face and clothing to be the image’s main focus.
If you’re working in a studio, you can use a seamless paper or muslin backdrop in a neutral color. Alternatively, you can use a solid-colored wall or fabric as a backdrop.
Make sure that the background is evenly lit and has no distracting patterns or textures.
If you’re working on location, you can use a simple wall or fence as a backdrop or find a location with a neutral-colored wall or other backgrounds.
Just make sure that the location is well-lit and that the background isn’t too busy or distracting.
In general, it’s important to avoid backgrounds that are too bright, busy, or colorful, as they can distract from the subject’s face and detract from the overall look of the image. Instead, opt for a natural photography background that complements the subject’s clothing and skin tone.
Also, if you are doing a corporate shoot, it is a common practice to set up a common backdrop and sit to create consistency among all the images.
Pay attention to the lighting
Lighting is an important element of headshot photography, as it can greatly affect the look and feel of the final image. The most preferred lighting setup would be natural lighting.
That is why, when setting up the location, look for a space with ample natural light.
When working with natural light, it’s important to shoot during the golden hours (just before sunrise or after sunset) as the light is soft and warm. This helps in creating a flattering and natural-looking image.
You can use artificial light to create a similar effect when working in a studio or other controlled environment. You shall use a softbox or umbrella to diffuse the light and avoid harsh shadows.
When setting up lighting, pay attention to the direction and quality of the light, as well as the intensity of the light source. Experiment with different lighting setups and techniques to find what works best for your headshot sessions.
Use a reflector
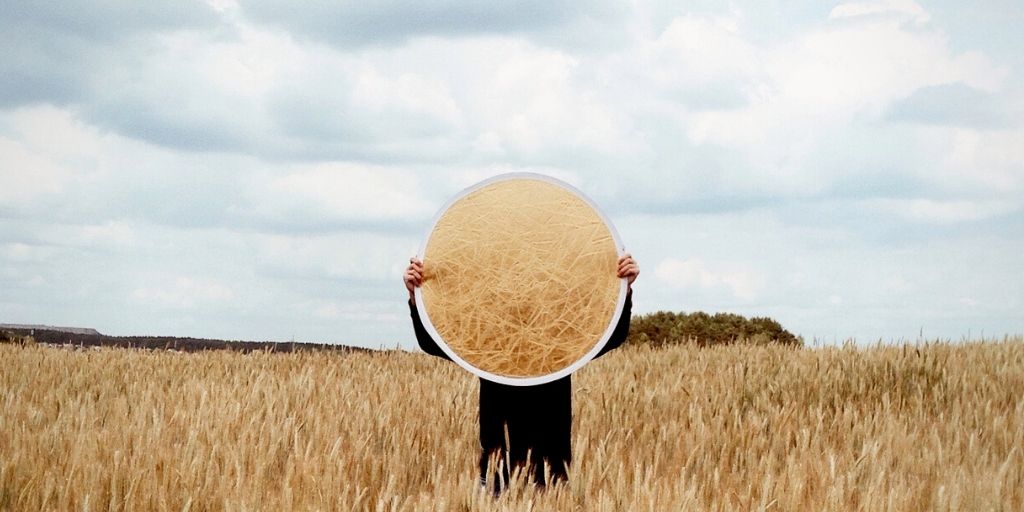
A reflector is a simple and effective tool that can bounce light back onto a subject, filling in harsh shadows and adding dimension to an image. In headshot photography, a reflector can be particularly useful for creating a flattering and natural-looking image.
If the light comes from one direction, another section of the face will have shadows all over, creating a rather unflattering frame. Using a reflector ensures that it is balanced.
Several types of reflectors are available, including white, gold, and silver. Each type of reflector has a different effect on the final image, so it’s important to experiment with different reflectors to see which works best for your needs.
To use a reflector, hold it in front of the subject at a 45-degree angle to bounce light back onto the face and fill in any shadows.
This helps in creating a more balanced and natural-looking image. Just be sure to adjust the angle and distance of the reflector as needed to get the desired effect.
Use a lens with a fast aperture
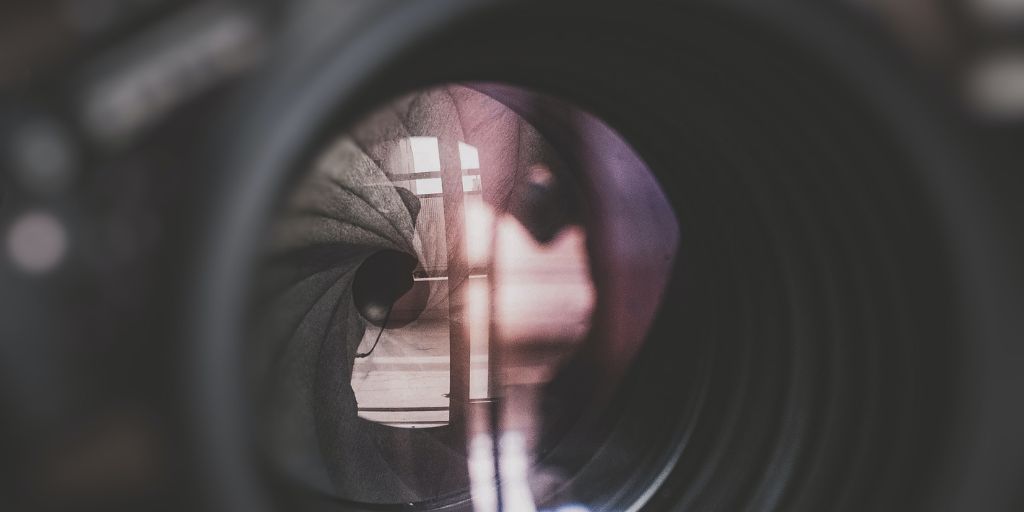
The aperture of a lens is the size of the opening through which light enters the camera. A lens with a fast aperture (e.g., f/2.8 or lower) has a larger opening, which allows more light to pass through and reach the sensor.
This is particularly useful in headshot photography, as it allows you to create a shallow depth of field (DOF) and blur the background, drawing attention to the face of the model.
To create a shallow DOF with a fast aperture, set your camera to aperture priority mode and choose a wide aperture (e.g., f/2.8).
This will allow you to control the depth of field and create a more selective focus on the face. Just be sure to focus on the eyes, as they are typically the most important part of a headshot.
Make sure to capture some sample shots and find the right spot where you don’t compromise on the sharpness when increasing your camera’s aperture.
Use a telephoto lens
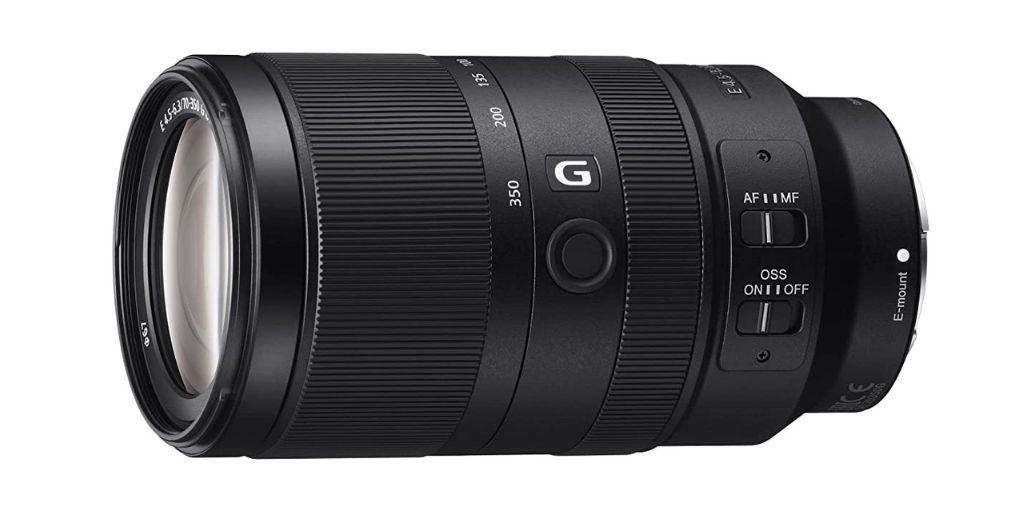
A telephoto lens has a long focal length, typically 85mm or longer. In headshot photography, a telephoto lens can be particularly useful for creating a more flattering and natural-looking image.
One of the main benefits of using a telephoto lens for headshot photography is that it helps to compress the background and create a more cohesive image. This is especially useful when you have a busy or cluttered background, as it will help to minimize distractions and draw attention to the subject’s face.
A telephoto lens can also help minimize distortion, a common problem with wide-angle lenses. This can help to create a more natural-looking image, with features such as the nose and ears appearing more proportionate.
Just be sure to consider the trade-off between focal length and image sharpness, as using a very long focal length can result in softer images.
Additionally, be aware that a telephoto lens may require more light than a wide-angle lens, so you may need additional lighting or a higher ISO to get a properly exposed image.
Experiment with different angles
In headshot photography, it’s important to find a pose and angle that suits the subject and their profession.
While straight-on shots of the face work well, experimenting with different angles adds visual interest and helps to convey the subject’s personality and character.
One way to add visual interest to your headshot images is to shoot from above or below the subject.
This creates a more dynamic and artistic look and can be especially effective when combined with a shallow depth of field.
Another way to experiment with angles is to have the subject turn their head slightly or look off to the side.
The outcome will depend on how well you communicate with your subject and how they follow your instructions.
Pay attention to the eyes
In headshot photography, the eyes are the most important part of the image. They convey a wide range of emotions and personalities. And for these reasons, it is important to pay close attention to the eyes when taking headshots.
To create a more engaging headshot, ensure the eyes are focused and well-lit. You may need to adjust your camera’s focus point or use a smaller aperture (e.g., f/4 or f/5.6) to ensure that the eyes are sharp.
It’s also good to have the subject look directly at the camera (or slightly off to the side) to create a more engaging and expressive image.
In addition to focusing on the eyes, it’s important to pay attention to the subject’s expression and body language.
Encourage them to relax and be themselves, and consider using prompts or conversation to help them loosen up and convey their unique personality and character.
Consider hiring a stylist
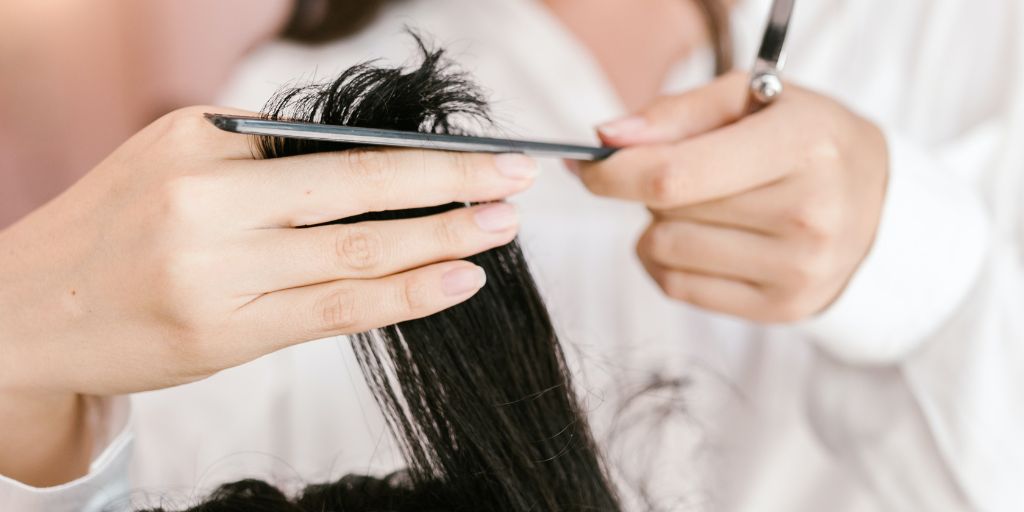
Ensuring that your model is ready for the shoot is important, as it helps ensure that the result is outstanding.
A stylist can help your subject choose the right clothing and accessories for their headshot session. They can also assist with hair and makeup to ensure that the subject looks their best.
A stylist will ensure that every model looks their best if it is a professional shoot.
Bonus Read
Headshot photography is about capturing an individual’s unique personality and character. It requires a combination of technical skill and artistic ability, as well as the ability to connect with your subjects and create engaging images.
To create professional and polished headshots, it’s important to pay attention to lighting, composition, and editing. Invest in good equipment and practice, and be open to trying different techniques and approaches to find what works best for you.
And when it comes to editing your headshot images, don’t underestimate the value of a good photo editing service.
PixelPhant offers professional photo editing services to help you retouch and enhance your headshot images.
So whether you’re a professional photographer or just starting, don’t hesitate to try PixelPhant and see the difference.
With our expertise and attention to detail, we can help you create headshots that truly capture the essence of your subjects and elevate your work to the next level.