DIY Hat Photography Ideas & Tips: Product Photography Guide
Hat photography is one of the most popular styles you can quickly specialize in by following simple steps. And while we are talking about hat photography here, you can follow the same steps and tips to photograph a beanie or any other kind of headwear.
If you are getting started on fashion photography, hat photography can help you understand the concept easily. And this article will help you learn everything about that. You can use the same style and techniques for various types of fashion products and eCommerce.
And the two most popular ways of hat photography as fashion photography are:
- Ghost mannequin photography
- Model photography
These two photography styles are the most common types of headwear. We are going to learn about each one of them in this article. But before we pick up the camera and start shooting, let us focus on preparation.
Preparation For Hat Photography
Hat product photography or any other product photography starts with good preparation for the shoot. This includes preparing your product, camera, and studio. Here are some quick steps that will help you prepare for hat photography.
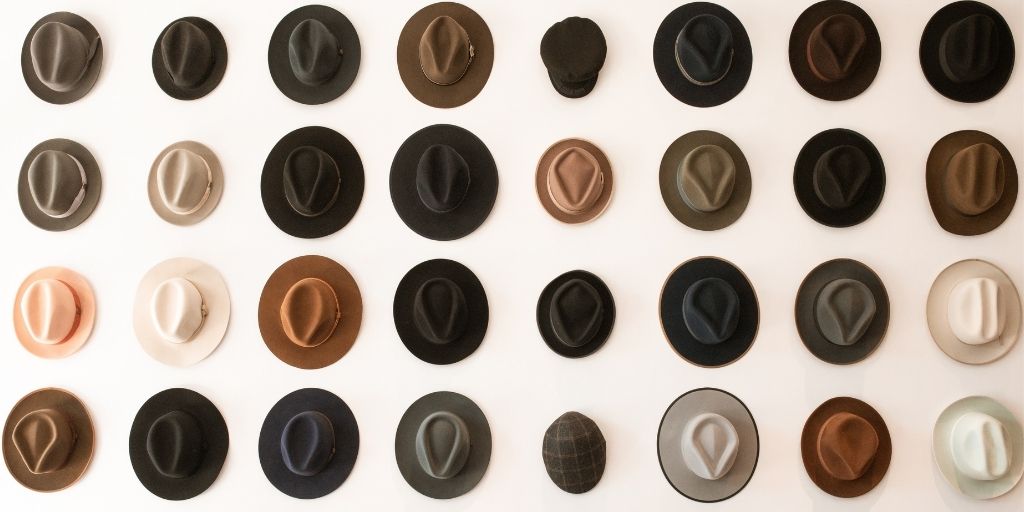
Prepare your hats
Hats are simple head-wearing accessories, but to ensure they stand out, here are some hat photography tips for preparing your products.
- Make sure your hats do not have unusual bends as they indicate low quality.
- Ensure that the hat is clean and there are traces of dust on it.
- Use a roller to remove lint from the surface of the hat to make it look perfect.
- Remove any tag or sticker from the hat. But if you are not allowed to, try to hide it or remove it in post-production.
Prepare your camera
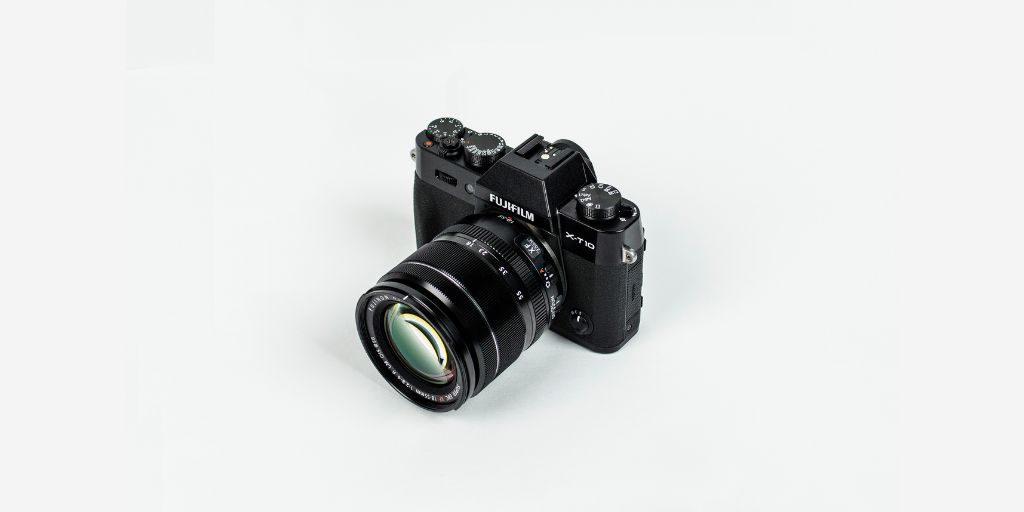
The next stage for hat photography is to prepare your camera. If you are just getting started and looking for an affordable camera, you can go with a Sony a6400, Panasonic Lumix FZ80K, or Canon 90D.
Whatever camera you choose, here are some tips to prepare for the shoot.
- Make sure to clean your camera lens before you start shooting.
- Close the lid when the camera is not in use.
- Usually, product photography is done between ISO 200 to 800, f/4.5 to f/7.1, and shutter speed at 1/125 for a clear, crisp image.
- Use a tripod to keep the image steady and fix it in one place to have consistency.
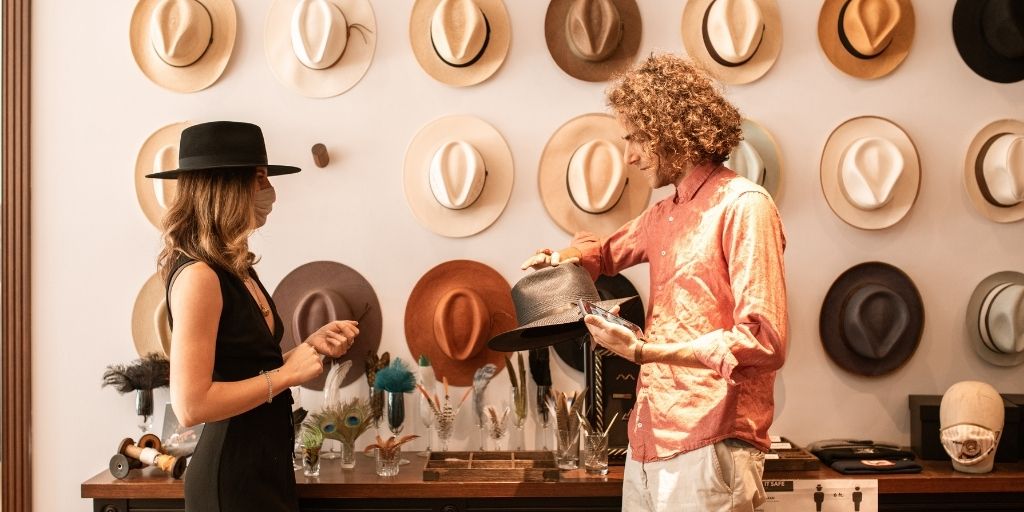
Prepare your studio
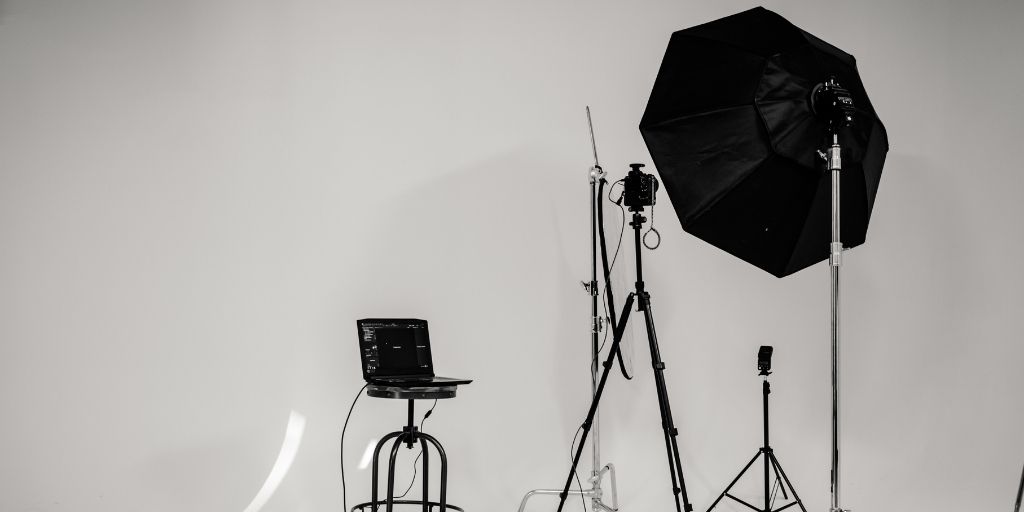
The last stage of hat photography you must give your full attention to is your studio set-up. Even if you have one of the best cameras, negligence in your setup will affect the quality of your image.
Here are a few things you must follow when setting up your photography studio.
- You should use a stable table or an elevated surface to place your products.
- Use a simple, plain background that doesn’t grab attention. The most common background materials used are background paper and muslin cloth.
- For lighting, the goal is to illuminate the hat from all sides without making it seem artificial. Use soft lights to avoid hard shadows and ensure lighting is consistent in all images.
We created an in-depth guide on product photography lighting and setup that you must read to learn to use lighting professionally.
Hat Photography Types and Setup
Ghost mannequin photography Idea
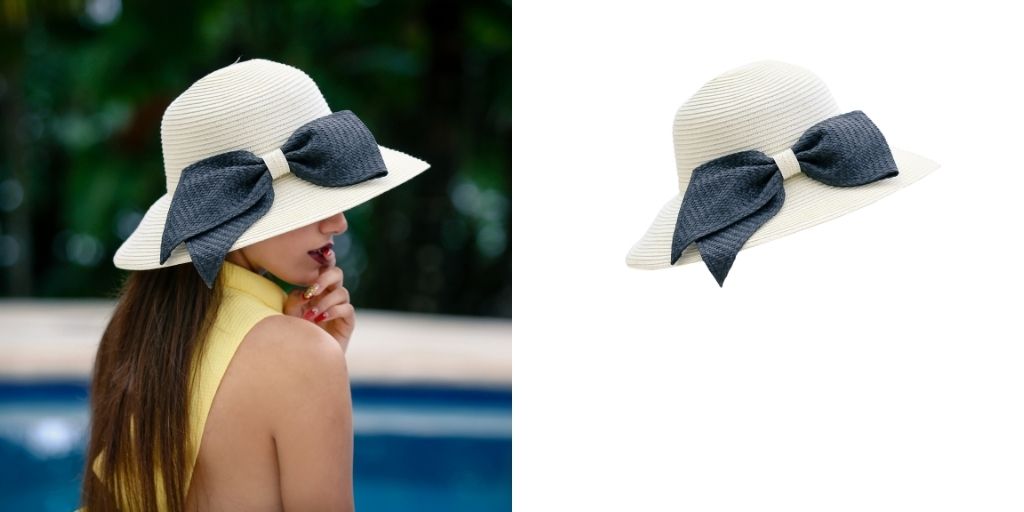
The ghost mannequin photography idea for hat photography or floating hat photography is one of the most impactful photography styles in hat photography. It helps you grab the customer’s attention, showcase your product, and avoid distractions. Here’s how you can get started:
- Place your mannequin/model in the middle of your frame with ample negative space around it.
- Now place the hat on it, slightly tilted as your customer typically wears.
- Using a tripod and your camera, capture the hat with a mannequin.
- Now, without moving your camera, or making any changes to your lighting, hold the hat in the frame and remove the mannequin/model from the frame.
- Capture the hat suspended in the air (while you hold it).
You can learn more about Ghost Mannequin Photography in our recent guide, where we have discussed the topic in detail.
When you have both these shots ready, you can send them for post-production. From the first shot, the mannequin would be removed. Instead, the inner section of the hat (that was hidden by the mannequin’s head) and the background would be added in the second shot.
Ghost mannequin photo editing can be very time-consuming when you have bulk images for eCommerce. So rather than putting hours of your efforts into it, you can simply outsource it to professional product photo editing services.
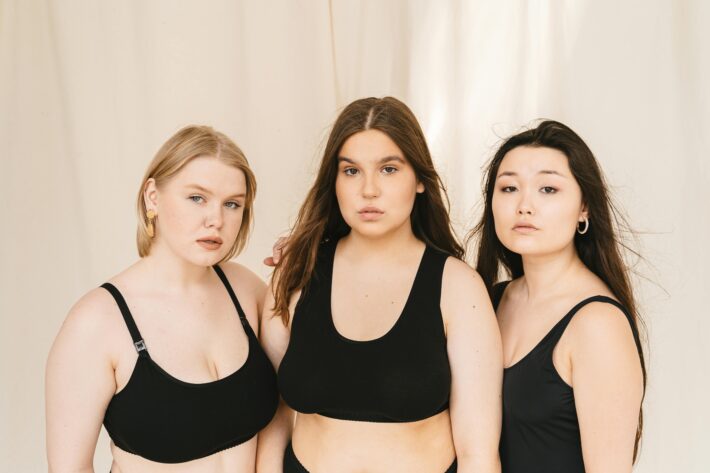
Model Photography Idea
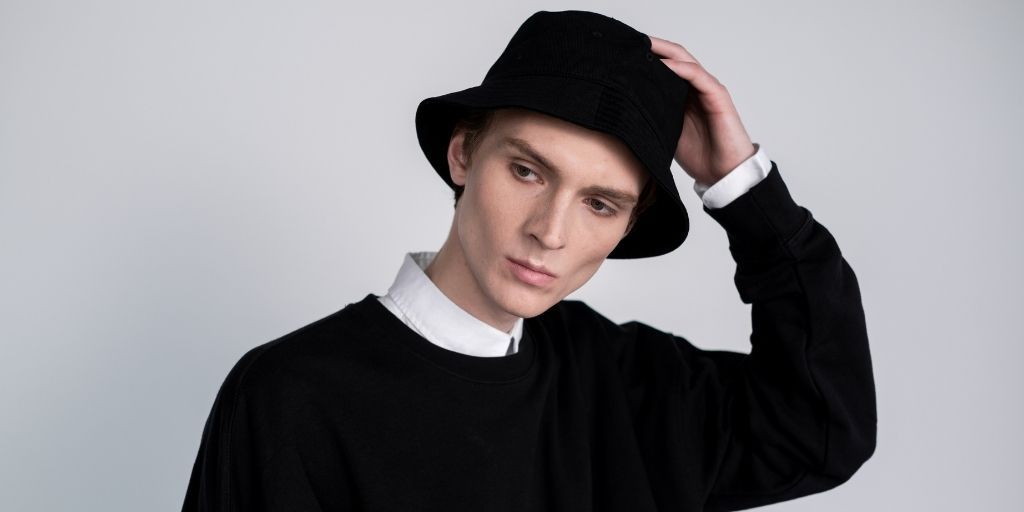
If you have a budget, and more specifically, if you can hire a model, model photography will be great for hat photography. It gives much more context to your product and helps them understand how the hat will look on them.
For model photography, here are some quick steps that you can follow:
- Find a model that aligns with your brand and product. For example, if it’s a street-style hat, you must be looking for a face that represents street fashion. Similarly, if it is a cowboy hat, you must look for models that look like they are from the countryside.
- Next, get the model ready for the shoot. This includes makeup and dressing. Also, this will be the right time to share a brief about the shoot’s concept. Share the expressions you are looking for and the pose ideas, and get their ideas on what they think will be great for the shoot.
- With makeup and dressing all done, it’s time for some sample shots. Make your model stand in the position, and adjust the lighting. Take the sample shots to find the best pick. Once it is finalized, get started with the shoot.
- Remember that the goal is to present the hat in the best way possible. So make sure the hat is visible and has all the attention in the frame.
- Finally, capture the model from multiple angles to show different sides of the hat. This will help customers learn how the product will look on them when they wear it from different sides.
You can learn more about model photography in our recent guide, where we have discussed the topic in detail.
Model photo editing requires very keen attention to detail. So if you are editing your image, do natural skin retouching, remove any stains, remove any unwanted blemishes or marks, and retouch your hat.
Bonus Read
Hat photography is one exciting part of fashion photography where you can capture your headwear in one of the most exciting styles. It is a style that allows you to learn a lot and, at the same time, experiment with different types.
Ghost mannequin photography and model photography are two of the most popular photography styles, especially in the niche of fashion photography. And if you are just starting, learning about them can be helpful in your career.
And you have to keep in mind that a photography project takes time. Many eCommerce and photography studios prefer to outsource their image post-production to PixelPhant.
PixelPhant is a professional product photo editing service that helps eCommerce, photography studios, and freelancers edit their product images professionally and, most importantly, efficiently. Save time and save resources with the best product image editing service. Get a free image editing trial now.