5 Easy Steps To Build A DIY Photo Studio At Home On A Budget
Looking to build an amazing DIY photo studio at home on a budget? You want the setup to be very professional too? Well, your search ends here.
This ultimate 3-section guide to build a DIY photo studio at home includes everything that you need to build a professional photography setup. So, let’s get started.
How To Build A DIY Photo Studio At Home?
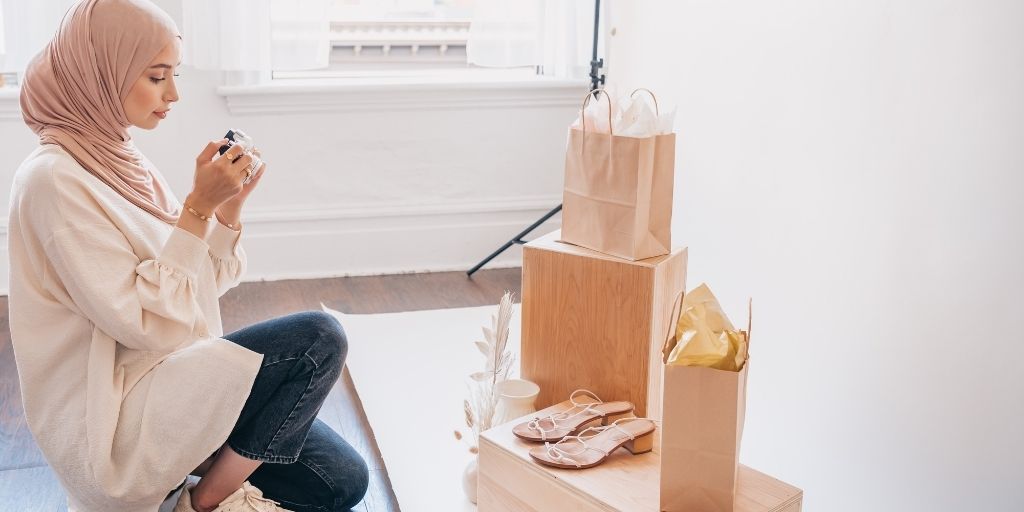
Setting up a professional product photography home studio setup on a budget might sound tough, but it’s easier than you think.
All you need is to collect a few basic things, utilize them with your amazing photography skills, and boom! You’re all set to capture photos like a pro – on a budget.
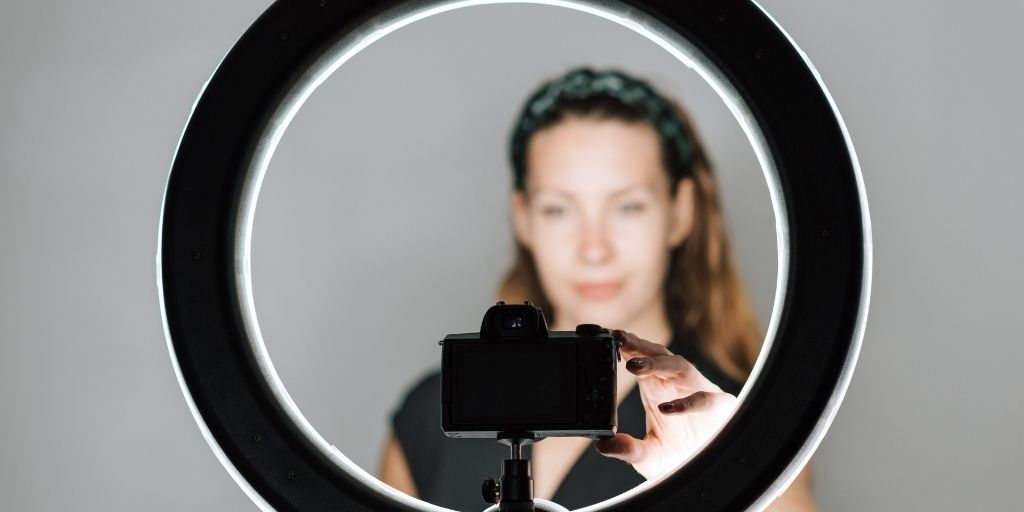
1. Camera
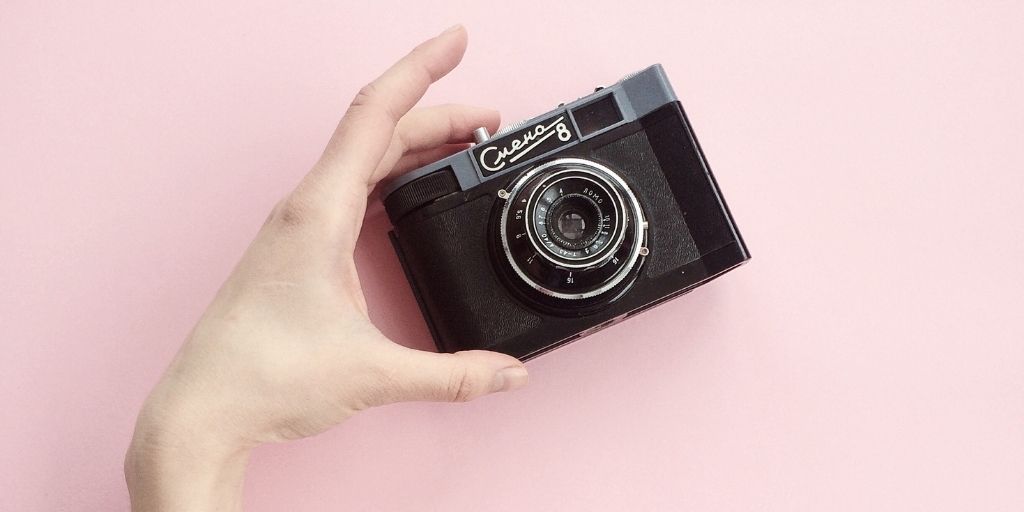
You’re building a DIY photo studio at home because you want to do photography. So, having a decent camera with you is the minimum requirement for your home studio setup.
You can easily find a good digital camera at a budget of around $150. You’ll want to make sure that the camera has a good image quality of at least 540×360 pixels.
The camera must also have an average battery backup of at least up to 12 hours.
2. SD card

Memory SD cards are essential to ensure that you don’t run out of storage. They are usually essential for a DIY photo studio, especially when you are traveling or have a long photoshoot.
Using an SD card of 64GB is quite enough for a DIY photo studio at home and it should not cost you any more than $10. If you’re a busy photographer with multiple projects, I’d advise you to keep two SD cards.
You may want to use an SD card of 120mbps for better image processing. Such memory cards can store up to 1000-1700 images approx. and are perfect for taking jpg as well as RAW images.
Using 2 SD cards instead of one SD card with a larger storage capacity is much smarter since if one memory card were to get lost or corrupt, you’ll still have your other batch of photography safe in the other.
3. Tripod
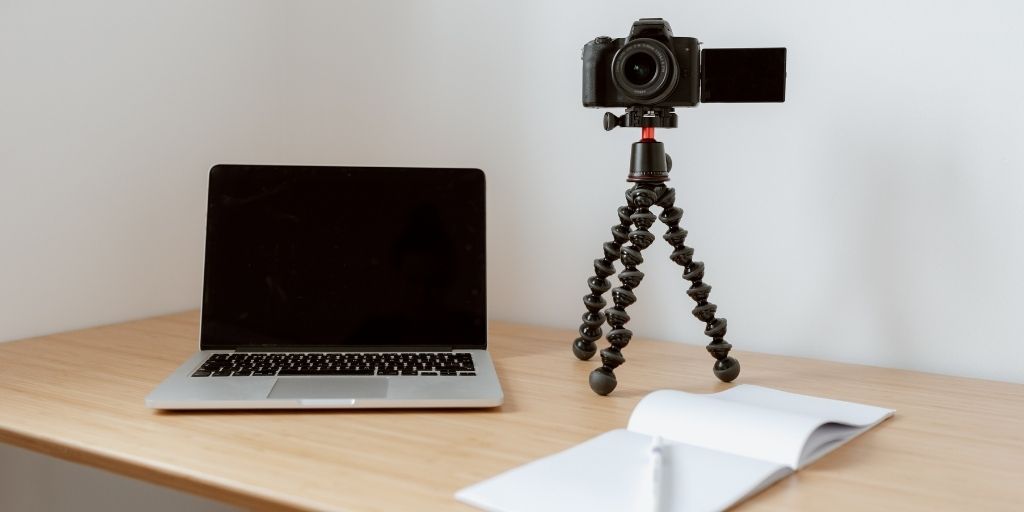
A tripod is another necessary piece of equipment for your DIY photo studio at home on a budget. You can’t simply avoid using it. A tripod is a must to capture professional, steady images.
If you’re in the room, your home studio, or your backyard, the tripod will allow you to capture unshaky and detailed images. A tripod is a great investment for carrying out professional photography.
4. Lights
Lighting is an important factor in photography. The photography lighting setup has to be complete in order to capture decent and professional-looking photos.
Buy 2 photography light bulbs to create an idle setup for every kind of photoshoot. Each bulb may not cost you more than $20 for your DIY photo studio.
For smaller subjects, you can also create your own DIY softbox using a cardboard box, white paper sheet, and the same lighting bulbs.
5. Clamps and Duct tape
The next most crucial things for your DIY photo studio at home are duct tape and clamps. These become essential when you want to stick your backdrop to your wall or hold the product in place.
These supporting tools can seamlessly make your work easier while offering the perfect finish to your product photos. These are also extremely useful in creating your DIY photo setting with a colored or white backdrop.
Also Read: 10 Creative Product Photography Ideas At Home [+Examples]
How To Perform DIY Product Photography At Home?
1. Everything from DIY Photo studio
Once you’ve finished setting up your DIY photo studio at home on a budget, it’s time you start the DIY product photography at home.
And the first requirement to start your DIY product photography will obviously be the setup of your DIY photo studio at home. Set up your camera, lighting, tripod, and get ready to be in action.
2. Paper or cloth backdrop
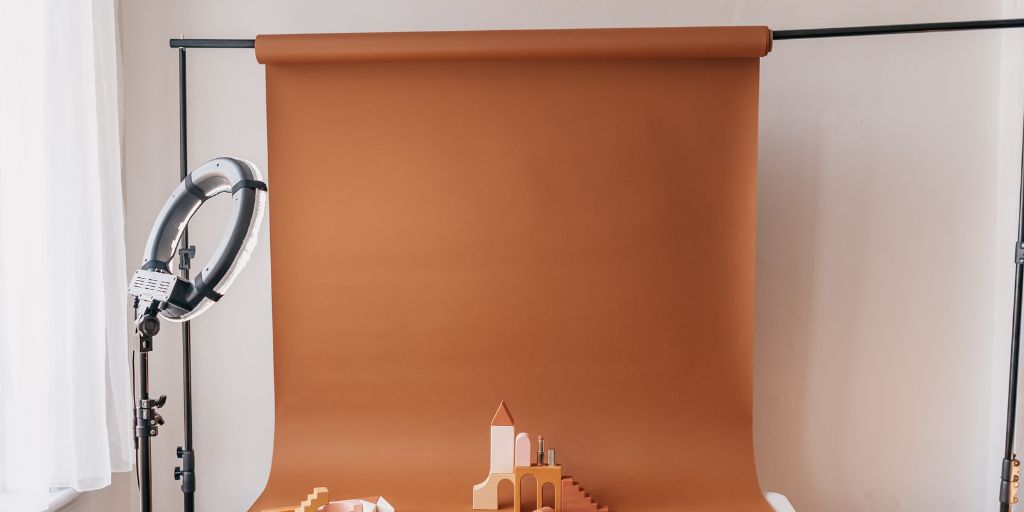
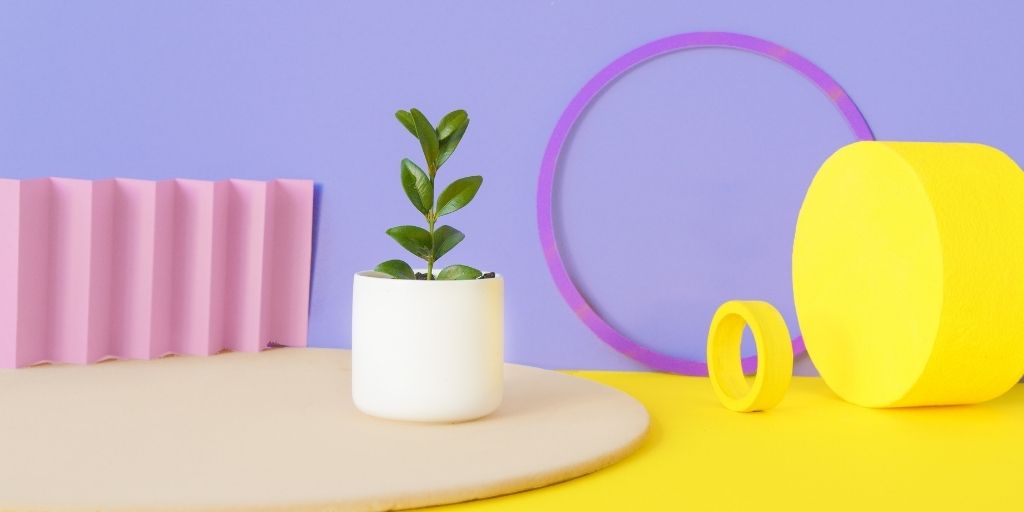
Give your product the clarity and consistency it deserves using the correct background. The best part of creating a DIY background is that you can use almost anything – without having to purchase anything.
You may choose to use simple white paper, a piece of cloth, old rusted metal trays, or even a wooden plank. Just make sure that your background is not too distracting and compliments your product. this is one of the best and most creative aspects for building your DIY photo studio at home on a budget.
You can choose a similar background color to your product to create a monochromatic aesthetic or choose a contrasting color to create a bold effect. Be creative and experiment with your backgrounds.
However, if you do not have anything at your home that can be used as a background, then it’s best to invest in a good, opaque white backdrop paper. Since white paper is very versatile, it will allow you to capture clean, consistent photos and will work with every product and photo setting. You can find various different backdrop papers on Amazon easily for your DIY photo studio.
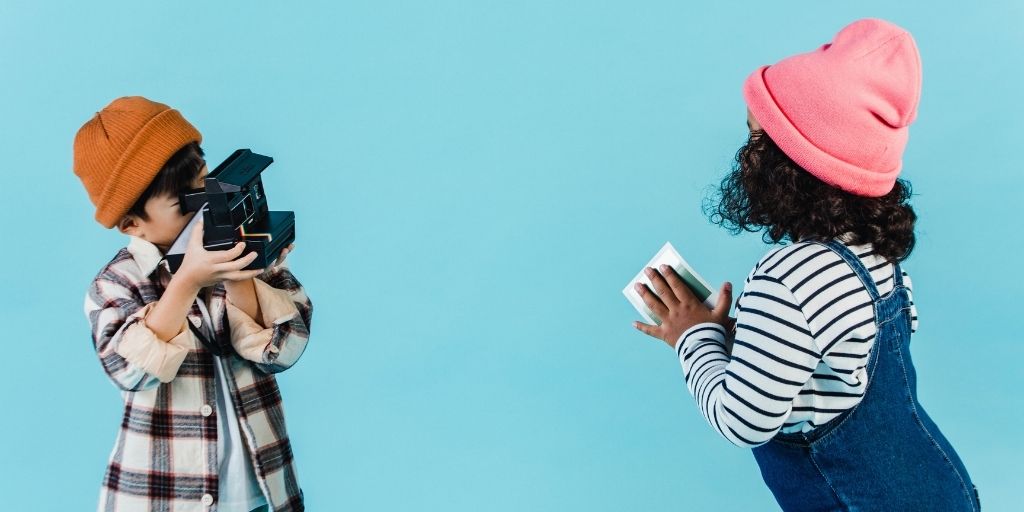
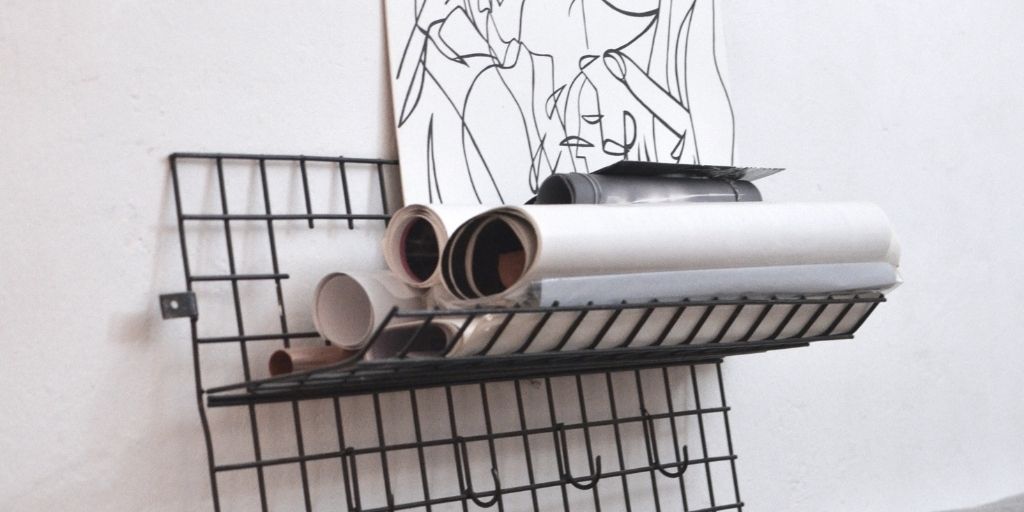
3. Props lying in your home
Being on a budget should not restrict you from being creative. The best advantage of setting up a DIY product photography studio at home is that you can get creative and make use of many things lying around your home.
Utilize things like bottles, kitchen ingredients, small toys, artificial or natural flowers, beauty tools, etc. as props for product photography. Such small and seemingly unimportant things can greatly alleviate your DIY photo studio at home on a budget.
In fact, despite having a better budget, I’d still recommend you to repurpose the old things in your home as props instead of cashing in dollars. You can use that same money for a better camera, lighting setup, or memory cards.
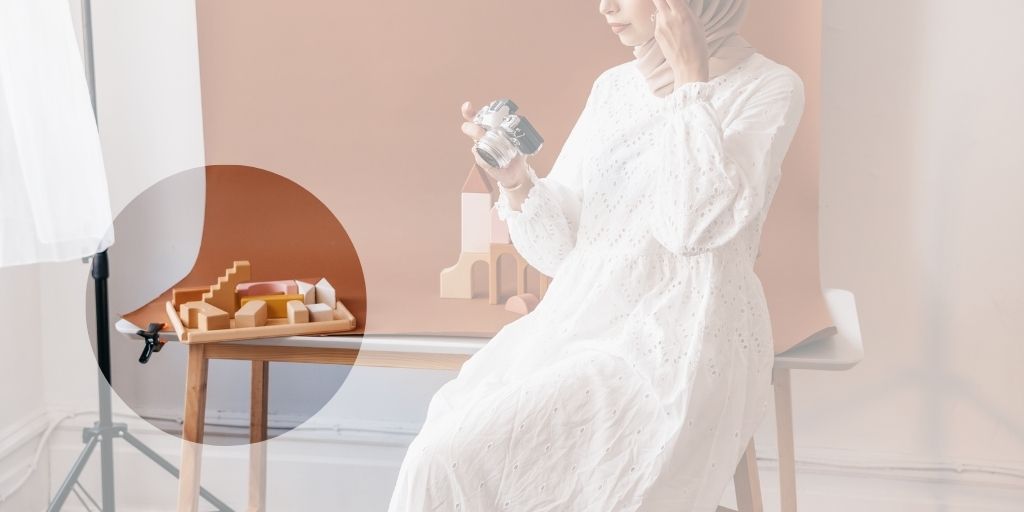
4. A table
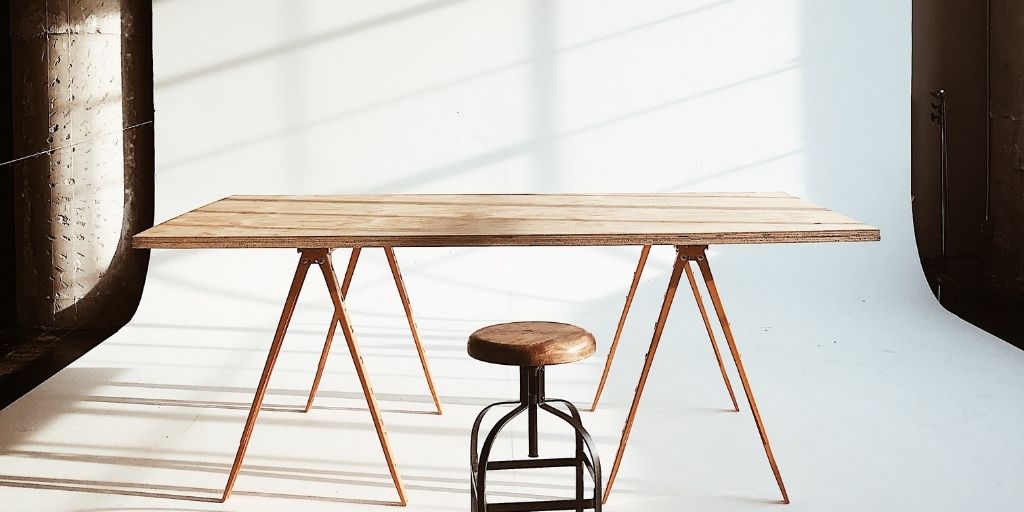
A table is a common need for DIY product photography at home. You genuinely need a stable, flat surface to carry out DIY product photography at home.
If not a table, you can also use a heavy old trunk or a stable stool – pretty much anything where you can easily place your product at a height.
Also, it would be better if you could use a table with a large surface area to give you enough space for the product of all sizes and also leaves room for props or ingredients if you’re using any.
A larger surface area would also give enough negative space for cropping and resizing once the shoot is complete.
5. Aluminum foil, white foam boards, and a black sheet
The last basic requirement for your DIY product photography at home on a budget is to gather a roll of aluminum foil, white foam boards, and black chart paper.
Why do we need that? Because we are making our very own DIY reflectors and diffusers!
Reflectors and diffusers are perfect for directing the light wherever you want it to be. With photography reflectors, you can work with even minimal lighting and still brighten up your subjects very well.
The white foam boards will work as diffusers to evenly distribute the light and create a beautiful even glow. On the other hand, the black sheets will help you absorb the access light, especially when you’re working with natural light and you have no control over it.
If you can collect these three things, you’ll happily be able to save a lot of money from buying photography reflectors and diffusers.
Reflective, white, and black surfaces are the minimum requirements for building your DIY product photography studio at home on a budget.
Bonus Read
Building a DIY product photography home studio setup on a budget is easy. All you need is to gather a few basic things, look around, and make use of the things you already have. This simple guide explains to you all the things you must have to build your own DIY photo studio at home on a budget to perform product photography.
There are many other things that you may want to use as a turntable for 360 product photography or color gels to add aesthetics to your product photography. However, things explained here are the bare minimums you should have to carry our product photography professionally.
If you still feel that a few changes can be made to improve your product photos, then outsource your post-production activities and let the professionals like PixelPhant handle the work for you.
We help photographers, eCommerce, and photo studios like yours to look professional with PixelPhant’s professional product photo editing services. Try them for free now?