7 Important Product Photography Angles & Viewpoints
Ecommerce product photography, as we know, is about presenting products in a professional, consistent, and trustworthy manner.
In a recent PixelPhant survey, we saw that among the top Fashion eCommerce, 88.1% of brands are consistent with the way they present products.
This requires a photographer to choose the best product photography angles and viewpoints that showcase the product in the right way..
- But how should one choose what is right for the customer experience?
- More importantly, what effect does each photography angle and viewpoint have on the customer?
To answer these important questions, we are sharing 7 Best Product Photography Angles and viewpoints for professionals.
So, without taking any more time, let’s get started right away.
Table of Contents
7 Best Product Photography Angles
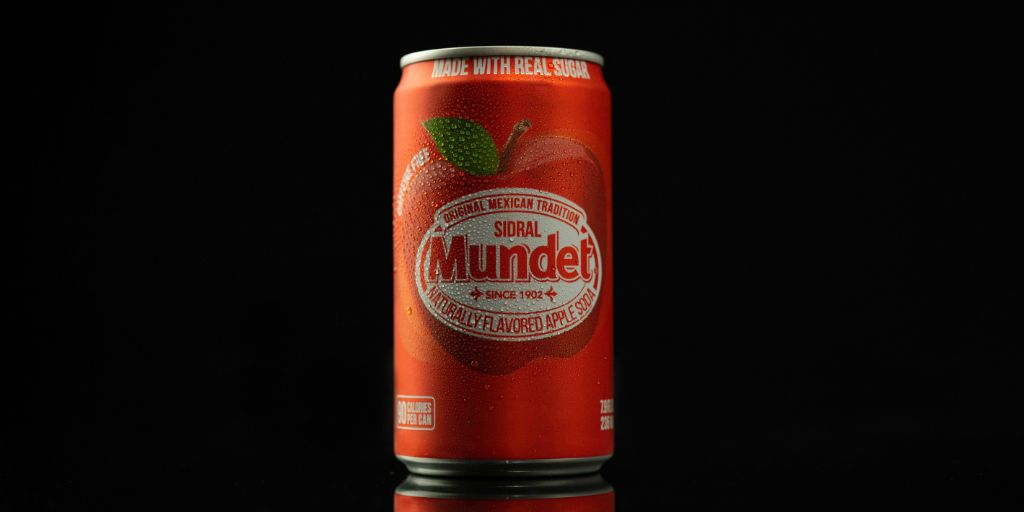
Front Angle
The front angle in product photography showcases the front side of the product. It is an important and most commonly used angle.
Since most types and categories of products have important information on the front, it is important for any brand to have a clear, uncropped photography angle from the front.
This angle provides a clear, straightforward view of the product, allowing viewers to see its key features, details, and design elements with clarity.
The front angle becomes even more important in eCommerce. Where customers expect to see a clear, front-facing image when browsing through online stores.
Since they want to have a clear idea of shape, size, and design—a front angle makes it their default preference.
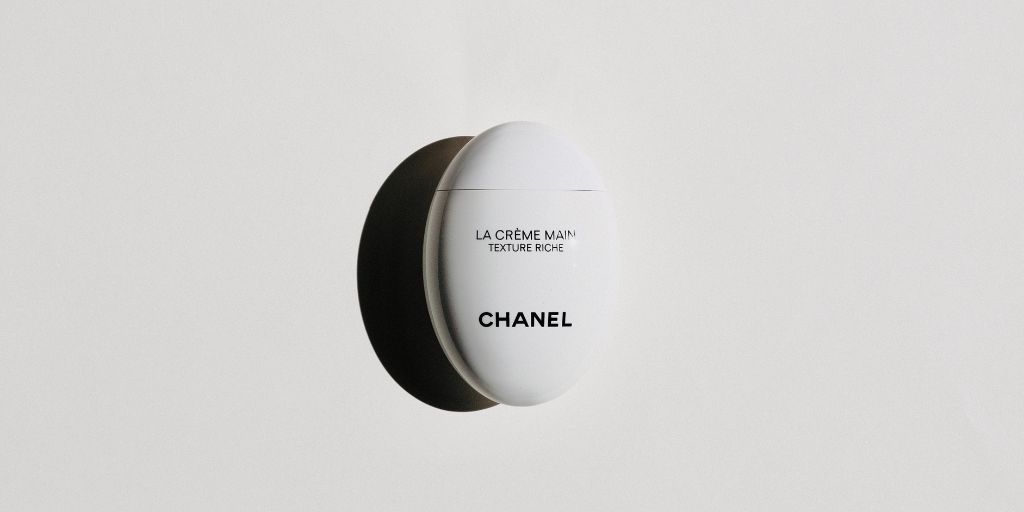
Profile Angle

The customer usually gives the profile angle a second preference. But if you are shooting products like shoes, caps, and automobiles—where sides are more important—these become the primary images.
The angle is necessary for products with volume and girth, such as footwear, apparel with side details, or a storage product whose sides determine its storage capacity.
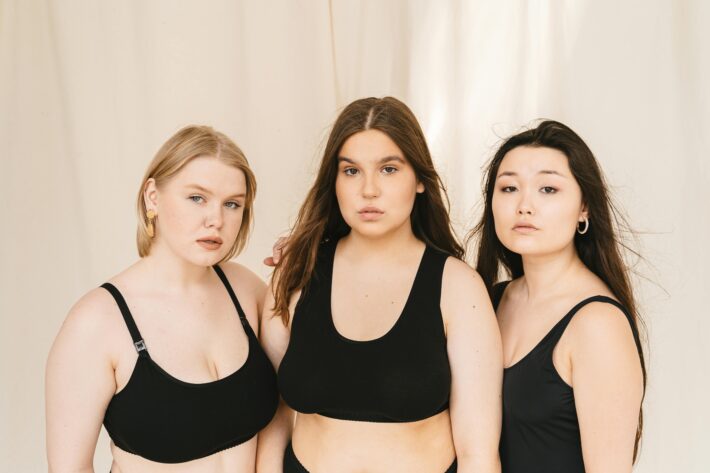
The profile photography angle is also important when shooting wearable products on models. It gives customers an idea of how the product will look from all sides after they wear it.
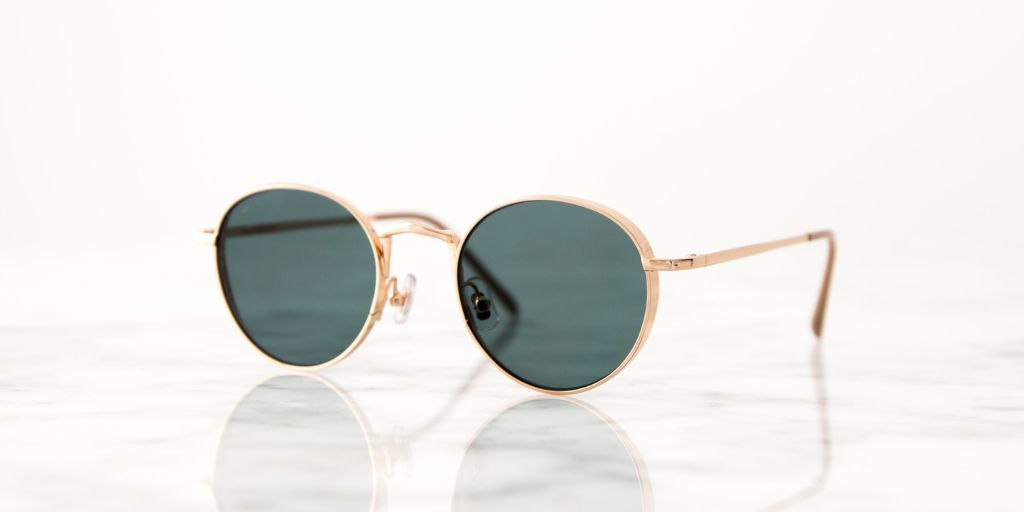
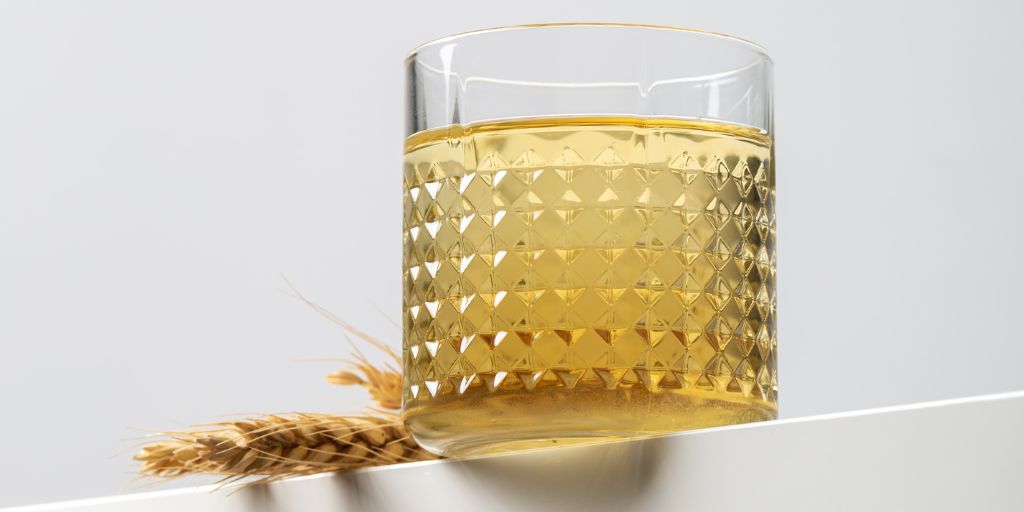
Angled Shot (25 to 75 Degrees)
The angled shot is somewhere between the front and profile angle. The product is placed diagonally on the surface at angles of 25 to 75 degrees.
The following shot is important when it comes to highlighting the dimensions of the product.
The Angled Shot, typically taken at an angle between 25 to 75 degrees, is a staple in product photography utilized by professionals for various reasons.
By capturing the product from an angle, you can more effectively highlight its dimensions and shape than a straight-on shot.
Certain features of a product can be better showcased from an angled perspective.
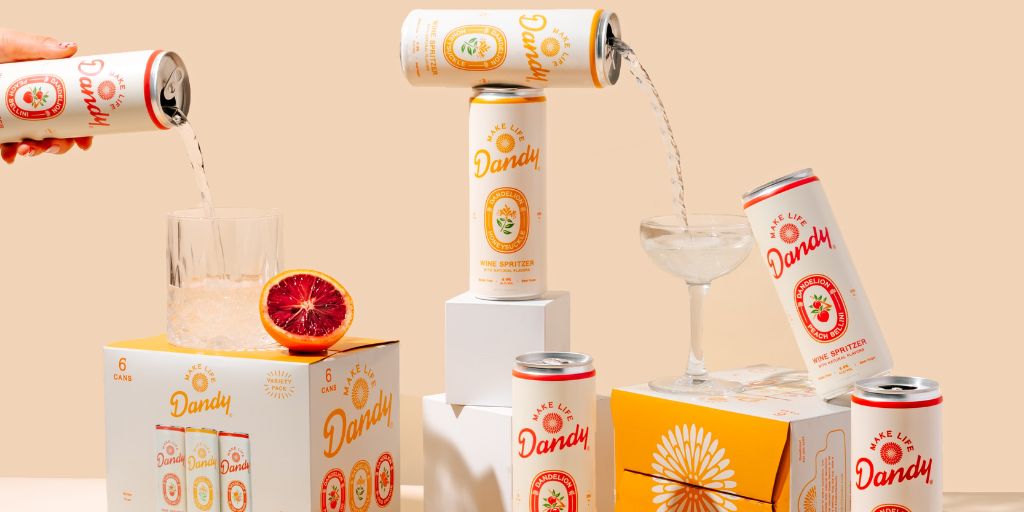
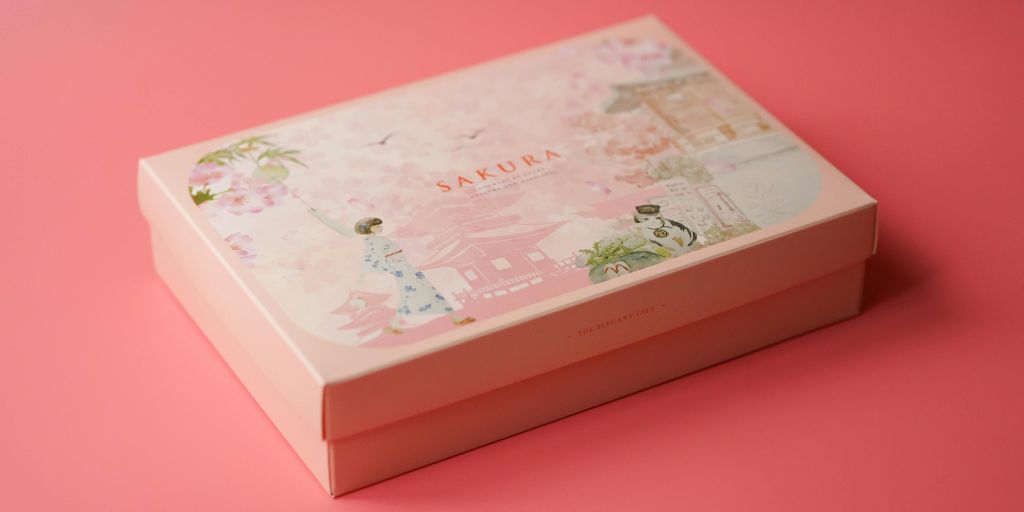
The Flat Lay (Overhead Angle)
Flat-lay product photography is a professional and beginner-friendly style of photography that captures a product from right above it.
It is usually used for apparel photography and products that are handy to use.
Flat-lay photography provides consistency in product presentation across different items within a catalog or website.
This uniformity helps in creating a cohesive brand identity and enhances the overall aesthetics of the product lineup.
The Macro Shot
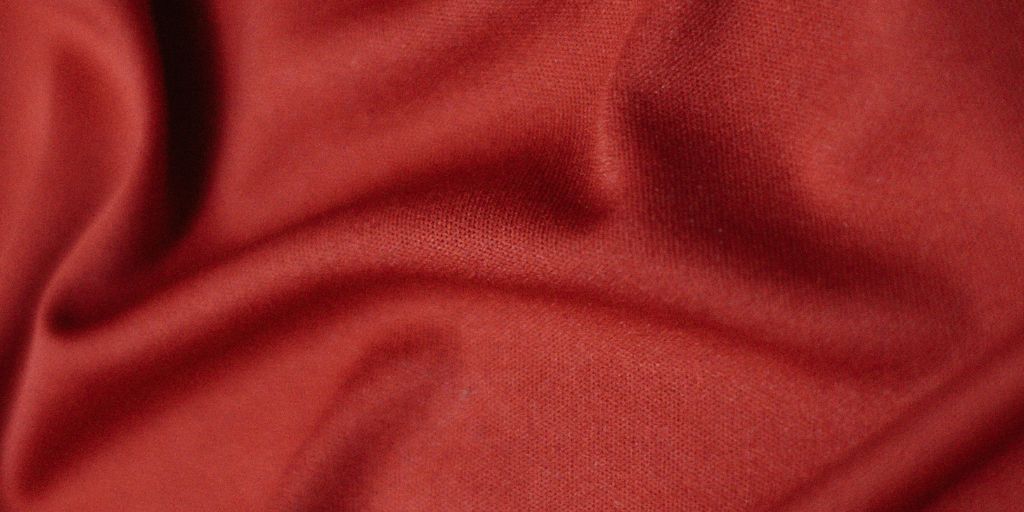
The macro angle is captured from a close distance using a macro lens. Macro shots for product photography are taken to emphasize the product details.
These shots are especially taken to capture details like the fabric of apparel, textured products, stitching on leather bags or shoes, density, smoothness, or texture of a skincare or makeup product, and more.
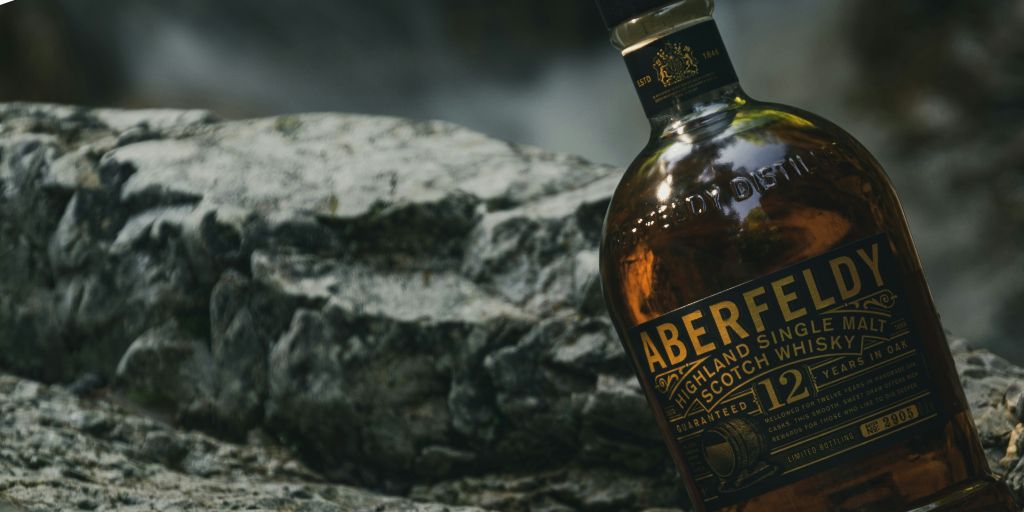
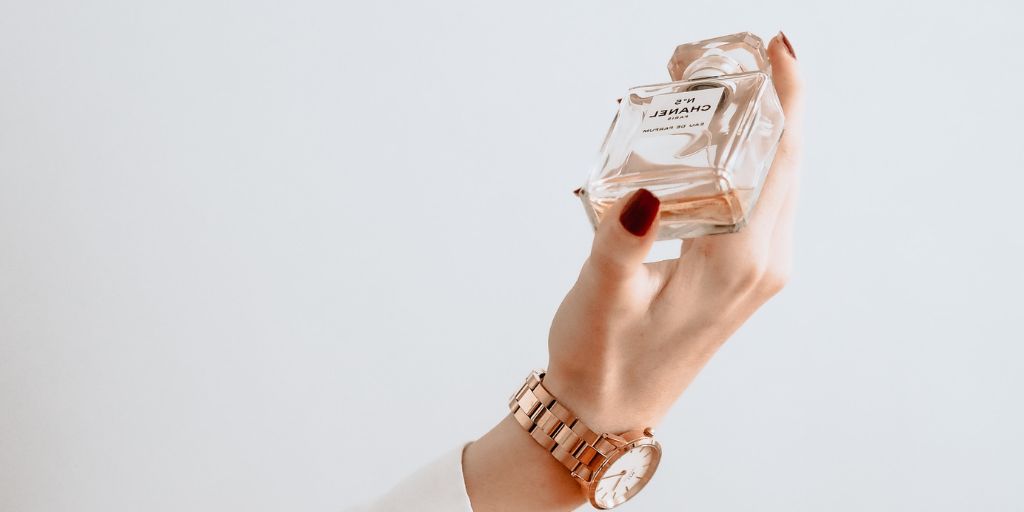
The Hero Shot (Low Angle)
Low-angle hero shots are often used in product photography to present products as grand and premium.
This angle can convey a sense of power and authority. A well-executed low-angle Hero Shot can contribute to the overall perception of the brand as sophisticated, premium, and high-quality.
Low-angle hero shots are easily used in advertisements, social media campaigns, banners, etc., where branding and marketing the product is the primary goal.
The Dutch Angle (Dutch Tilt)
The Dutch Angle—Dutch Tilt or oblique angle—is a photography technique in which the camera is intentionally tilted to create a sense of tension, unease, or disorientation in the viewer.
It infuses a sense of drama and excitement into an otherwise static product shot.
As a photographer, if you want to make a product shoot stand out in a crowded feed of social media, dutch tilt can instantly make the image more visually dynamic and engaging.
5 Product Photography Ideas To Help You Improve The Angles
1. Keep your distance and leave enough negative space
It doesn’t matter from what photography angle you’re capturing the image; it’s very important to maintain a distance. It does three things for you:
- The space allows you to capture all the details clearly
- Fit everything in one frame
- Gives you enough negative space for cropping, margins, and resizing in the future
Thus, when you edit the images or use them in different ratios for different platforms (social media, website, third-party marketplaces), you won’t have to sacrifice the important content.
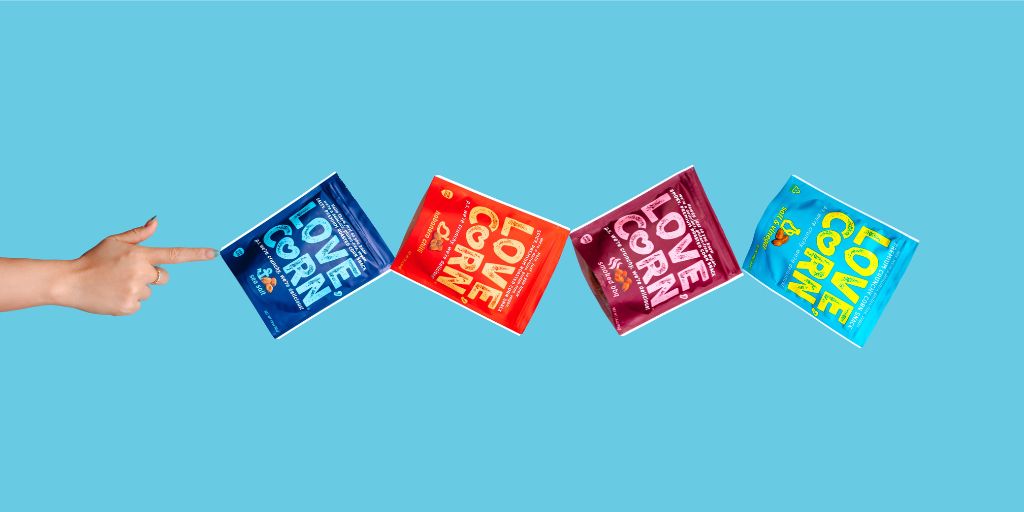
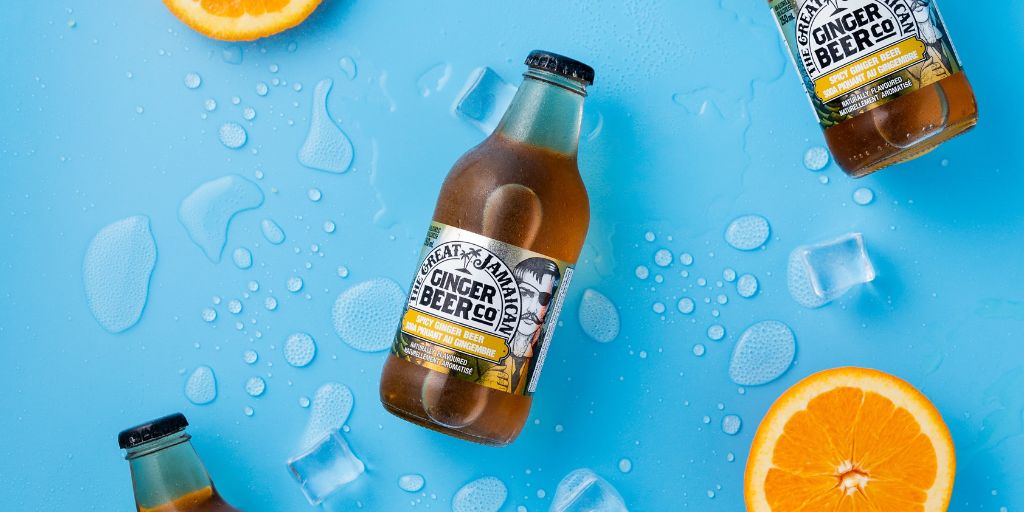
2. Keep the background clean
When it comes to product photography, the best choice is a white background. This gives your photos a clean, undistracted, and professional look.
You may capture the product with any background and later remove it from product photos. The transparent background allows you to be creative and use different backgrounds for social media posts or keep it white for your website or places like Amazon and eBay.
Other light-colored backgrounds are also a great choice since they easily complement the products captured from different best product photography angles.
3. Use common sense
There will be times when you won’t feel satisfied with your images captured in the above-mentioned angles. So remember, when nothing else works, common sense does.
You do not need to stick with the respective product photography angles. Be creative and experiment with various angles until you have one that best complements your product shoot.
4. Edit your product photos
Editing your product shots from different angles is the best product photography idea for enhancing the look of your products. Post-production is a crucial step before you upload your products to the website.
Editing allows you to correct the imperfections that couldn’t be avoided during photography such as:
- Reflections and glare
- Unavoidable shadows
- Distractions in the background
- Dust and scratches
- Wrinkles on clothes
- The difference in the color of the image
- Removal of clamps and pins used to hold the subject in place
5. Outsource post-production

If you lack the expertise or do not have time to edit thousands of product images, then it’s best to outsource post-production with a professional product photo editing service like PixelPhant.
PixelPhant’s product image editing experts can professionally remove backgrounds, create ghost mannequin effects, retouch product and model photos, correct colors, and more, and deliver bulk images within 24 hours.
The professionals here know better how to handle complex details, take care of every corner and detail, and edit photos that attract more customers.
Also, outsourcing allows you to be more creative and save yourself from fiddling with Photoshop.
3 Basic Photography Viewpoints
1. Low shots
Low shots are taken from slightly below the eye level. These are captured by either keeping the camera at the bottom level of the product or by kneeling down a bit.
This viewpoint is often considered when capturing portraits or model photos, but understanding it is required to understand the basic angles. Low shots give focus to the lower area of the subject and direct the eyes upwards when looking at the image to reach the top.
2. High shots
Opposite to the low shots, high shots are taken from slightly above eye level. You must know that it isn’t the same as flat-lay photography, where the camera captures the complete 180 degrees straight from the top.
In high shots, you can always notice a tilt. It first focuses on the top area and then leads the eyes towards the bottom. Again, high shots are more popular with model photography.
Such shots are taken to enhance focus on the facial features, hide unwanted imperfections like double chin, or are most often used for makeup photography.
3. Eye-level
Eye-level shots are where the subject meets the eye—usually straight. The camera is not tilted or positioned when handholding. The most common example of eye-level shots is your passport photograph. A similar viewpoint must be kept in mind when capturing product photos.
Bonus Read
Understanding and mastering different photography angles can help you capture product photos professionally and beautifully.
Try different angles and experiment with new angles to capture stunning shots. And, to make your product photos look more professional and engaging, allow PixelPhant to do the magic.
Frequently Asked Questions
What are the best angles for photography?
Depending on what you are aiming for, Eye-level front angles are best for photography. From the viewer’s point, this angle helps in understanding the product well and gives more information than any other photography angle.
What is the ideal angle for a product photo shoot?
A 45-degree angle is the ideal angle for a product photo shoot. It is similar to the front angle but allows viewers to see the product from a slightly higher perspective. Since most of the products in our day-to-day lives are smaller than ours, a 45-degree angle creates familiarity and trust.
What are angles in photography?
Angles in photography refer to the position from which a photo is taken. They determine how the product appears in the frame—whether it’s shot from the front, side, top, or a unique perspective. Choosing the right angle can help highlight product features, convey mood, and improve the overall customer experience.
Why are camera angles important?
Camera angles are important because they affect how a product looks, feels, and communicates with the viewer. A good angle can make a product look more appealing, detailed, and trustworthy. It plays a key role in shaping first impressions and can even influence buying decisions in eCommerce.
What is a profile shot in photography?
A profile shot captures the side view of a product. It’s most useful when the sides reveal key features—like in shoes, hats, bags, or automobiles. For wearable items, it helps customers see how the product looks from different angles when worn, making the shopping experience more reliable.
What is the best lens for product photography?
The best lens for product photography is typically a 50mm or 100mm prime lens. These lenses reduce distortion, offer sharp details, and give you better control over focus and depth of field. A macro lens is also great when you’re looking to capture close-up shots that highlight texture and tiny details.