8 Useful Product Photography Tips to Sell More Online
It is noticed that consumers are never satisfied with the way e-commerce sellers use to convince them. Being able to browse and shop from the living room is just a part. Yet there are many other things to do for the online store. Product photography tips and awesome images play a very important role for the customers buying the products online.
About 51% of people prefer to buy online. Therefore it is essential to present clear, and eye-catching pictures to your audience and to satisfy their view. The smallest and most basic products also require to use the best equipment, enough space, and proper lighting, to fruitage the best product pictures.
From the essential element list to every product photography tips you will need, we present the simple guide to the product photography for e-commerce success.
These product photography tips will help you make more money online and grow your eCommerce business:
Product Photography Tips for E-commerce
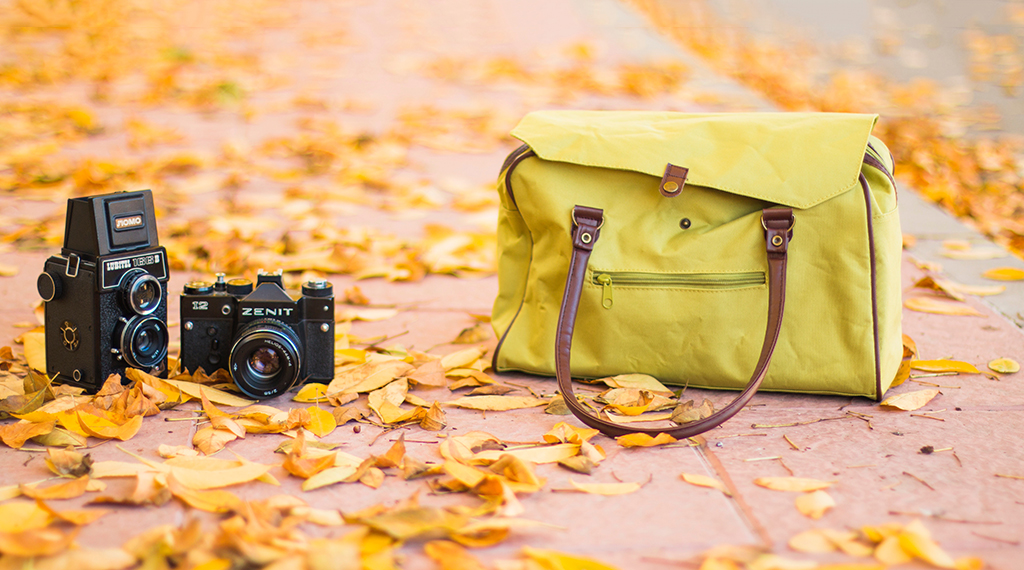
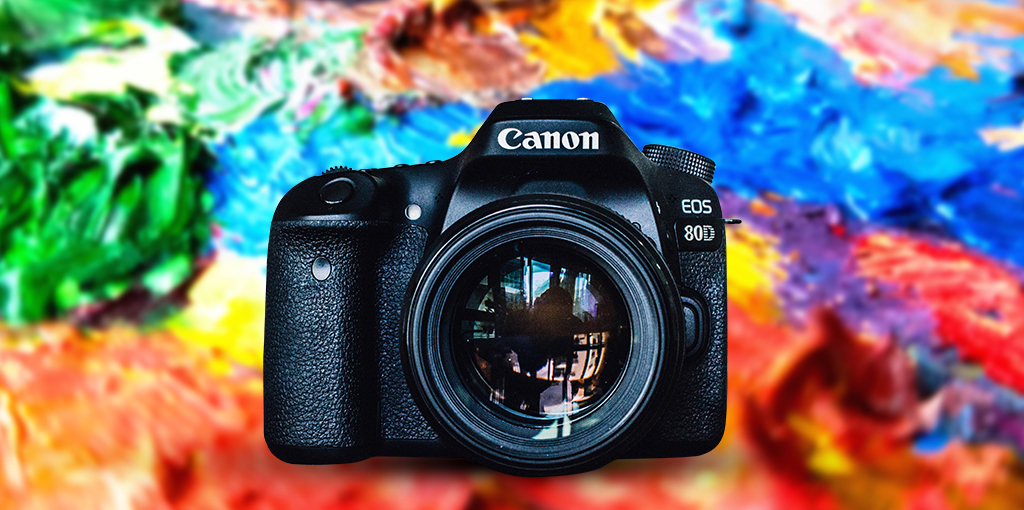
1. A smartphone would be great for product photography

Using the most closest and portable tool for photography is one of the best product photography tips. In present times most smartphones are well-equipped with cameras for your average point and shoot. As first things always come first, you can also choose a DSLR camera, mirrorless, and many other cameras. Moreover, you can go with the most creative ideas in the camera termed as Instax by Fuji.
You ought to have the DSLR camera with lenses, to get the zoomed-in images or reach closer to the images, to capture a variety of shots. In the past, there were many basic smartphones with cameras of 4 megapixels, which proved it difficult to shoot important elements in visuals.
2. Use a standard camera lens
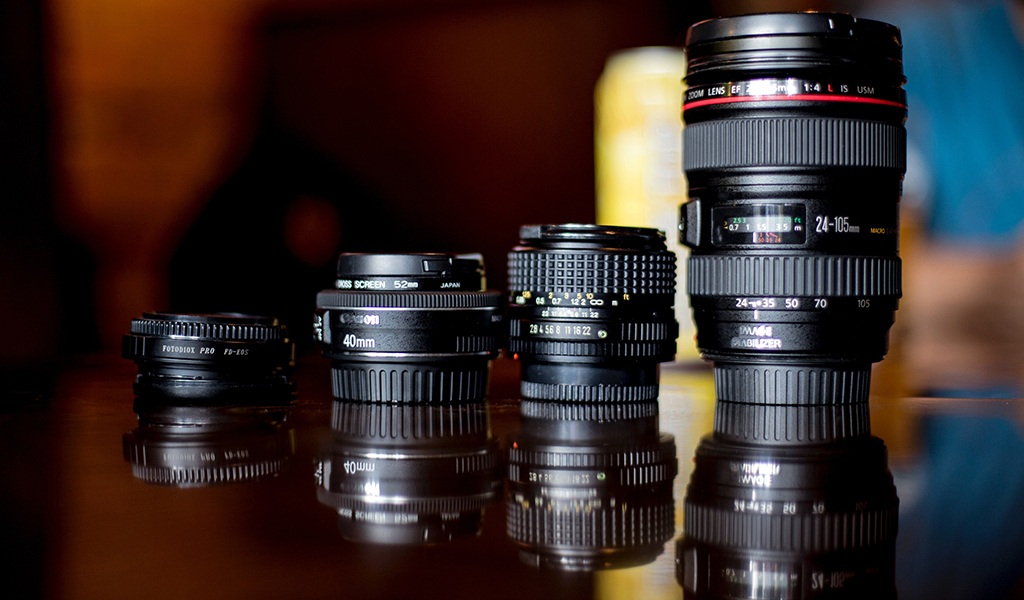
The image of your product should not get gnarled due to any of the ways. There can be a real mess when wide-angle lenses and effect lenses are merged up with the ratio of the subject in an image. In product photography, a photographer needs to accurately show the product with each part clearly.
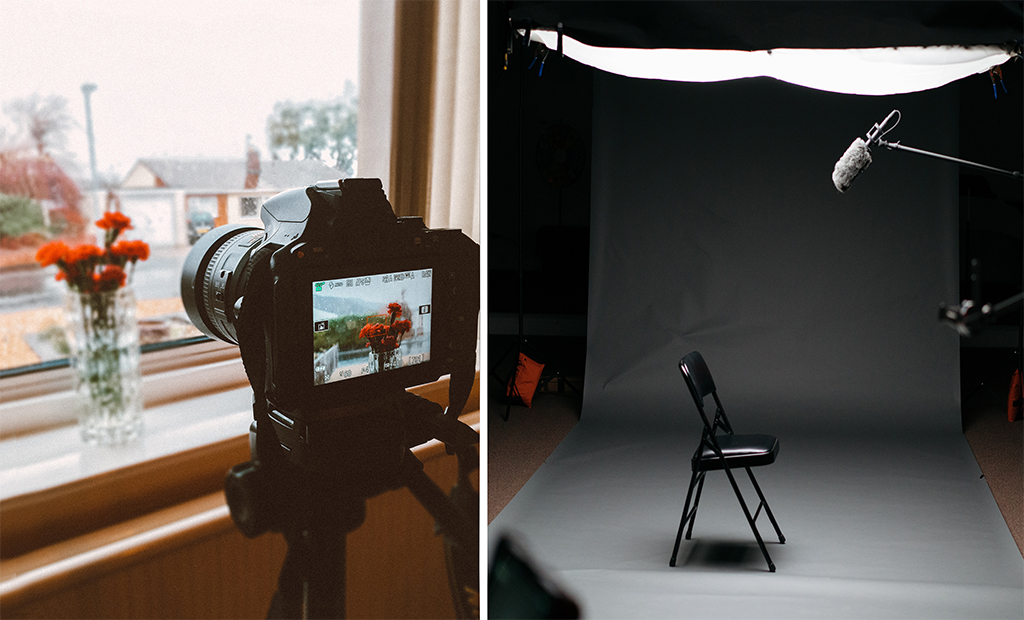
3. Better consistency will come by using tripods and monopods

You should be sure about the stabilization of the photo when it comes to product photography. This is a great product photography tip. Cameras and lenses come with image stabilization, still, there can be the possibility of the camera shaking when you are handling the camera by hand. Therefore to balance the shake, you can use a tripod.
There is a hell lot of variety available in case of the tripod from table tripod to top-of-line, such as Gitzo tripods. You can also go for the monopods, which have only one leg as compared to the tripods which have three legs. This suggests that you have to carry the camera, but stability will be provided by the one leg of the monopod. It gives you shooting at slower shutter speed.
4. Pick the right aperture
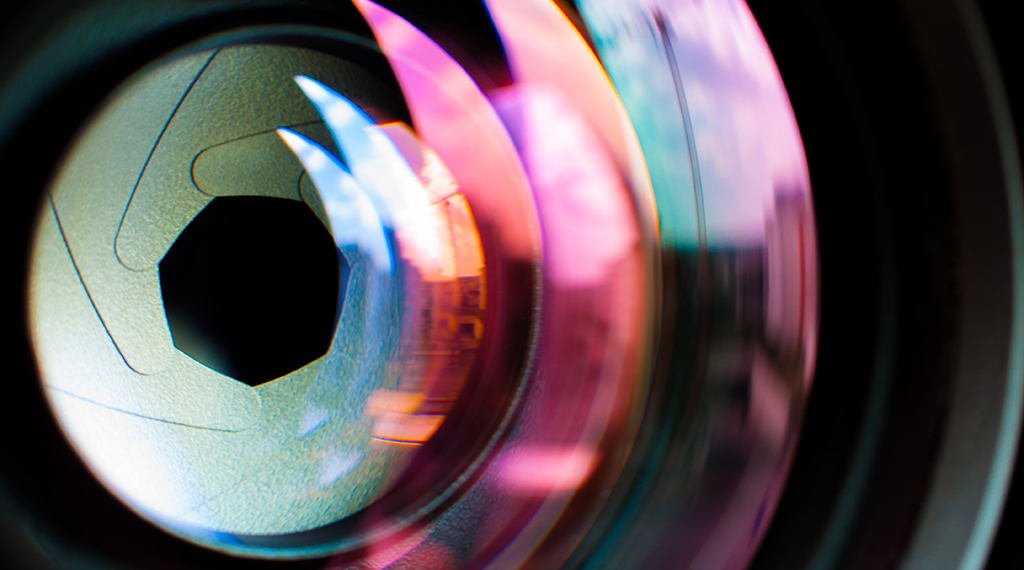
It is essential to use the right aperture. Aperture term lays one of those three factors that built exposure for the image. The setting makes getting to grips with the even exposure to the photo, makes it very easy. It is a kind of obvious technique, but most of the photographers fail to perform.
The key fact is that what you make your audience to have a look at the product photography, you are showcasing and not the extra elements in the image.
5. Should equip diffuser with the artificial light
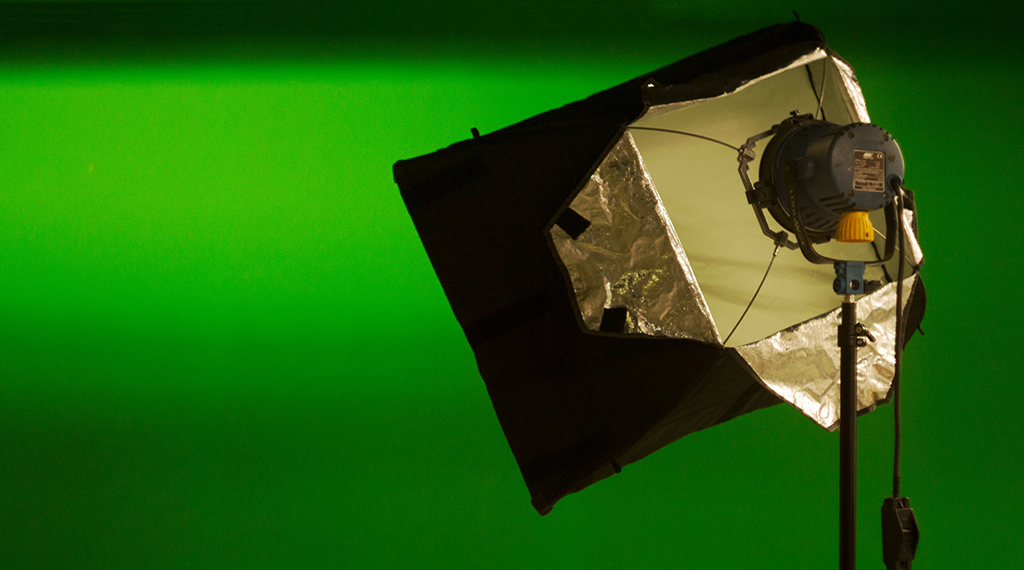
You should always diffuse your studio lights to make sure that the lighting transmits across and around your object evenly rather than casting the various hot spots (overexposure of spots in an image).
6. Natural v/s Artificial light
Natural lights mean the same as, the sunlight. It generates the soft, round light as compared to direct light reflecting on your product. With the natural light, you always have to use TyraTip to find your light. It will produce a cold and dark light if you are behind the light and finally creating the silhouette.
On the other hand, artificial light is a kind of hard light, introduced in the space with the help of a flashlight, candlelight, etc. to choose anyone and stick to it for the shot.
Bonus Read: Photography Lighting Equipment Guide for Beginners
7. Proper toning should be done with the colors
The use of a standard lens avoids distortion of products. Also keeping the true colors is also as essential. It is a kind of fundamental element in the product photography that marks the center on the color, such as clothing.
If any alteration is done with the colors, it will create a big issue for both the logistics of the online sells, as well as for the customers. To check the correct color, it is important to check the lighting that it should not be tinted in any of the single ways. Photography bulbs prove the best as it can overcast the outdoor day.
8. Pay attention to the reflection
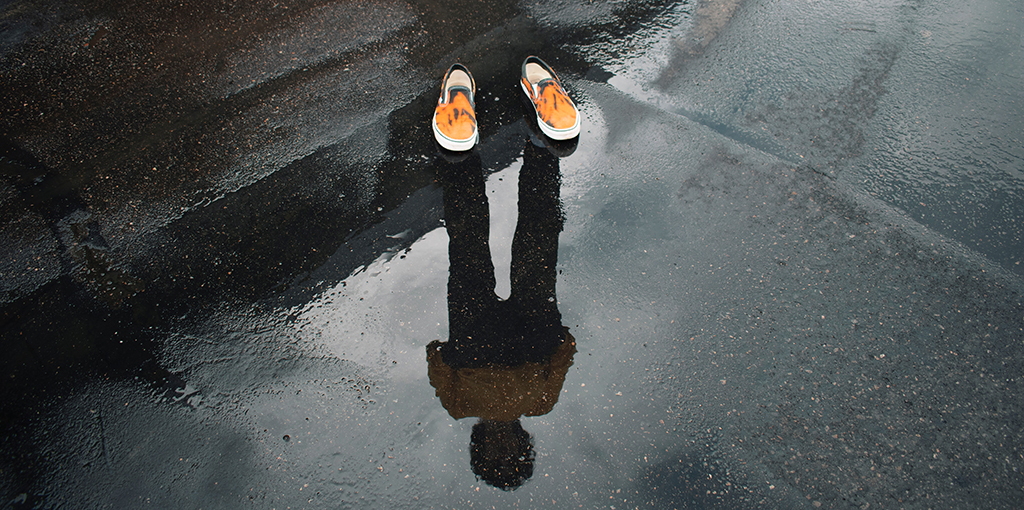
Be sure that there should not be any weird reflection on your image. It is one of the basic mistakes, which most of the beginners commit. You can either use any of the reflection and inculcates in the image or can remorse the reflection altogether.
Now Go and Take Some Beautifully Carved Pictures
When it comes to allowing your audience to visually connect with you, simple and useful product photography tips will make you different from competitors. This will begin from covering the essentials of photography equipment to exploring the right angles and backgrounds.
Even though online transaction saves users valuable time, the quality of the merchandise also concerns them. As they cannot touch the product, the visuals of the products are the only key to the clientele.
Here, post-production service comes into play. PixelPhant is a product image editing company will help you got your images edited as quickly as in 24 hours.