Packshot Photography Guide: Tips, Ideas, and How to

Packshot photography is among the most popular and essential types of product photography. Packshot photography is very common for product brands and eCommerce stores to display their products in the best way possible.
So, if you’re an eCommerce store or a product photographer, this article is for you.
What is packshot photography?
Packshot photography is the photo of a still or moving product with its packaging and label on it. It is also known as packaging photography.
Why is packshot photography important?
Packshot photography aims to show off the product and its brand. It is essential for eCommerce businesses because it helps the customers to learn about the product and its details. The label allows them to read and understand the purpose of the product too.
Packshot product photography equipment
1. Camera
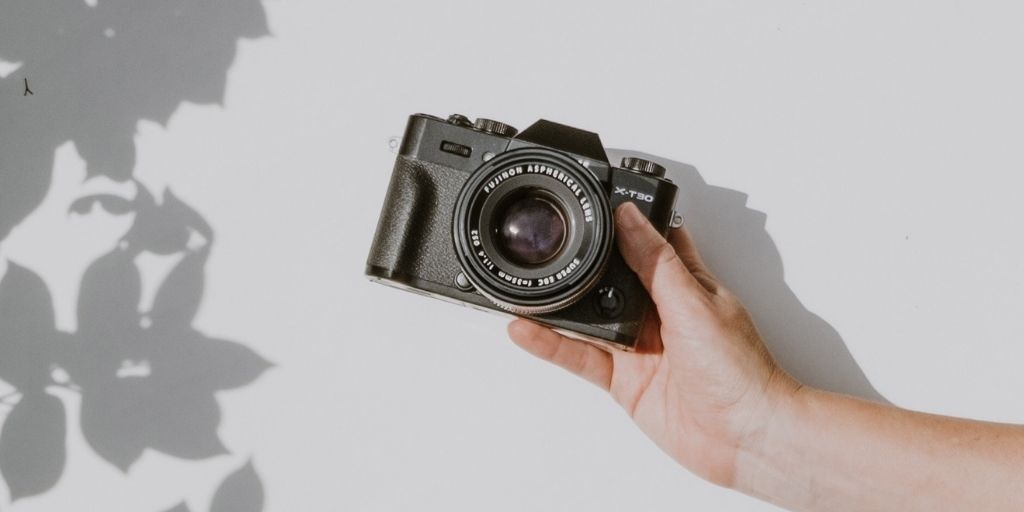
Use a good digital camera to capture high-quality product photos. The quality of your packshot must be excellent since you are to use these shots for your online store.
High-quality, clean, and professional-looking images are necessary to catch customers’ eyes and increase sales.
2. Lights
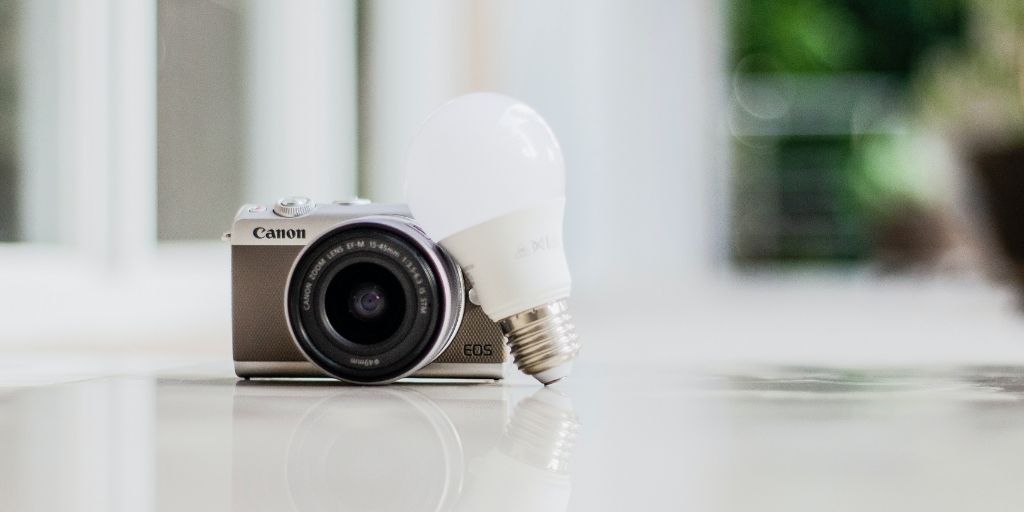
Lighting plays a huge role in packshot photography. If all your packed products are small, you may use a softbox for clean, well-lit shots.
If not, it’s important that you use enough lighting to capture the product clearly with its true colors and written details.
3. Background
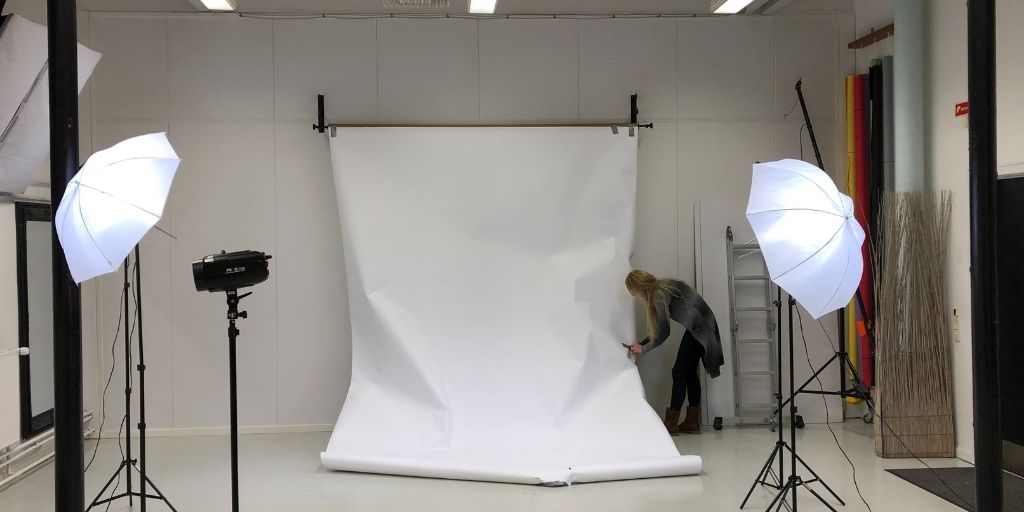
Another essential element for packshot photography is the background. Generally, clean white background is the best choice for packshot product photography.
It allows your products to be in focus without any distractions and look consistent across your website. If you’re not into plain white, go for other light-colored backgrounds.
If you’re doing it for social media posts, you can get more creative and experiment with some off-beat backgrounds.
4. Table

A stable flat table is another necessity for packshot photography. It should not be wobbly. The table is used to place the product neatly and continue the shoot.
You do not need to buy a separate table; any coffee table or study table in your home may work just fine. Make sure it’s wide enough to accommodate the group product shots.
5. Props (optional)
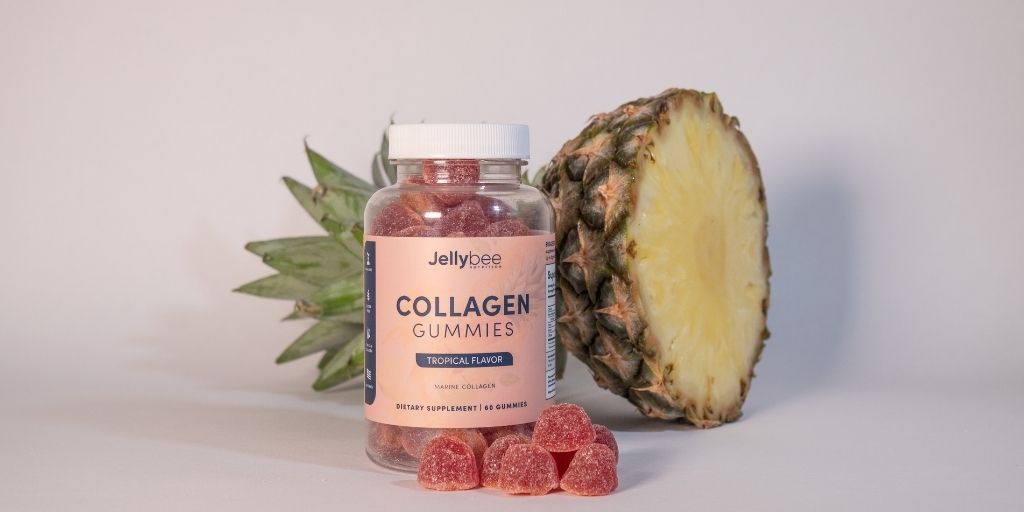
Props make every image interesting and exciting. Though packshot photography is done in eCommerce and does not need to include any props, you may still use props for secondary photos and social media images.
You can either use the relevant props like ingredients used in the products or contrasting props that aren’t relevant but just match the product’s theme or color.
5 Best packshot photography ideas
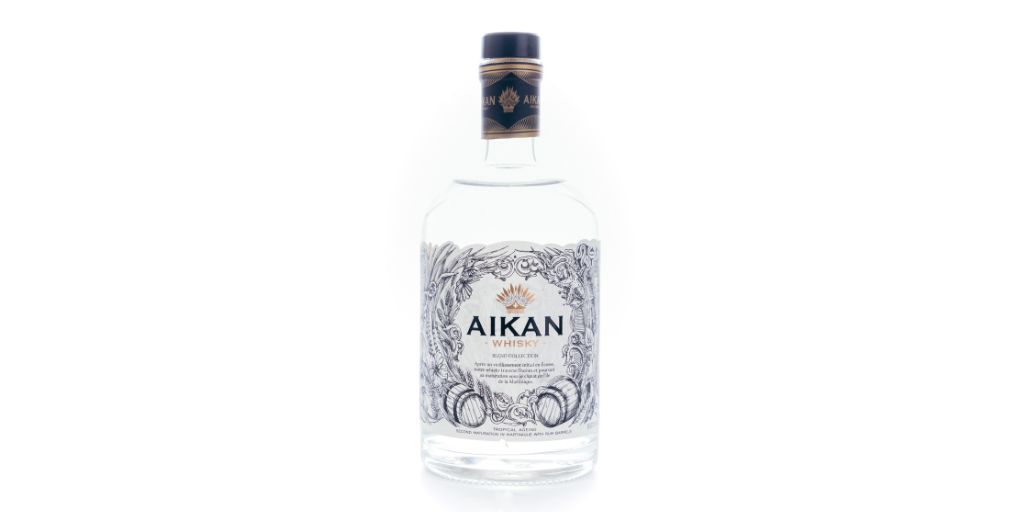
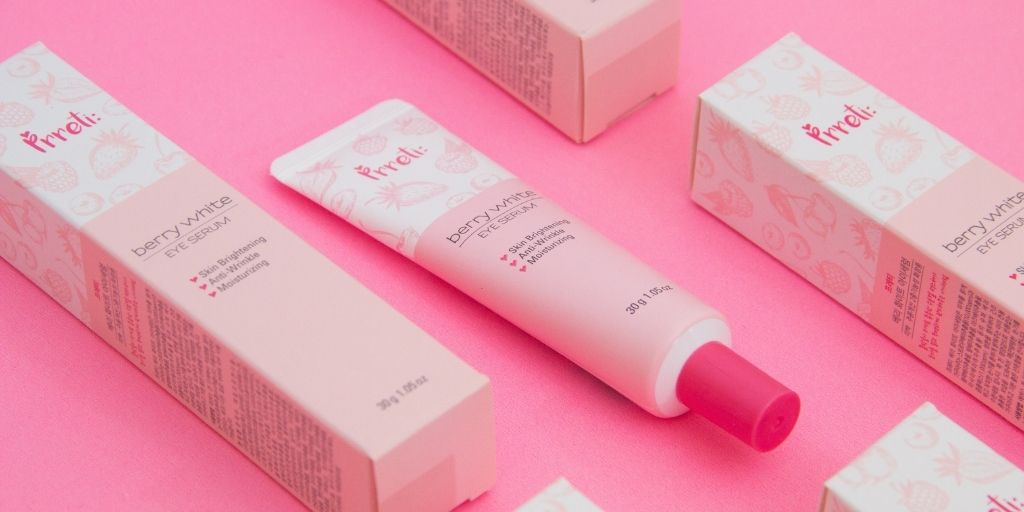
1. Stand-alone shots
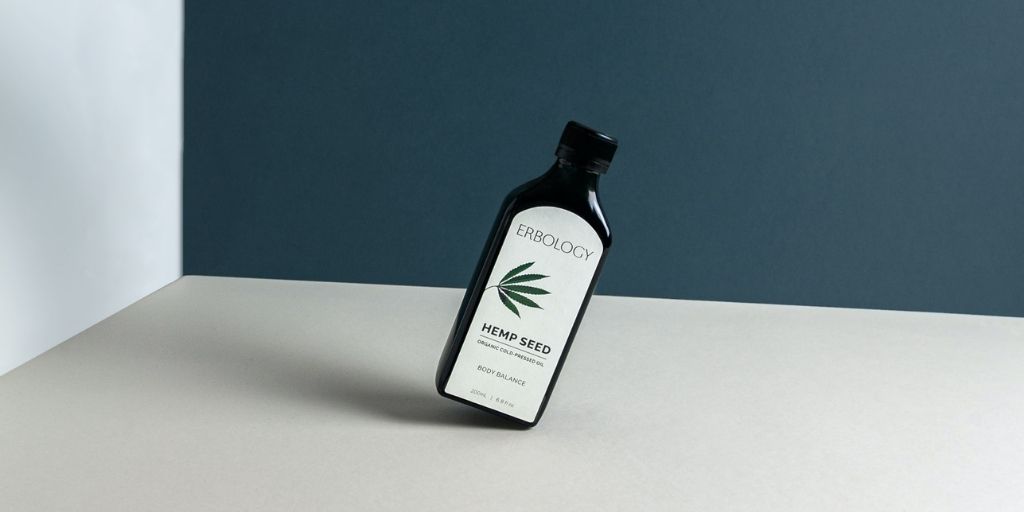
Stand-alone or the basic white background shots are used as the primary image for the eCommerce product page.
It looks professional, clean, distraction-free, and solely focus on the product and its details. It allows the customers to better see the product and clearly understand its appearance.
However, it’s not always necessary to keep the background white, but it’s essential to use just a single product and no other object in the frame.
2. Flat lay shots
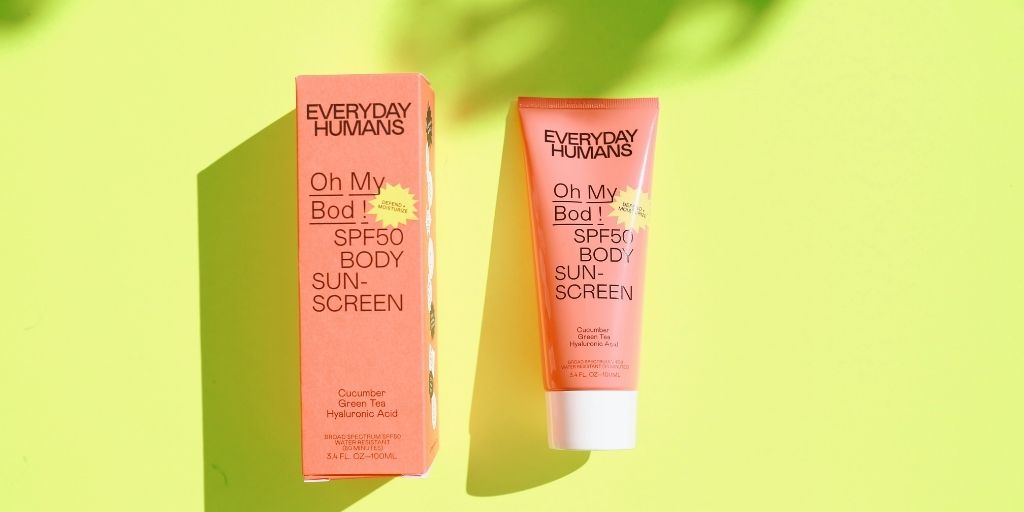
Flay lay is a trending photography style. As you may have guessed by its name, the products in this are laid on a flat surface and the shot is captured from above.
It gives the customers a kind of aerial view and a different angle to see the product. Such images make you stand out and display your products more creatively.
3. Themed shots
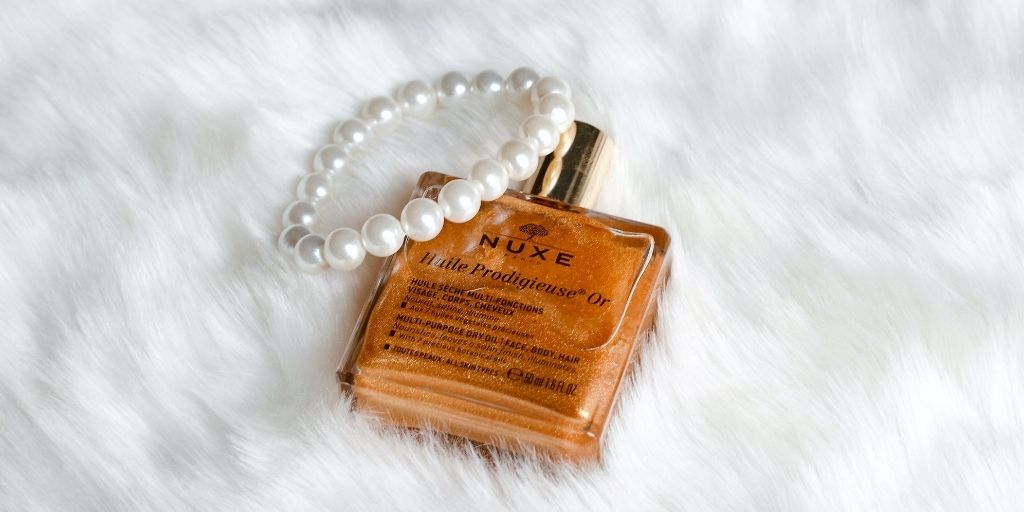
Themed shots are another way to make your product images look more unique, creative, and pleasing.
For example, if your product is natural and organic, you may pick an organic theme and capture the packshot photography by keeping your products on water, with plans, or in the garden.
Similarly, if you’re into women’s beauty and skincare products, your photos might have a feminine theme with the product lying in a silk or muslin cloth.
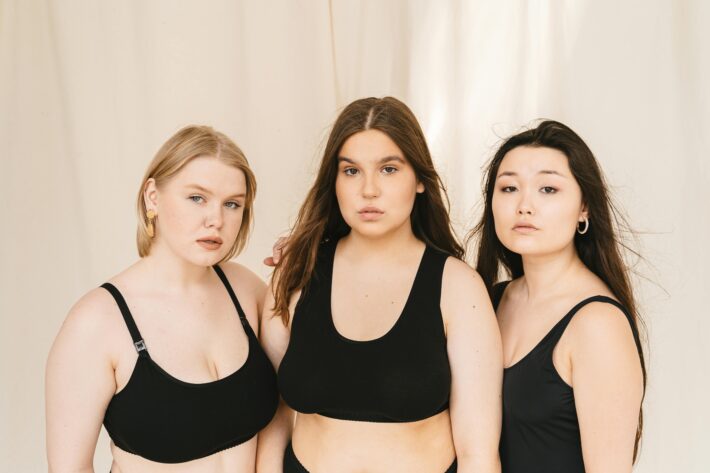
4. In-use shots
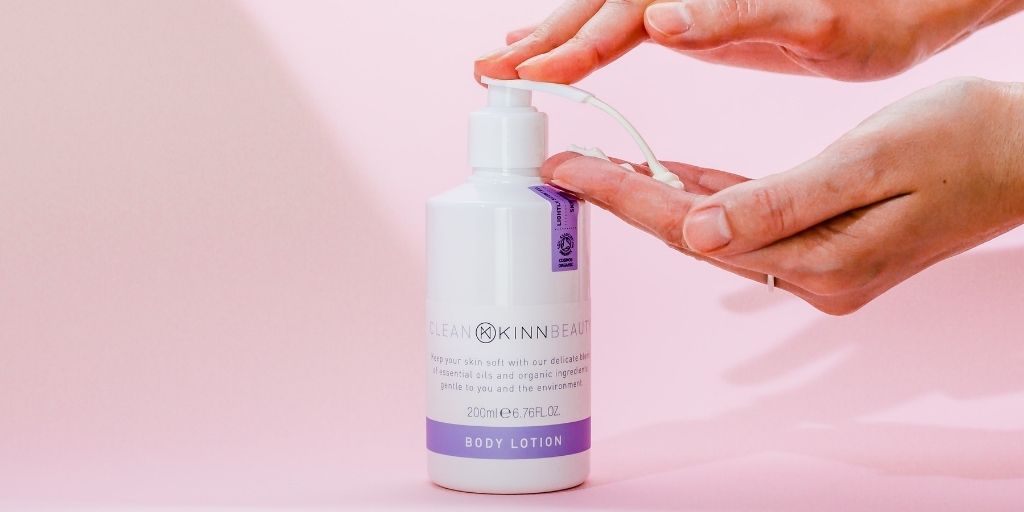
The in-use shots require you to work with a model who can represent your product while using it. Such shots allow the customers to relate better to the product and imagine themselves using it instead of the model.
It gives them an idea of how the product will look and how they would use it. In-use shots are an excellent strategy to attract customers and unconsciously influence them to purchase.
5. Dynamic animated shots
Have you seen those splashing and bouncing coffee beans getting roasted beautifully and directly falling into brand packaging in a small video?
These are the type of small yet effective animations. It creates a significant impact on the customers by telling a small backstory, getting packed, and making them wonder if they would like to get one of their own!
Dynamic animated shots are one of the best ways to catch customers’ attention. With such photos or small videos, you can easily stand out from the rest of your competition and present your product in the more creative way possible.
You may create an animated image, but I recommend you begin a small video of your packed products. You can use this video on your website and social platforms. Check out the animated video Pringles made above.
4 Important Packshot Photography tips and techniques
Since I’ve explained what you could do to capture unique and professional packshot photography shots, follow these three major tips and methods to capture exceptional images.
1. Keep your product clean

The focus of your packshot photography is the products. You should take care that there are no smudges, dust, or scratches on the product.
Such imperfections can make your product unwanted and unprofessional. You have a reputation for building; product images can make or break it. Thus, keep your product clean, attractive, and professional.
2. Take detailed shots

Packshot photography is all about taking photos of packaging and labels. If the written details are not easily readable or blurred, the complete goal of packshot photography is collapsed.
So, ensure that you focus on the details and that even the smallest fonts are easily readable.
3. Capture from multiple angles
You capture product photos to sell. Your customers want to explore your product from all angles before buying. Therefore, it’s necessary that you capture the images from all sides and tips to give them a 360 look at the products.
4. Do product photo editing

Product photo editing is the most essential and non-negotiable part of packshot product photography. It’s obvious to have imperfections in an image you can’t control during photography. All those imperfections can be fixed during post-production.
You can retouch images by removing stubborn scratches, stains, and dust, correcting colors, removing or replacing the background, removing unwanted reflections and distractions, or doing model photo editing for in-use shots.
Product photo editing is crucial to make product photos look more professional, engaging, and converting.
Bonus Read
Packshot photography is fantastic and vital for brand and eCommerce. It helps the customers understand the product’s appearance and details.
It’s essential since the packaging is about advertising the product and boosting brand awareness. And the packshot product photography completely fulfills that purpose.
Follow these packshot photography ideas, tips, and techniques to capture high-quality images. And for post-production, collaborate with PixelPhant’s professional product photo editing services to look more professional.
Try our services now for free! ?