10 Indoor Photography Tips – Camera Settings & Lighting Techniques
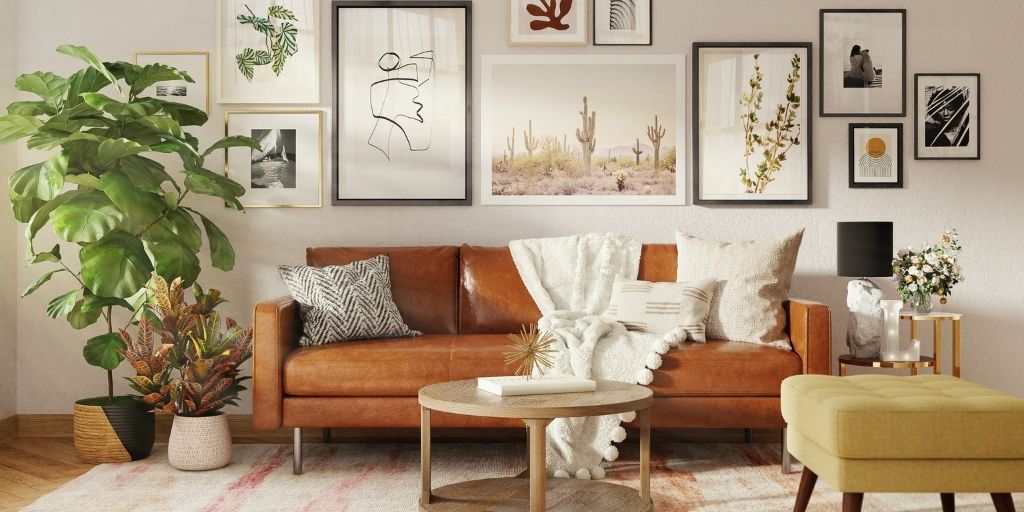
Indoor photography is the art of working within a given space. It demands the photographer to bring the most out of what she/he’s working with.
Capturing the details of the room where the photo shoot is being performed, the details of the surroundings, and the emotion of the subject are all important elements that shouldn’t be left untouched.
When captured decently, indoor photography can be very beautiful. Most of the time, it exudes the feeling of being in comfort, lost in thoughts, or enjoying me/family time.
However, it could be troublesome for photographers who are mostly familiar with location-based and outdoor photography. These folks are familiar with large open spaces and an ample amount of natural light.
As photographing indoors imposes some restrictions in terms of space and lighting, knowing what are the best techniques, settings, and rolls is essential.
Thus, if you’re a professional photographer or an amateur who’s trying to complete your indoor photography project professionally and successfully, then this article is for you.
We have already listed the best camera for product photography. And here, we’ll be learning ten great indoor photography tips that’ll help you master such kinds of projects life-long.
10 Fantastic Indoor Photography Tips
1. Camera Settings tip
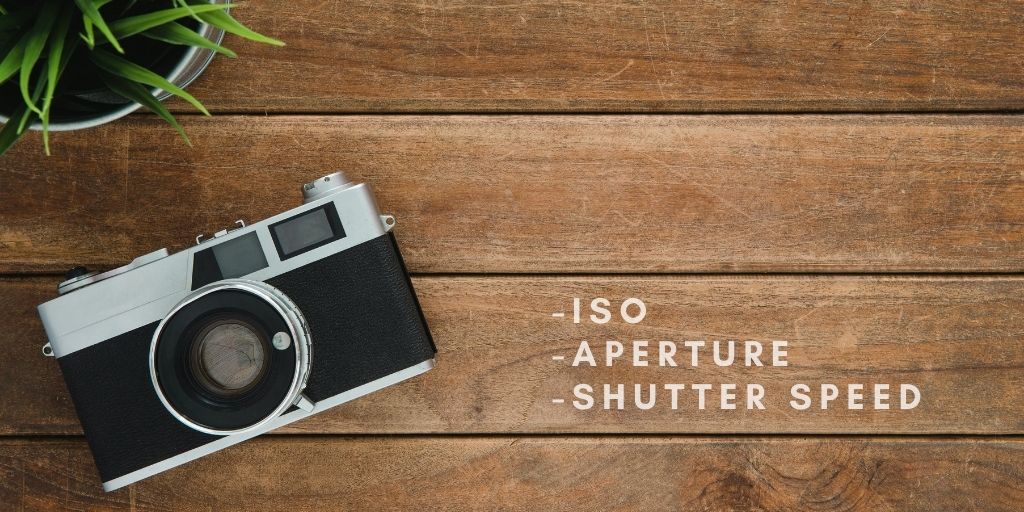
The number one among the indoor photography tips is the camera settings. Your primary tool to pull off photography indoors is, obviously, your digital camera. Now, it’s important to understand which camera settings are going to work best for your project.
The settings you use for studio or outdoor photography can’t work the same here – there’s now a shoe that fits all and it works the same with photography too. You need to understand your camera settings for the best results. So, let’s look into it in detail.
ISO
Indoor photography can become even more complex if it’s too dark outside. To make sure that you’re taking sharp photos, you’ll need to increase your ISO in indoor photography.
Usually, the ISO 100 to 200 can work fine if you’re using a tripod and there’s enough brightness in the room. However, if you’re shooting using your hand, you’ll need to increase the ISO to 800-1000. As crazy it might sound, the results would be worth it.
If it’s too dark, you may combine artificial light with natural lighting. It also varies from camera to camera. The ISO I get at 1000 may not be the same as you get in tours.
Hence, that’s where you’ll have to use the magic of instinct. I’ll recommend that you take a few sample shots to determine the best setting.
Aperture
Keep your aperture close to f/2 to f/2.5. It’ll help you focus on the subject without losing control over the surrounding.
Shutter speed
The speed of 1/20 would work just fine as there is not much movement expected in home photography. The still life of the rooms or your subject sitting and glaring wouldn’t annoy you much in capturing the details with peace.
2. Lighting tip
Next in our list of indoor photography tips is lighting. Most photographers would consider natural lighting to be the best source for photographing indoors. Well, I partly agree with it. I believe that any indoor artificial lighting you have can do wonders for you.
To use natural lighting, you’re bound to have your subject close to a large window panel. Well, indoor p[hotography asks for more than that. It’ll ask you to capture the images in the areas even where there’s no window available.
Hence, considering the indoor artificial lights can give you more flexibility to use the lighting in your photoshoot.
REMEMBER – In this indoor photography tip, I ain’t talking about the heavy, professional studio lights. I am talking about the LEDs, bulbs, torches, and lamps that you must be used inside the home or a room.
It helps you gain a better focus on your subject without losing the original feel of photographing indoors.
Make use of such artificial lighting to get the right focus. It can add more depth to your images. It also enables you to get familiar with different lighting techniques.
Though I ain’t also denying to completely boycott the studio lights – you’ll know when they’re needed.
3. Choose the best time of the day for indoor photography
Natural light will be limited while photographing indoors. Therefore, this indoor photography tip is about picking the correct time of the day that will help you accomplish your purpose in the best way.
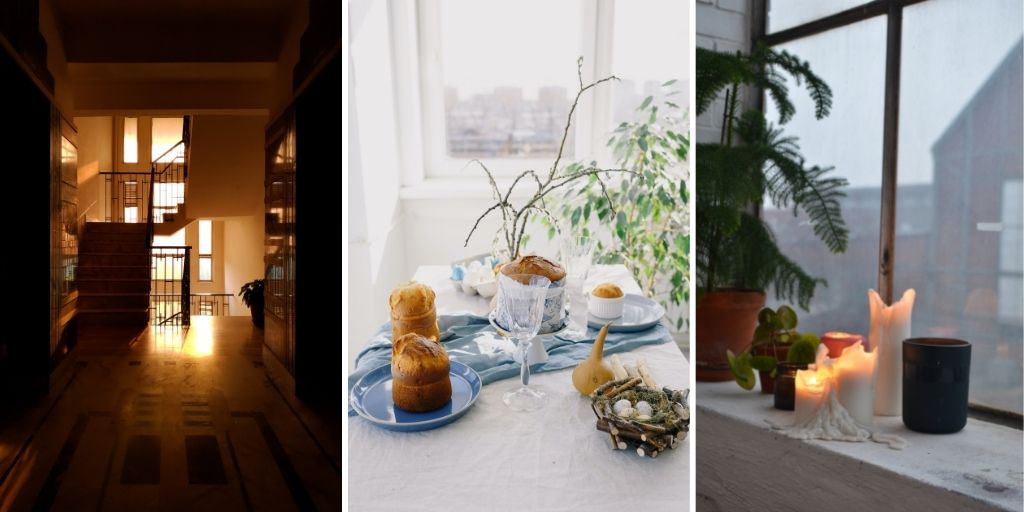
Golden Hour
You must’ve come across this magical term at least once in your photography career. If not, then this is the time. It begins after the sun is completely at its peak and ends shortly before the sunset. The best time is between 11:00 am to 2:00 pm.
Midday
Shooting outdoors at this hour may result in unflattering, harsh photos. But midday works wonderfully for indoor photography. Use curtains or a large white sheet in front of the window (north or south facing) to get the flattering, even tone, brightened results.
Twilight
This is the most romantic hour of the day. Just as the sun is about to set, the sky is wrapped in the beautiful hues of pink, purple, red, and orange. Add in the artificial lights. This could become the graceful background for mysterious silhouettes.
4. The lens focus tip
There’s so much you’ll want to fit in your camera lens at the time of indoor photography. To make sure that you don’t miss any details, make sure that you’re using a wide-angle lens or rather taking panorama.
This in home photography tip will make sure that you’re capturing both your subject and the surroundings, and your images don’t end up looking like portraits. This is great if you’re someone who wants to create a detailed composition that resembles medium format photos.
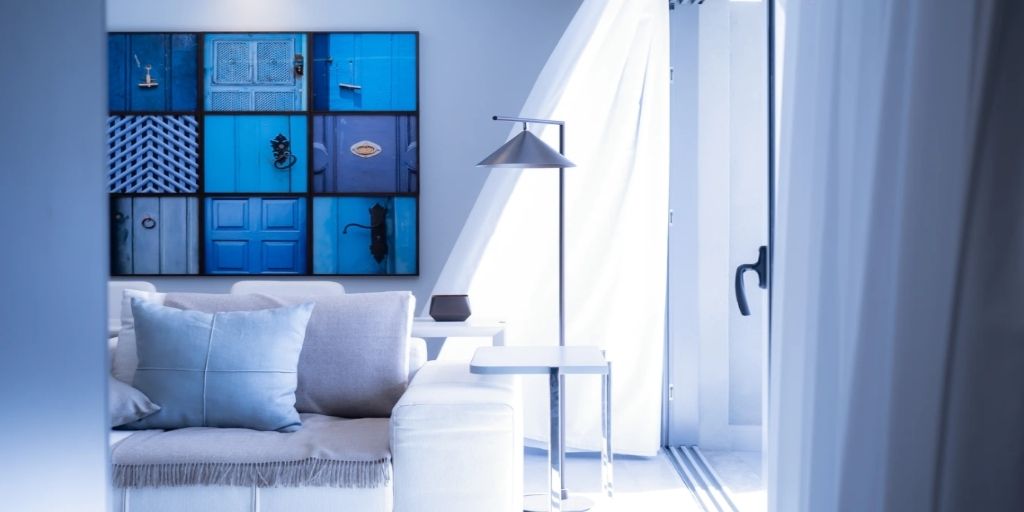
5. The background tip

Use backgrounds to compliment your subject. Besides complementing, they should also respect their personality. This is much easier with indoor photography as it has objects that are associated with personal lifestyles.
As you begin to use such objects as props in the background, they’ll make your photo stand out and will start telling a story about the subject and the scene.
Try incorporating textures and designs to enhance the feel.
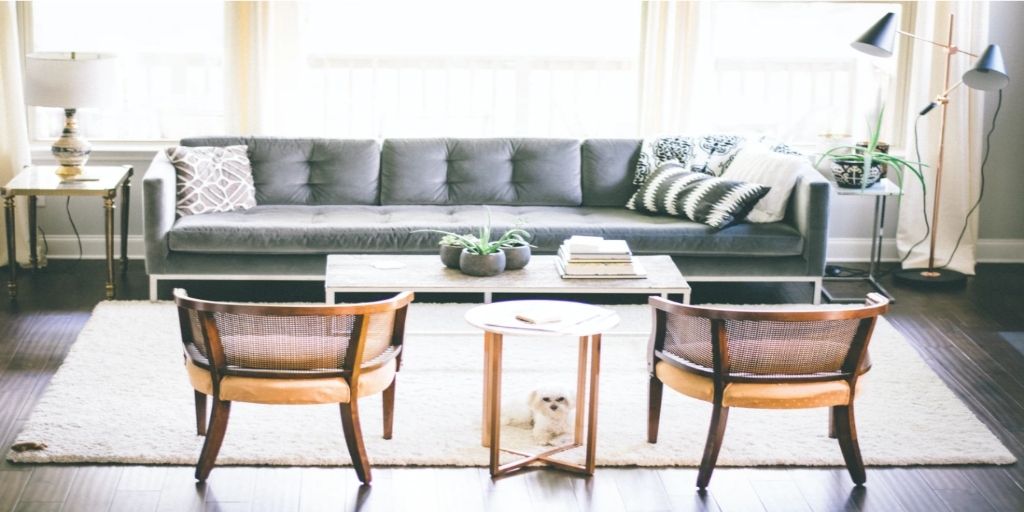
6. Pick the room that’s best describing the theme

For your in home photography, you must be carrying it out after getting some inspiration from somewhere or must be having a theme in mind.
The best part of photographing indoors is that you have a given location that has several aspects and feels attached to different areas.
The feel that you get in the living room would be different from that of in the kitchen and t\the bedroom. Hence, choose the room wisely.
If you’re doing it to capture the gourmet food, then the kitchen and the dining area are the best places. Where the living room and bedroom are perfect to reflect peace and comfort.
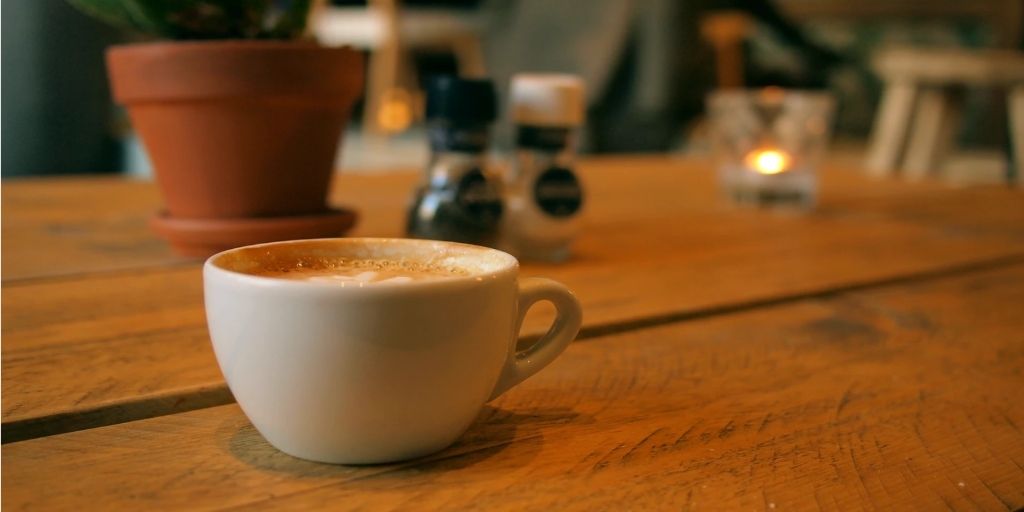
7. Details can put life into your photography
This is among the most important indoor photography tips to turn your image into a masterpiece. Your photos can end up looking very simple and bland, especially if you’re shooting an empty and abandoned space.
To avoid this, you can blend in some eye-pleasing, captivating details to your composition. Look for bold and vibrant objects that could blow some life into your indoor photography.
Look for colors, backgrounds, props that can still connect the viewer’s emotions with your captured image.
For example, antique pots and plants are amazing to add a pop of color and detail into a simple room.
8. Come up with your own resources
DIY techniques should be your best companion as these can enable you to add some touch of personalization and reflect your experience in a shot. This indoor photography tip is best if you have confidence in what you’re doing.
You can use shower curtains to create the diffusion effect from the light source. Use the foil sheets to use as reflectors. Use the available home decor as props and table cloth materials behind the product or your model to create a more sophisticated and dreamy effect.
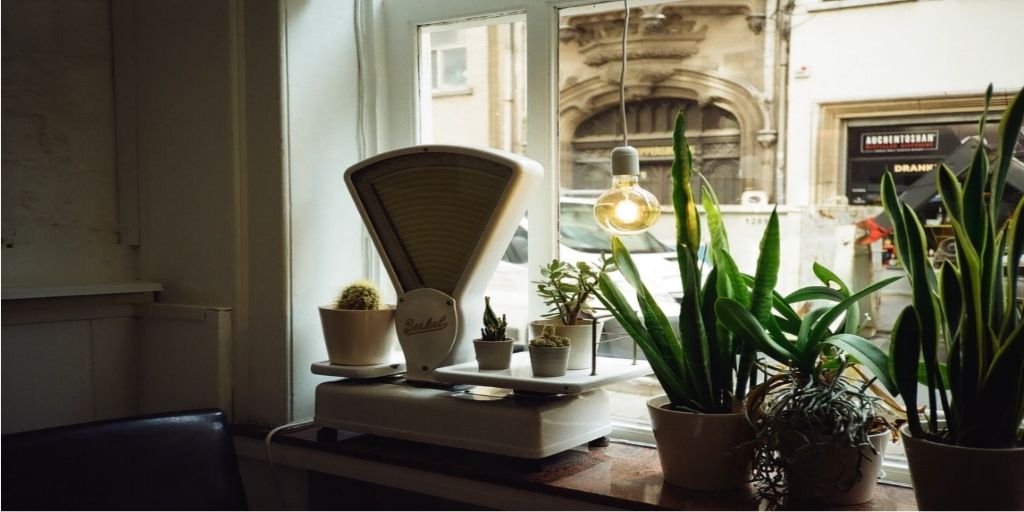
9. Make use of large windows and balcony
This indoor photography tip can never fail. It gives you the most beautiful and effective effect No matter if you’re clicking products, models, or some other kind of subject – windows will make them look great.
Nothing can go wrong with the window light. As we spoke about the best time of the day, it can be best utilized near the windows. The resources like reflectors and diffusers will also be in action near the windows and balcony.
10. When nothing works, trust the product photo editing

It’s unfortunate, but it’s true – you can’t get everything just as you expect. No matter for how many years you’re doing photography, missing something or having something ‘not up to the mark’ is bound to happen.
Thankfully, photo editing software like Adobe Photoshop is there to back you up. Despite all the correct camera settings and lighting, and caring, you might see some imbalance in your photos.
You can adjust the white balance and lighting using image editing techniques. Another element that you can’t control is the scratches, fingerprints, and dust on the product. All such defects can also be taken care of during post-production.
You can remove unwanted background and elements in your image.
Though, if you’re not well-equipped with the knowledge to use advanced photo editing software or have no time to edit all those thousands of images, Then I’d highly recommend you outsource product photo editing tasks to photo editing and image retouching services.
These image editing services have experienced professionals who can edit all your photos within a few hours. From creating a Clipping Path for future use to Model Photo Editing to Ghost Mannequin effect, you may opt for any Photo Editing Service to make your images look more professional, polished, and attractive. This can save a whole lot of time and provide you with professional and presentable results.
Conclusion
Indoor photography can be carried out professionally and beautifully with the right tips at hand. Use these indoor photography tips so that you get captivating images with each shot.
If you wish to learn more about photography, product photo editing, marketing, and more, then subscribe to our newsletter below. Also, if you’re a photographer or an eCommerce business owner, then start making your product images look more professional and consistent. Take your free trial with PixelPhant now.