Eyewear Photography: How to photograph glasses & Sunglasses?
Eyewear photography can be tricky for beginners. From figuring out lighting to setting up the camera, everything needs to be done right.
And to help you with the process, this article will share the step-by-step process on How to photograph glasses and sunglasses for eCommerce product photography.
Without further ado, let us get started with the setup.
A step-by-step guide to eyewear photography
Lighting Setup

The best way to get started with eyewear photography will be with a lightbox. Instead of going through the trouble of finding the right angle of the lighting, using a lightbox will help you capture a product that is well-lit with soft light.
Also, if you are trying to create your photography lighting setup without a lightbox, I will recommend you use two light setups.
Use a small stable and cover it with clean backdrop paper. From the top, add a strobe light on the glasses. This will create a hard shadow at the bottom and highlights on the top.
Over the strobe light will be your softbox as your main light that will give soft light fill across the glasses.
If there is a reflection of your strobe light, it should be on the top area of the lenses and not covering the areas of temples or the frame. This will make it easy to remove them during post-production.
For softbox, turn it on and capture a trial shot. If the reflection of the softbox is too hard, move it up to spread out the light. You can also use silk to further spread the light for a better shot.
Use Reflectors

If you are using a lightbox, this might not be an issue. But if you are using a manual photography lighting setup, reflectors will be playing a key role in your eyewear photography.
Take two sheets of hard-white paper and surround the glasses with them. With strobe light and softbox light from the top, reflectors can illuminate the glasses from both sides.
This will help you make the details of your frame visible and light up, which is crucial for eCommerce photography
Camera Angle
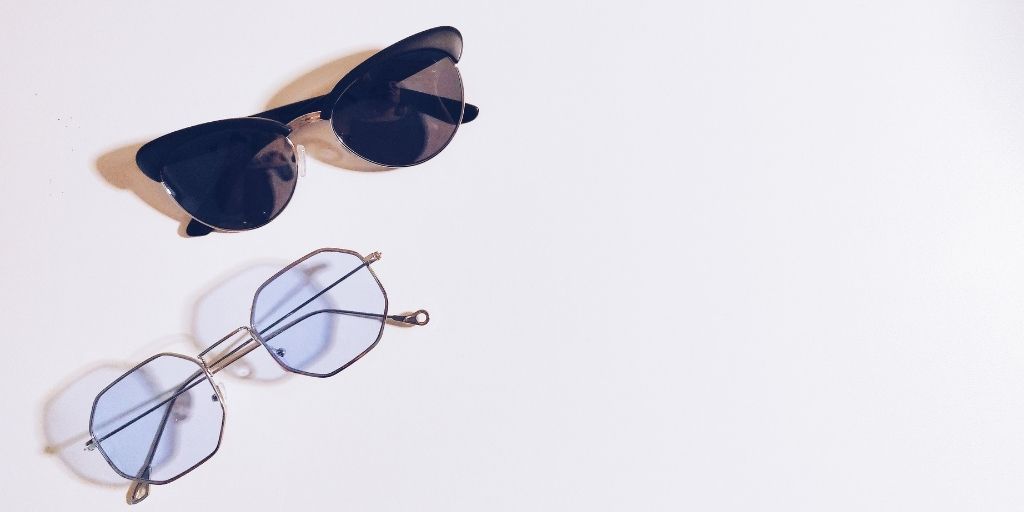
Your camera angle will mostly depend on the type of photography you are trying to capture. But most of the time there are 2 main camera angles involved in eyewear photography.
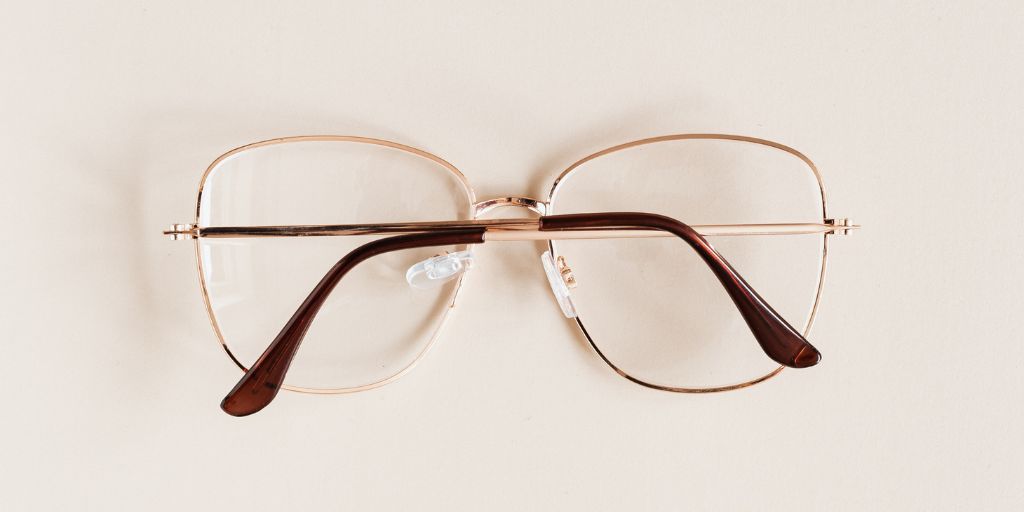
First is the Top Angle for flat lay photography. Here the camera is placed above glasses to capture them for flat lay style. The same lighting setup has used the reflections in the lenses are removed during eCommerce photo editing.
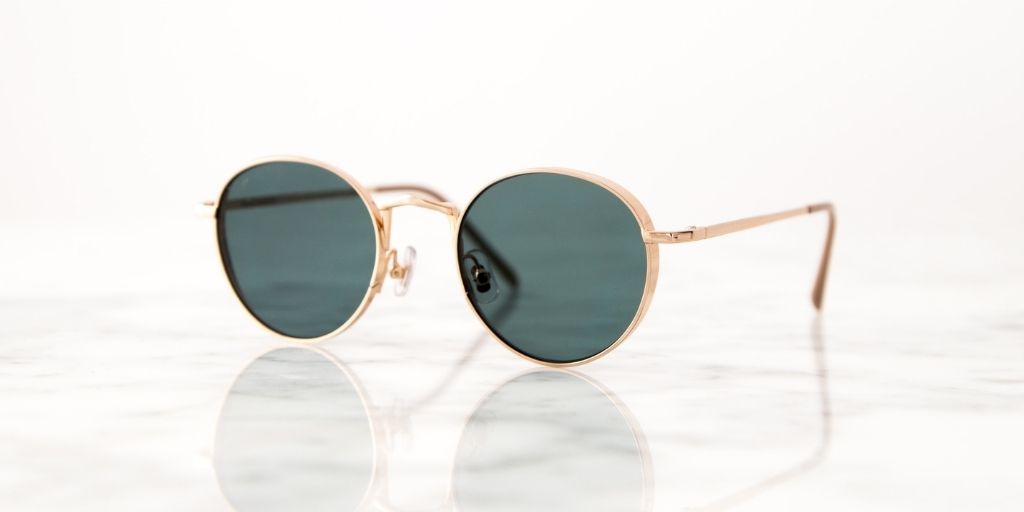
The second is the Front-Top angle for capturing the product from different angles and sides. Here, the camera is slightly above the level of the table where the glasses are placed. The glasses are set where the angle of the glass frame is at the center.
Ensure that the whole glasses are in focus. If you have difficulty doing that, you can capture multiple shots of the frame at different focal distances. Later in Photoshop, all images can be merged to get a full focused frame of the product.
Photo editing
When it comes to eyewear photography, photo editing will play a key role. From removing the reflection from the lenses to the glasses to creating individual clipping paths of the glasses to edit them specifically.
Everything is done to ensure a high-quality customer experience with your product images. But all this also requires expertise in photo editing. PixelPhant is a leading eCommerce photo editing service that can help you here.
A group of highly trained experts who will ensure that all your eyewear looks clean, professional, and attractive. Be it product photo editing or model photo editing for eCommerce. You can expect to get your images edited and receive them within 24 hours.
Bonus Read
Now that you know what goes into eyewear photography and how-to photography glasses and sunglasses, there is one thing to remember. The best results will come when you try out these steps and be prepared.
Preparation of your product, studio, and camera are the important parts of eyewear photography. So whenever there is an opportunity, don’t hold back from trying out these steps.
Also, get a free product photo editing service trial of PixelPhant below?