Best Ideas To Photograph Shiny Metal Objects

The first factor you need to consider to photograph shiny metal objects is the lighting. It all depends on your photography lighting setup that’ll determine your image’s illumination, reflection, and clarity.
So, be careful while learning these ideas to photograph shiny metal objects. Let’s begin.
How to Photograph Shiny Metal Objects?
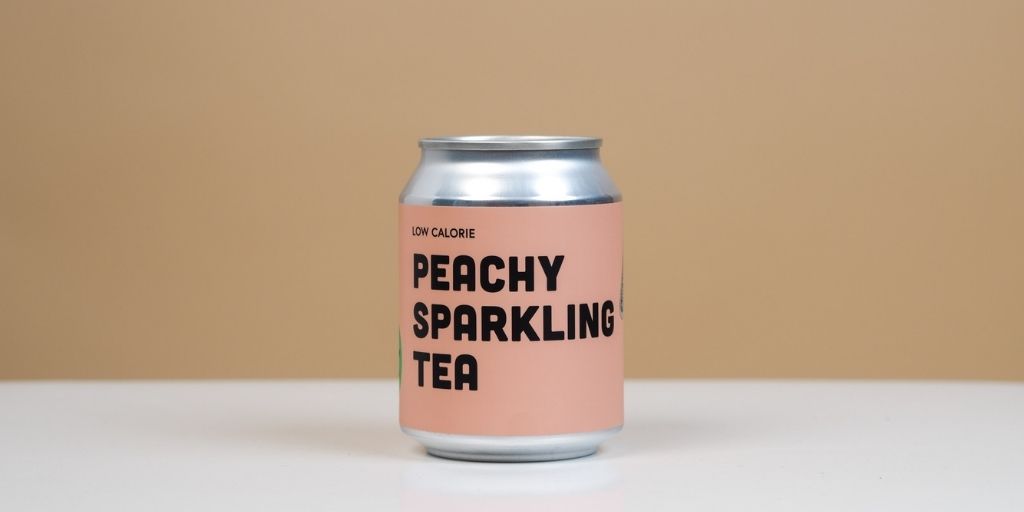
First, let’s talk about photographing those complete shiny silver objects like lunchboxes, thermal water bottles, and kitchen tools.
As said above, you need light. But that’s not it. You may also capture such silver objects in sunlight, but there might be a lot of variations since sunlight can not offer consistency.
What you’re looking for is the soft and evenly diffused light condition. To achieve this light condition, the best source is to use softboxes. Softboxes provide regular lighting and are best for illuminating the complete subject.
Since we’re playing with metal here, you should be able to control the light to avoid any dark areas, harsh shadows, or bouncing of light. To get more control over the lighting, use reflective cards.
The reflective cards work perfectly in directing the light in the desired directions. To use them correctly:
- Determine the areas where there is darkness on the subject and needs illumination
- Place the reflective cards in the line of sight of the light source
- Align the reflective cards right opposite to where more light needs to be directed
This will allow the light to bounce in the exactly right direction and will evenly illuminate your silver metal subject.
How to Photograph Reflective Glass and Metal?

You’re already working with reflection, now add transparency to it – that’s bonkers! And, that’s how it feels like to photograph glass and metal.
Photographing glass is one of the hardest photography skills and most photographers find it hard to master. Therefore, I’ve come up with the 3 best tips to photograph shiny metal objects with glass that are completely full-roof.
1. Backlight
The best idea to photograph glass is to put the light behind the glass. This helps you avoid the ugly glare and reflection that might be produced when putting the light source at the front.
At the same time, the backlight ensures even illumination of the glass product without letting the light bounce.
2. Long focal length
Using the long focal length lens is a smart move when photographing glass. The long focal length allows you to be at a distance when capturing the reflective product so that the reflection of the camera or yourself is not visible in the glass product.
3. Bounce cards or reflectors
We are talking about photographing metal with glass. Now, there might be times when the part of the metal is inside the glass or in the area where it’s not getting enough light or the light is bouncing too quickly to illuminate it.
The way we used bounce cards or reflectors for photographing shiny metal objects, similarly we need to use them to photograph shiny metal with glass. Align the reflectors in the sight of the light source and place them against the dark areas so that the light could bounce back and illuminate those areas.
How to Photograph Mirror Finish Objects?
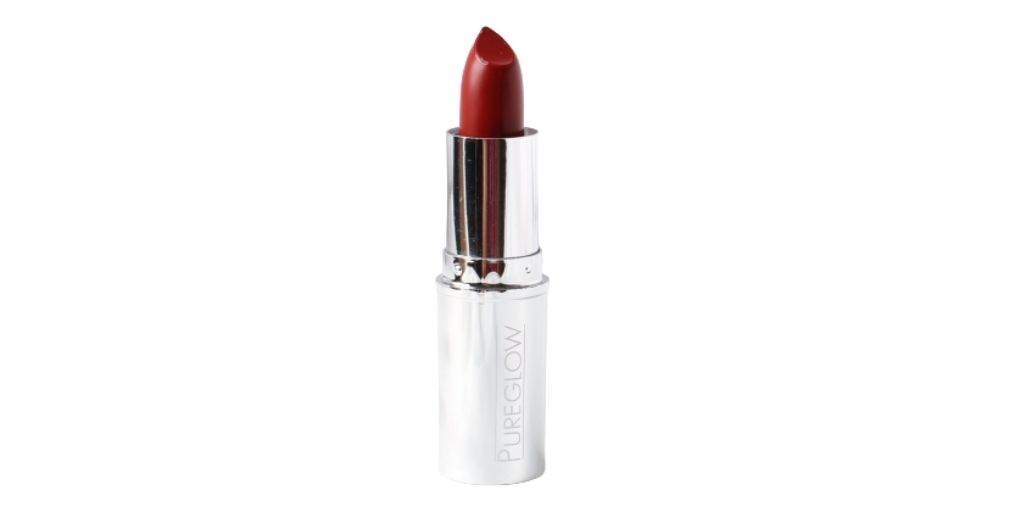
Most often, the objects with mirror finish are cosmetics products, skincare products, smartphones, television, or automobiles. To photograph such products with a mirror finish can be the toughest job. It is because the mirror is the most reflective surface and controlling the reflections with it can be very difficult.
The secret to preventing those reflections is to place your lighting setup strategically. In product photography, you’ll mostly be working with cosmetic products or cell phones as the mirror finish parts are very common in these products.
To make sure that the product is perfectly illuminated and there are no dark spots, reflections, or spilling, set up your lighting like this:
1. Position the light on top
Positioning the light on top completely puts the light above and around your subjects, especially if it’s small to medium in sizes like skincare or gadgets. Use an umbrella light to fully cover the area.
Because of the light coming from the top, there might be hard shadows or spots at the bottom. To eliminate this issue, let’s move on to the next step.
2. Use a backlight
Place a light behind your subject. I would prefer using a diffuser along with it and keeping the power of the light as low as possible. This will allow you to create a soft white background for the product and also avoid any overexposure that might occur if you use a very bright light directly at the back.
When you’ll illuminate the subject from above and the back, you’ll notice a narrow black rim around the edged of the product. It is because the top and the back are getting more light as compared to anything from the front.
However, you do not need to illuminate the subject with light from the front again as there might be too much light. So how do you fix it? Keep reading.
3. Use bounce cards in front
Though the lighting is important but using too much light from all angles wherever you see darkness is not professional.
An experienced photographer would never commit this silly mistake. If you’re already using two light sources, that too for such small products, then it’s wiser to use equipment that can help you direct the extra light already been created with the available sources.
And, to direct the light, the best sources are the bounce cards or reflectors. Since we’ve already placed a bright light on top and a mild light at the back, the only area that needs more illumination is the front.
So, place your reflectors or bounce cards on both sides at the front. It should seem like you’ve created an almost enclosed gate at the front. The reflective surface of the bounce cards must be facing the product.
You’ll be able to see that the diffused light coming from the back and the light from the top is automatically bouncing off the reflectors and illuminating the whole product.
There will be no overexposure, dark spots, or harsh shadows.
The products with shiny metal caps of lipsticks, moisturizers, face sprays, translucent bodies, and the reflective surface of the back of the smartphones are a few things for which this lighting setup may work the best.
Bonus Read
One of the best ideas to photograph shiny metal objects is to edit them professionally with PixelPhant’s professional product photo editing service.
All the unwanted reflections, glare, scratches, uneven lighting, distraction, and white balance can be corrected during the editing process.
Make your product photos look more professional, of high quality, and attractive with our product retouching, color correction, clipping path, and background removal service. Try them for free?.