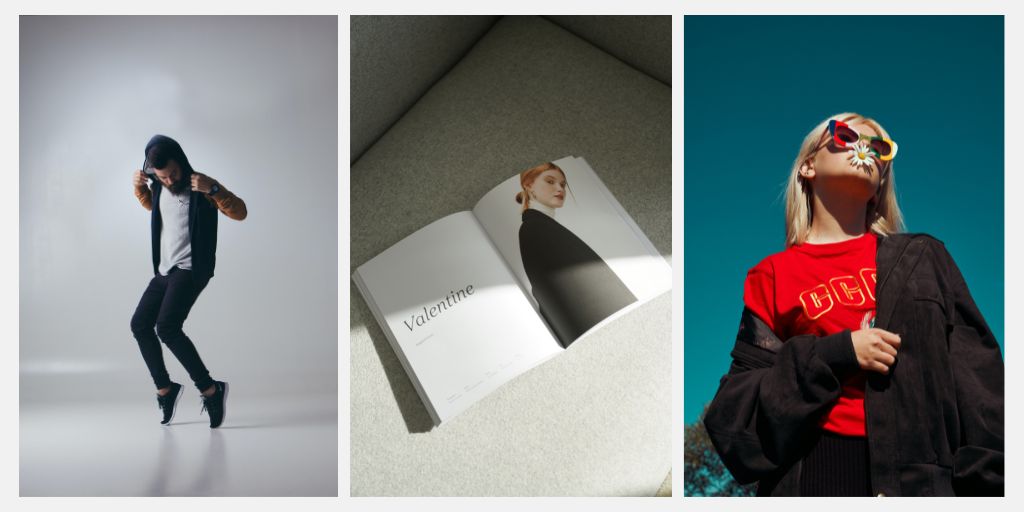
How to Organize photos like professionals do?

Photos are important assets for any organization and team. Moreover, if you are part of the creative and product photography team—managing these files can be highly overwhelming.
In this guide today, I am sharing with you a step-by-step process and tips to organize photos and never lose them again.
We’ll go over the software you’ll need, folder types you can create, and a process of creating backups to ensure your file never gets too far away from you.
Sounds like something that you and your team need? Let’s get started.
How to Organize photos like professionals do?
Understand your requirements
Before we start creating folders and scrabbling our files, the first thing we need to understand is why the files need to be organized and how they will be used.
Look into questions like:
- Where will these photos be used?
- Who else will have access to this system?
- How often will the files be added?
- How often will the images be accessed?
Before you organize photos, it is important to look into such questions. They will help you get a much clear idea of how your file organization system should look like.
Remove Junk Files
There are photos that we want to save forever. But then there are photos that make no sense in investing time and saving resources.
Photos that are completely out of focus, duplicate files, completely dark, or overexposed images.
In order to organize files, you first need to make sure you don’t have any junk to deal with.
So, as a final step before getting started—go over and delete the files you know you’ll never need.
Also, to be on the safe side, rather than permanently deleting the files in one go—move them to the recycle bin. Once you are done cleaning your folders, just head over to the bin and confirm that no important file is removed.
If you find something, restore it. If not, empty the bin and move to the next stage.
Create folders and subfolders
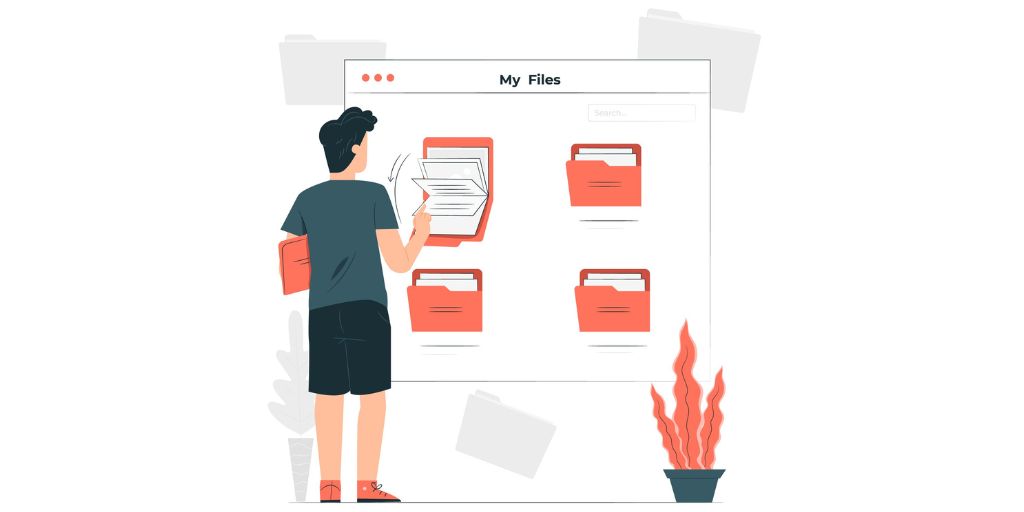
This is where the real fun begins. You already know creating a folder system will ensure an easy and organized method to save photos.
But that being said, it is important to learn how folders and their sub-folders will be created.
Depending on your requirements, it is highly suggested to go create primary folders based on Years first.
Be it for professional or personal purposes, the year of capturing the image would surely be a good start.
Next, you’ll have to look into the frequency through which you will add files.
In professional use cases, it can be on a daily basis. So, your folder paths can look like this:
- Year
- Month
- Day
- Month
In personal use cases where you may add images occasionally, your folder paths can look like this:
- Year
- Thanksgiving
- Christmas
- Birthday
For personal use cases, it is recommended to keep the paths short as the number of files would be less, and one doesn’t need to create various differentiates.
But professionals must ensure that files are highly organized to the point of
- On-Model – Off Model
- Websites – Editorials
These are sub-folders within the Months or Days folder which will help you find the right image quickly and efficiently by any of your team members.
Also note that in order to organize photos, follow the same chronology of folders across systems. Be it your local drive or the Cloud storage where your files are saved.
Separate RAW and Processed
Photo editing is a big part of the creative system for professionals. But at the same time, even after the photos are edited, RAW files need to be safely stored.
If you are eCommerce or studio, you understand that saving RAW images ensures that you can have access to original files whenever you want and edit them however you need in the future.
So, before you outsource your images to your retouching partners and photo editing services, make sure you have your RAW images saved in a separate folder as well.
A highly organized system would follow the same file path for RAW and edited images. That is:
- Edited Files>Year>Month>Day>NK_TSH_BLU_001.JPEG
- RAW Files>Year>Month>Day>NK_TSH_BLU_001.RAW
Again, depending on your requirements and the frequency of adding files and accessing them will make a lot of difference in how you organize photos.
Create a file renaming system
File renaming—is, again—one of the most important processes to organize photos and make them easy to access. Not only will it keep the files arranged in a specific order, but will also allow you to access them through a simple search.
The good thing is there is no rule on what your renaming system should look like. All you need to do is create a system that you can understand and follow for all your images.
One method that you can take reference from is the SKU renaming system.
Here we use a maximum of three to four characters to describe each category and arrange them in descending order of importance.
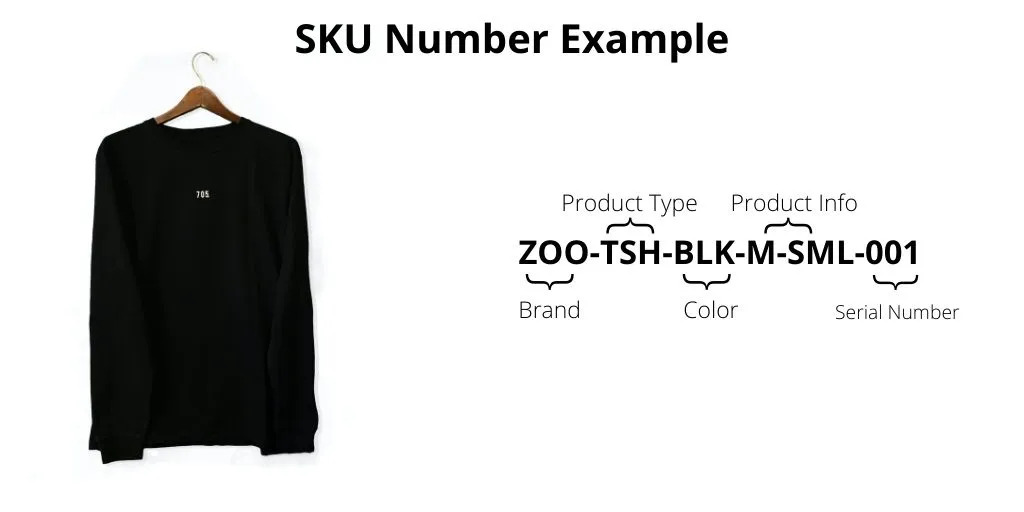
The above images show it very clearly, where the serial number will be the differentiating factor of multiple images of a common product.
Here the brand name (zoo) comes first; then it tells us it’s a t-shirt (TSH), later the color black (blk), and then the product info.
In the place of product info, you can use photo type, that is, on-model/off-model.
Creating a file renaming system is highly valuable when you organize photos in bulk.
Backup your files

By now, you have created a system to organize photos and keep them in the right place. But don’t you want to keep them in a safe space as well?
Creating backups of your files is one of the most important processes. It ensures that if something goes wrong—you always have a copy of the files at a safer location.
This location can be:
- Physical hard drives
- Digital cloud storage
Both have their perks and cons of their own. But again, depending on what your requirements are you can choose the best options to organize photos and keep them safe.
If connectivity is not an issue, cloud storage will always be a great choice. Not only will it ensure that your files are protected from any physical hazard, but it will also make it easy to share with your partners.
If we take the example of Google Drive and Dropbox, you can easily give access to your photo editing service to specific folders. This way, they can download files and, after processing them, upload the files on the same link in the specified folder.
Conclusion
Setting up a system to organize photos is very important. Not only will it save you time, but it will also allow you to keep your progress in check.
It’s always easy to go back to the system and learn about the files you captured, files that have been edited, and the files that are still under process.
For teams of photography studios, eCommerce creatives, and marketing—this system plays a crucial role in creating an autonomous work environment where every member of your team knows where the files are and can get to work without a need to request access each and every time.
Setting up a system to organize photos would take minutes or maybe an hour, but the efficiency you’ll have after it would surely tell how worthy it is.