How To Capture Details In Photography?

Many business owners believe they need expensive studios to create high-quality product photos, but the right equipment is often all you need.
By choosing an appropriate camera, lens, lighting, and other gear, you can capture the fine details in photography that attract customers.
Not everyone is a professional photographer, and hiring one can be expensive. Fortunately, with a few affordable tools and simple techniques, you can take attention-grabbing product photos on your own.
Also, outsourcing to a professional eCommerce product photo editing service can take your business one step ahead of competitors.
This article offers 11 simple yet effective strategies for capturing details in photography for your online store, which will drive results.
Table of Contents
11 Essential Things You Need to Capture Details In Photography
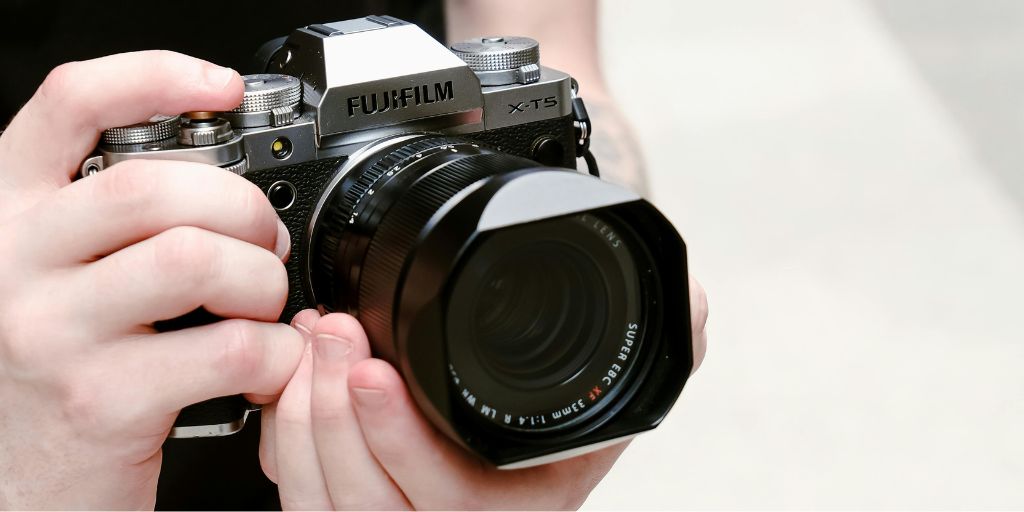
Camera
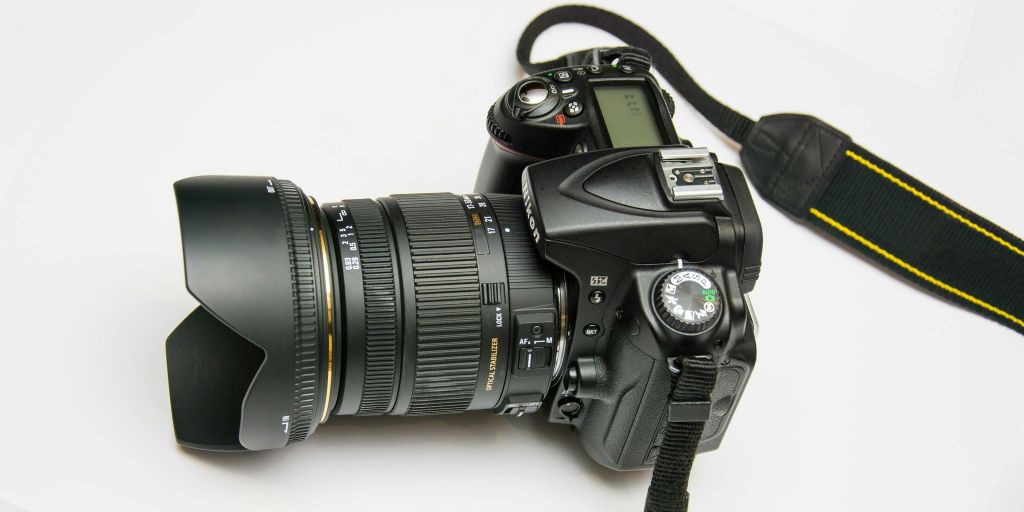
The camera settings you select are essential for capturing fine details in photography and ensuring the quality of your eCommerce images on your website.
While high-end DSLRs like the Nikon D850 ($1,800) with a 105 mm f/1.4 lens ($740) can produce great results, they can also be expensive. If you’re just starting out, go for a less-priced camera.
Keep in mind, the camera is only part of the equation. Detailed photography relies on proper lighting, exposure, styling, and editing.
Lenses
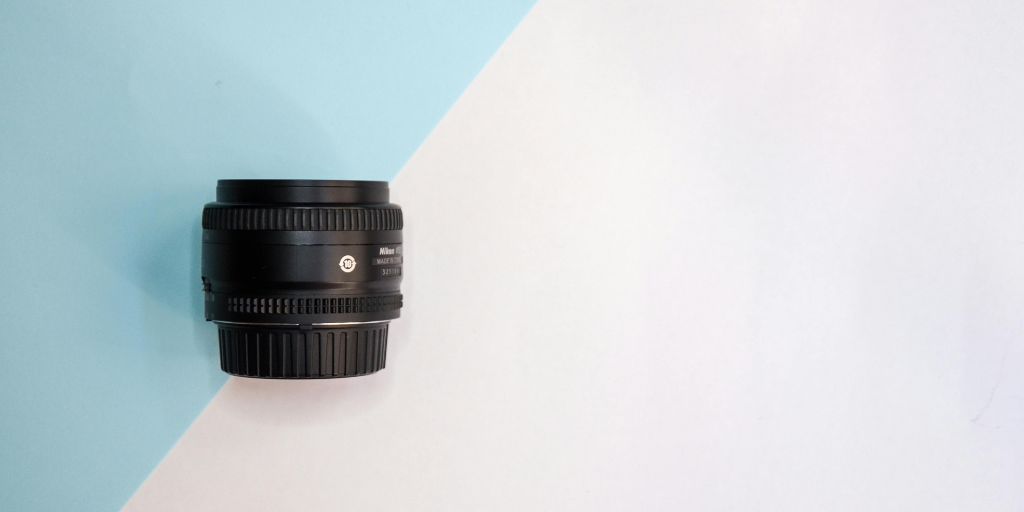
When selecting a lens, consider the size of your products and where you’ll be shooting.
Although lenses can be pricey, choosing one that’s versatile is best. A standard zoom lens can handle both large products and close-up details. Two popular options are:
- 24–70mm f/2.8: This lens is great for close-ups and wide shots, and its f/2.8 aperture works well in low light.
- 50mm f/1.8: A prime lens with a focal length similar to the human eye, offering a wide aperture for different lighting situations.
Experiment with different focal lengths to see what best highlights your product. Pick a lens that clearly and attractively showcases its key features.
Tripod
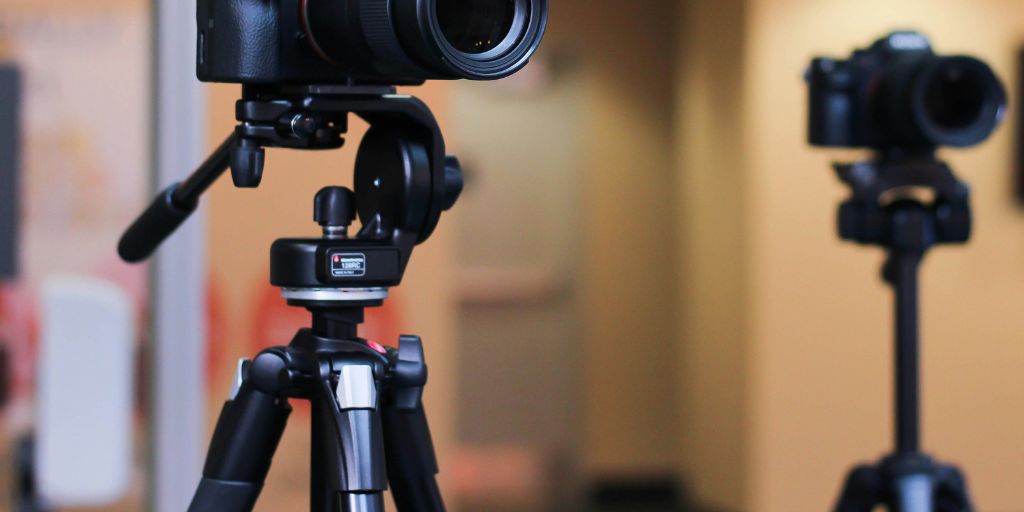
A tripod is a three-legged stand that helps stabilize your camera, especially during long exposures or macro shots where details in photography are necessary to show. It ensures consistent framing and composition.
Tripods are especially helpful when using slow shutter speeds, which are often needed for a deeper depth of field.
An affordable tripod works just fine for beginners, with many good options available for under $30.
Use Image Stabilization

Image stabilization is a common feature in today’s cameras and lenses to maintain sharpness & details in photography.
It’s especially beneficial when using slower shutter speeds and shooting handheld without a tripod. This feature is also helpful with telephoto lenses, where camera shake can be more noticeable and disruptive.
Shutter Speed
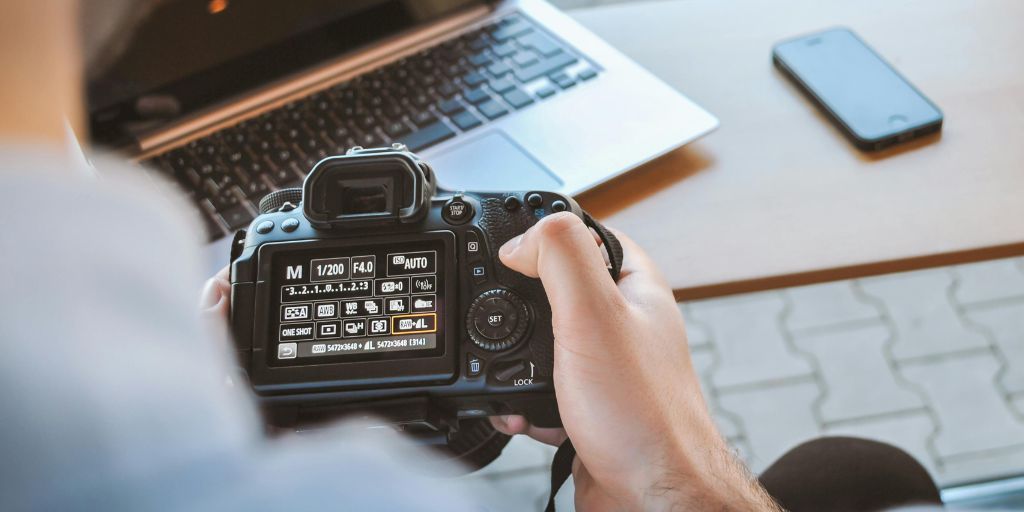
Shutter speed refers to how long your camera’s shutter stays open while taking a photo. In general, faster shutter speeds reduce the likelihood of motion blur in your images.
If the subject moves too quickly and your shutter speed is too slow, the result can be blurred.
For fast-moving subjects, aim for shutter speeds of 1/1,000 sec or faster, and for slower-moving subjects, shutter speeds around 1/250 sec should work well.
Control Aperture
When lenses are used at their widest apertures, they allow a lot of light. It is ideal for achieving high shutter speeds to freeze motion and maintain sharpness.
However, the downside is that many lenses tend to be slightly softer at their widest settings.
This softness might work well for portraits. But if you want larger depths or sharp details in photography across the entire frame, it’s better to use a smaller aperture such as f/4 or f/5.6.
Using very small apertures like f/16 or f/22 can produce a softening effect called diffraction. To avoid this, it’s best to stick with an aperture of f/13 or wider on most lenses.
White Background
A clean white background and good lighting control are key to capturing fine details in photography.
There are several options for a white backdrop. Investing in a white sweep is an excellent idea if you plan to shoot often. Paper sweeps are especially handy because you can cut off dirty sections and roll down fresh material.
If you’re on a tight budget, poster boards can be found for as little as $7 for ten sheets. Choose pure white—off-white or cream backgrounds can be tricky to edit to pure white later.
Lightbox
Lightboxes are perfect for capturing details in photography because they provide even lighting and reduce shadows, giving your photos a polished, professional look. They’re especially useful for small to medium-sized products.
Using a lightbox is simple: place your product inside on a white background. If your lightbox has built-in lights, turn them on and adjust them to ensure there is even lighting. For even more control, you can use external light sources.
Optimal Lighting Conditions
Softboxes, ring lights, and diffusers help to create even lighting, which is crucial for capturing details in photography without harsh shadows or overexposed areas.
Natural light is the best choice for photography whether indoors or outdoors.
However, outdoor lighting can be tricky and requires extra tools like diffusers or reflectors.
Remember how close or far you are from your light source affects the results: being closer gives you softer light and shadows while moving further away creates brighter, sharper light. Play around with different setups to find the best lighting for your photos.
Shoot In RAW Format
Instead of capturing standard JPEG images, consider shooting in RAW format to retain all the data your camera’s sensor captured.
RAW files offer greater flexibility with more dynamic range, richer colors, and higher resolution, giving you more control during editing. You can crop, adjust exposure, and experiment with white balance settings without losing image quality or any details in photography.
If RAW isn’t an option, choose the largest JPG setting. Select Large for image size and Superfine for quality.
Post-Processing
Even the best-clicked photos need professional post-production work.
Consider outsourcing to a professional eCommerce photo editing service like PixelPhant. These services offer a range of options, from basic edits to more advanced retouching. They include background removal, photo retouching, color correction, shadow removal, clipping path, and ghost mannequin services.
PixelPhant offers end-to-end solutions for eCommerce and photography studios. Express delivery options are available in as little as 2 to 3 hours, and basic pricing starts at just $0.40 per image.
Taking The Next Step
Showing fine details in photography helps drive more traffic and growth in sales in the eCommerce business.
By investing in the right tools, techniques, and post-processing methods, you can create images that not only attract attention but also build customer trust and drive conversions.
Start applying these strategies today to elevate your product photography skills and set your brand apart in the competitive market.