Three-Point Lighting Guide In Photography For Beginners
Setting up photography lighting is a play of chess for many photographers. From strategizing the shoot to playing around with the lights and shadows, you need to be in control of what’s in your frame.
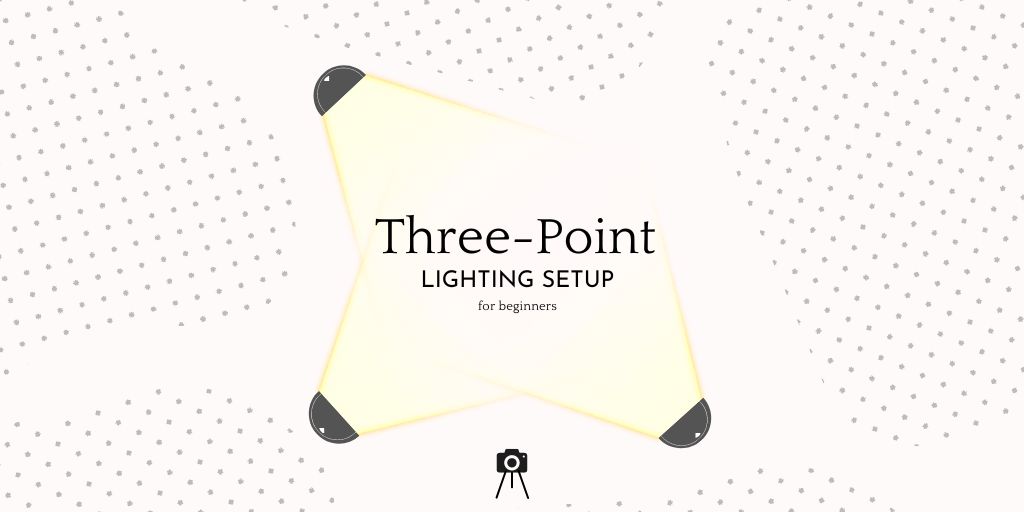
Three-point lighting photography setup is one of the most popular and widely recognized lighting setups used by professionals.
The setup is simple.
And in this guide, I am sharing with you what three-point lighting is, where it is used, the types of lights used in this setup, and tips that you can use during the setup for professional photography.
Without taking any more time, let’s get started with a three-point lighting guide in photography.
What Is Three-Point Lighting?
Three-point lighting in photography is a setup where you use three lights to illuminate the subject properly. It is one of the most popular and versatile lighting setups in photography. That is why if you learn how to use it, it is easy to switch between different types and styles of photography as well.
Now, as a beginner, the term itself “three-point lighting setup in photography” can be intimidating in sense of:
- What lights to use?
- Where to place them?
- What about the shadows?
- What intensity of lights to use?
- What if we are one light short?
And more.
But let’s stick with the basics here, and as we progress in the article, you learn everything.
Where Is The Three-Point Lighting Setup Used In Photography?
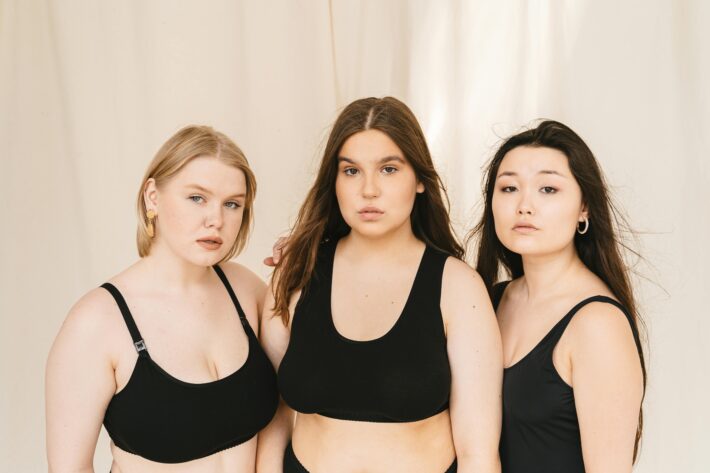
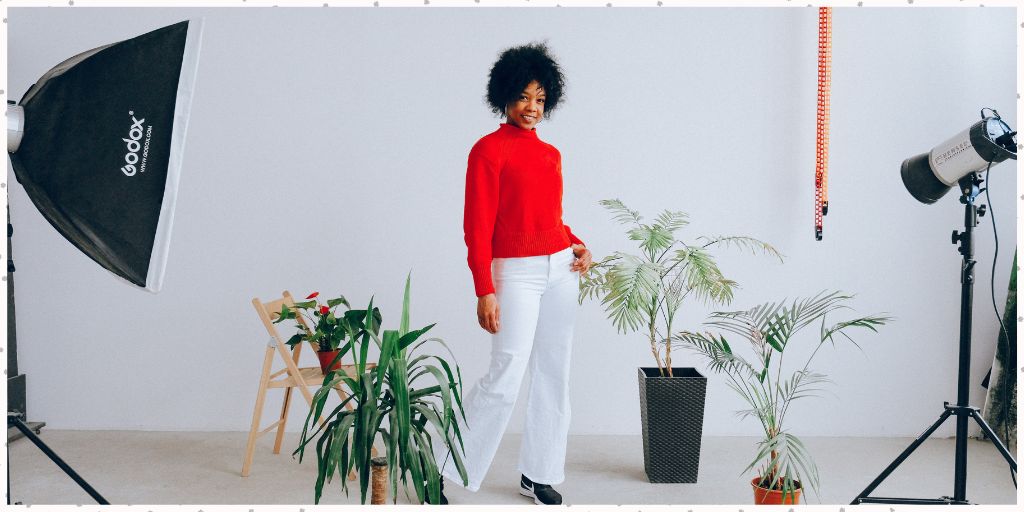
As we discussed, a three-point lighting setup in photography is versatile and is probably used in all kinds of settings. You can use it in product photography, model photography, portrait photography, fashion photography, editorials, advertising, social media, and more.
Also, the setup is not just used in photography. You’ll also see that many cinematographers and videographers use it while capturing a scene.
Why Three-point lighting is so popular?

Before we start with the types of lights in a three-point setup, you must know why it is so popular, especially beyond photography.
The three-point light setup is a way that you can illuminate the shadow and tackle shadows much more quickly. The setup also distinguishes the subject (product/model) from the background and highlights them in the frame.
Also, if you are looking for a lighting setup that makes the subject under “natural lighting,” a three-light setup does that very easy for you.
Also Read: 9 Types Of Portrait Lighting Setup
Types Of Light In The Three-Point Lighting Setup
Now that we have answered all the common questions in our heads, let’s get started with the how-tos of the setup.
The setup consists of three lights, all placed in the corners of the triangle, facing toward the subject in the center.
This is a general description of the setup and not geometrically accurate as it changes what you are looking for. The types of lights in the three-point lighting setup are:
Key light.
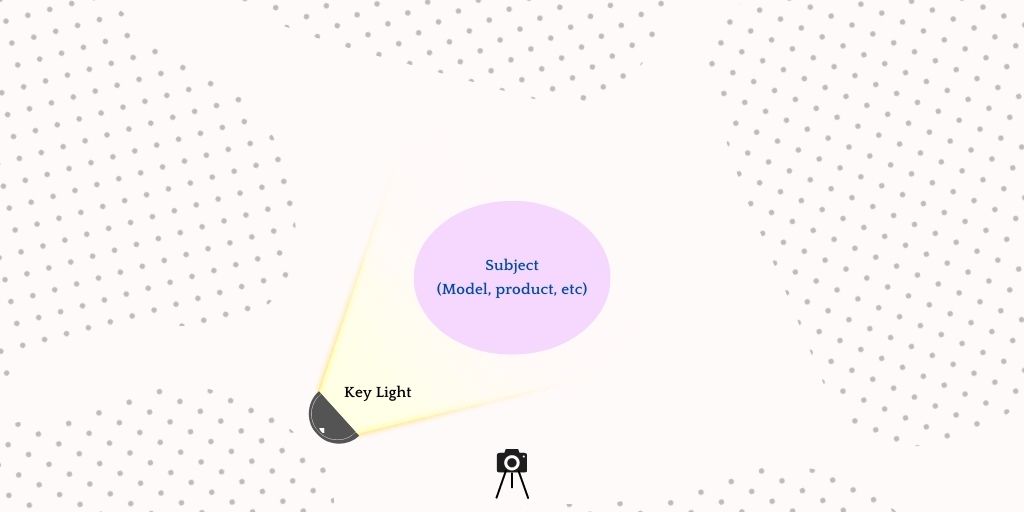
The key light is among the most important lights in photography that falls on the subject. It is the main light that highlights the area/subject that we want to focus the attention on. The key light is the one that sets up the whole mood of the scene and usually has the highest intensity among the three.
Fill Light
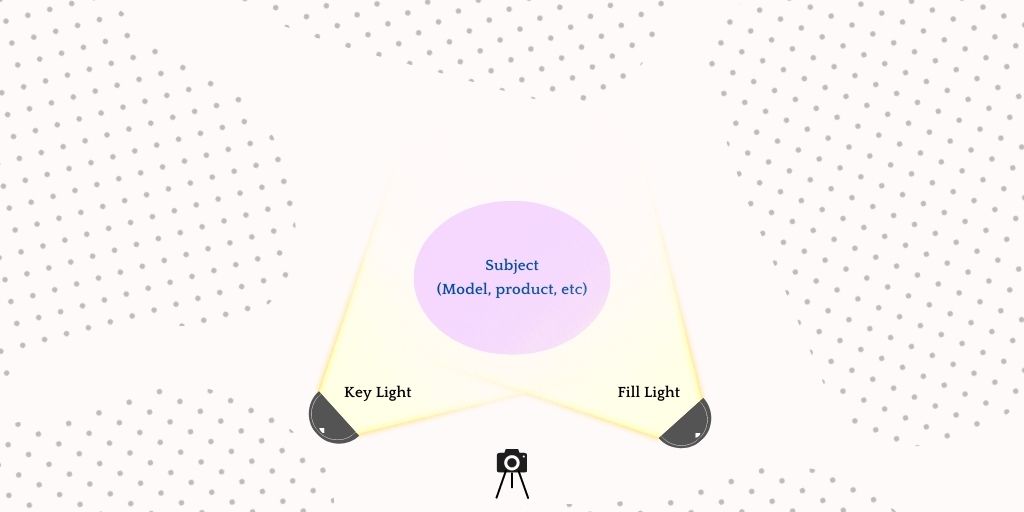
Fill Light is the light in photography that falls on the other side of where the light from the key light. It is a light that Balances the light coming from the key lights to avoid unprofessional shadows on the subject.
Some also use reflectors on the other side, but in the professional environment, you need everything in control. The intensity of the fill light is set slightly lower than the key light to make it look more natural, while still ensuring the details on the other side are easily visible.
Backlight
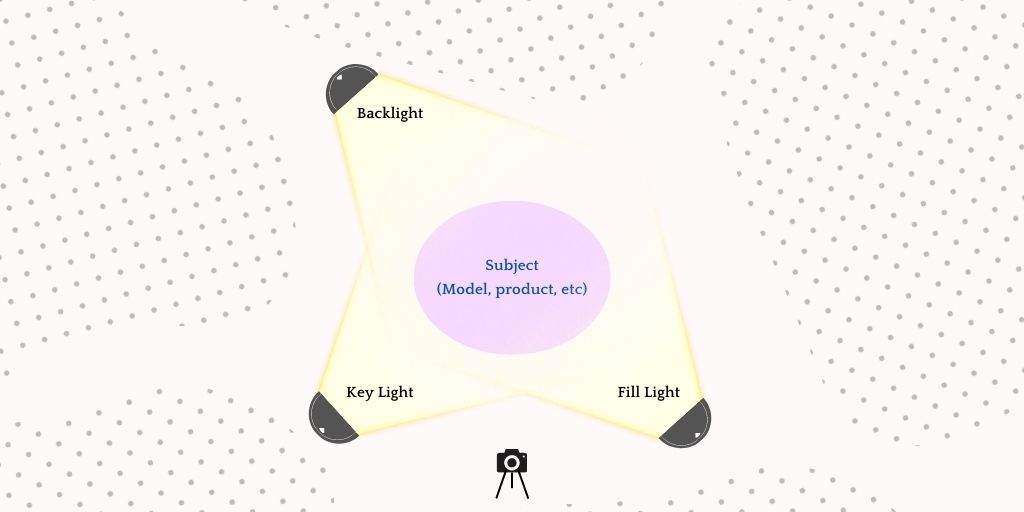
Now if both the sides of the subject are well illuminated, why do we need a backlight? Backlight is an important part of this trio because it helps in creating a defined boundary of the subject, and makes it stand out from the background.
All this together puts the light on the subject from both sides and the back. The camera is set up in the front that captures the subject, well illuminated and distinct from the background.
Tips For Three-Point Lighting Setup In Photography
Now that we have a good idea of what is the setup and what are the types of lights that you are going to use, here are some tips that you can follow for enhancing your results:
a) Know What You are Looking For: The lighting setup for photography gives you versatility at every stage of preparation and execution. It is you, who will have to learn what you want. If you are looking for a dramatic effect, the difference between the intensity of lights will be huge.
But if you are looking for something natural or professional, the difference would identical to the dramatic effect. The point here is, to make sure you know what you are looking for. Which side should have more light, what level of shadows do I want, etc.
b) Balancing the distance and the light: The distance between your lights and the subject will play a critical role in making sure you get what you are looking for. The closer your light to the subject will be, the harder will it be. If you take it away, it will keep getting softer.
And the best part about the three-point lighting setup is that you can vary the difference between the light and the subject individually. This gives you the ability to create various scenes and ways to present your subject in the way that you want.
c) Balance the light intensity: Just like the distance, if you use a professional photography lighting setup, you’ll also have control over the intensity of the light.
Remember that higher intensity of lights forms harder shadows. That can be by the distance between the lights, using the diffuser, or actually reducing the intensity. Remember that you’ll have to adjust the intensity of the light depending on the other two as well for the scene.
Bonus Read
The three-point lighting setup in photography is just like any other setup and equipment. To understand it completely, you will have to test it, look for yourself, and create your own style using them.
This guide was aimed to help you get started and I believe it did so.
PixelPhant is a product photo editing service that is helping eCommerce and photography professionals get their eCommerce and fashion images edited.
Our in-house team of experts is already working with the fastest-growing eCommerces, and now, we would love to have you on board. Take a free trial now.