Expert Portrait Retouching Guide: Master Professional Techniques
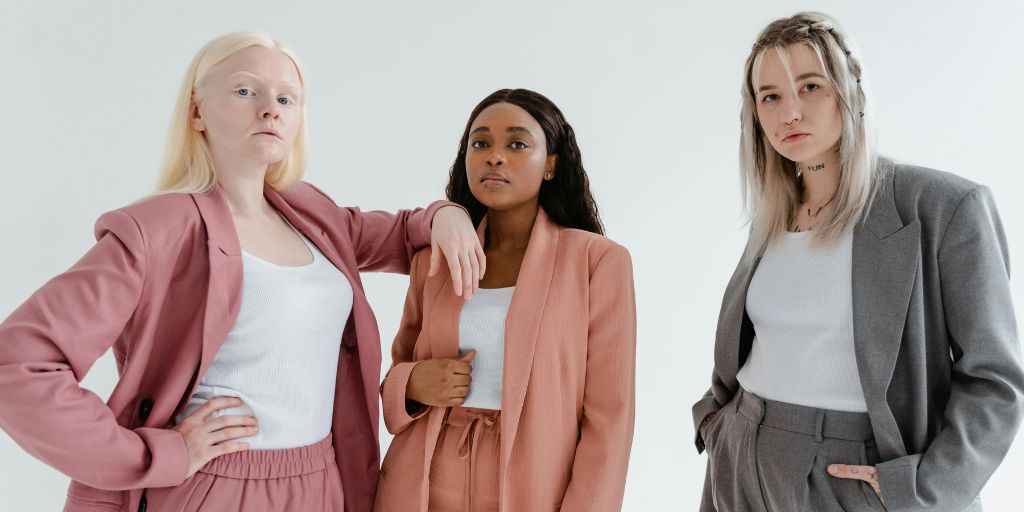
Portrait retouching is the process of improving a portrait photo to make the models look their best, while also making the look natural.
Instead of just using heavy filters, model photo retouching focuses on small but important details such as skin, hair, eyes, and lighting.
Recent trends in 2025 show photographers are emphasizing more natural expressions and less aggressive retouching. This makes skilled retouching even more valuable for achieving subtle but realistic enhancements.
In this article, we will cover everything related to Portrait retouching and how you can drive the best results. With any further ado, let’s get started right away.
AI Portrait Retouching vs. Manual Portrait Retouching
AI Portrait Retouching
AI portrait photo retouching is fast and automated. Tools like Retouch4me preserve the original skin texture and photos look natural. Similarly, Luminar and Photoshop’s AI features can smooth skin, remove blemishes, or whiten teeth with just one click.
Modern AI retouching tools in 2025 also let you customize the retouching levels. This offers flexibility between full glamour edits as well as natural enhancements.
This is very helpful when processing large batches of photos quickly.
However, you must note that AI can sometimes also go too far. Making skin look plastic or removing natural details during face retouching processes.
Manual Portrait Retouching
Photoshop portrait retouching gives you full control. Using the Healing Brush, Clone Stamp, Dodge and Burn, or Liquify in Photoshop, you can carefully enhance details. While also keeping the model’s realism through precise skin retouching and face touch-up techniques.
Compared to AI retouching, Manual portrait skin retouching takes more time for sure. But it allows for fine adjustments that AI often misses during headshot retouching. This includes balancing wrinkles without removing them completely and shaping hair naturally.
AI + Manual: Hybrid Workflow Portrait Retouching
The most effective approach today for you is combining both manual and AI portrait retouching. You can let AI handle basic skin retouching or blemish removal, and then step in manually to fine-tune the face retouching process.
For example, AI can quickly clean up skin tones during the initial portrait skin retouching phase, and the retoucher can then use dodge and burn to add depth and realism to complete the headshot retouching process.
This saves time while ensuring the final portrait photo retouching result looks natural and polished through professional face touch-up techniques.
Step-by-Step Portrait Retouching Workflow
Step 1: Start with Skin Retouching
Blemish Removal
The first step in skin retouching is removing blemishes such as pimples, acne scars, or temporary marks during the portrait skin retouching process.
This is done using the Healing Brush or Spot Healing in Photoshop. They allow you to fix imperfections without disturbing the surrounding skin during face retouching.
The goal of professional skin retouching is to clean up distractions while maintaining the natural texture and tone of the skin, so the portrait retouching feels realistic and polished.
Wrinkle Reduction
Wrinkle reduction in portrait skin retouching softens deep lines without completely erasing them. The face retouching technique should preserve the natural character of the face.
By using dodge and burn or frequency separation during skin retouching, you can subtly reduce prominent wrinkles while keeping the skin texture intact in your portrait photo retouching workflow.
The idea is to smooth the appearance without making your model look artificial during the headshot retouching process.
Skin Smoothing
Skin smoothing in portrait retouching evens out skin tones and creates a soft, polished look.
You can achieve this with frequency separation, which allows you to separate color and texture, making it easier to smooth tones without losing detail during face retouching.
AI skin retouching tools now offer frequency separation to refine skin texture effortlessly while preserving skin glow. However, final refinements in Photoshop portrait retouching are typically done manually to ensure the skin looks natural and lifelike.
Step 2: Facial Feature Enhancement in Portrait Retouching
Teeth Whitening & Alignment
Teeth whitening in headshot retouching brightens smiles without making them unnaturally white.
Using layer masks or selective adjustments during portrait photo retouching, you can target only the teeth and adjust brightness and color.
Slight alignment corrections may also be applied during face retouching to even out the smile and enhance overall facial harmony in professional portrait retouching.
Eye Brightening & Sharpening
Enhancing the eyes makes the portrait retouching more engaging. Brightening the whites, sharpening the iris, and adding subtle contrast during headshot retouching can make the eyes pop.
Care should be taken not to overdo it during face retouching, as overly bright or exaggerated eyes can distract from the natural expression in portrait skin retouching.
Reducing Glare on Glasses
Glasses often create unwanted glare that obscures the eyes during headshot retouching.
Techniques such as cloning, healing, or layer adjustments can reduce reflections while preserving the natural shape and brightness of the eyes during face retouching.
In more complex portrait skin retouching cases, reconstructing partially hidden areas may be necessary to maintain realism.
Hair Cleanup
Flyaways, frizz, and uneven hair volume can be distracting during portrait photo retouching.
Tools like the Clone Stamp, Healing Brush, or selective painting can clean up stray hairs and enhance overall hair shape during headshot retouching.
Adjusting highlights and shadows helps create a fuller, polished look that complements the face in professional portrait retouching.
Step 3: Refining Details in Portrait Retouching
Face Slimming or Adjustments with Liquify
Subtle adjustments using the Liquify tool during face retouching can enhance facial symmetry or refine contours. These edits should be minimal and proportional to maintain a natural look while improving overall balance and aesthetics in portrait retouching.
Cloth Smoothing
Wrinkled or uneven clothing can detract from portrait retouching results. You can use Clone Stamp, Healing Brush, or frequency separation for smooth textures and patterns during headshot retouching. Giving your model a neat and polished appearance without looking over-edited.
Background or Object Removal
Background distractions can shift attention away from your model during portrait skin retouching. Using content-aware fill, clone, and masking techniques in professional portrait photo retouching, unwanted objects or clutter can be removed while preserving lighting, depth, and perspective, keeping the focus on your model.
Step 4: Finishing Touches in Portrait Retouching
Global Color Grading
Color grading harmonizes tones across skin, hair, and background during portrait retouching. Adjusting color balance, saturation, and temperature can unify the portrait photo retouching and create a consistent mood that enhances your model’s appearance in headshot retouching.
Contrast, Exposure, Highlights
Fine-tuning contrast, exposure, and highlights adds depth and dimension to portrait retouching. Adjustments should emphasize your model while maintaining realistic light and shadow transitions throughout the image during professional face touch-up.
Export Settings for Web vs. Print
Final export in portrait retouching should match the intended use. Web images need optimized compression without quality loss, while print images require higher resolution and accurate color profiles. Ensuring proper export settings preserves sharpness, color accuracy, and detail for any medium in headshot retouching.
Professional Portrait Retouching Styles
Natural vs. High-End Portrait Retouching
Portrait retouching can range from subtle enhancements to highly polished, editorial-quality edits. Natural portrait skin retouching focuses on refining your model features while keeping them authentic.
It includes minor skin retouching, gentle wrinkle reduction, and light adjustments to eyes, teeth, and hair. This style works best for headshot retouching, corporate portraits, and personal branding where realism and relatability are key.
On the other hand, high-end or editorial retouching is more detailed and stylized, often seen in fashion, beauty, and magazine photography. It emphasizes flawless skin retouching, precise facial feature adjustments, vibrant colors, and careful control over lighting and shadows.
High-end retouching enhances your model’s appearance while creating a polished, visually striking image.
Portrait Retouching by Genre
Different types of portraits have unique expectations that influence the portrait retouching approach. Headshot retouching requires a clean, professional, and natural look to present your model accurately through careful face touch-up techniques.
Fashion portraits demand high-end retouching, with precise attention to skin retouching, hair, makeup, and lighting to achieve a stylized effect. Corporate photography emphasizes subtle polish, consistency, and professional presentation across a series of images through editing headshot techniques.
Lifestyle portraits often balance natural looks with creative enhancements, adjusting colors, skin tone, and background elements to match the intended mood or storytelling through professional portrait retouching.
Balancing Realism vs. Perfection in Portrait Retouching
One of the most important considerations in professional portrait retouching is maintaining a balance between realism and perfection. Over-editing can create unnatural results that reduce authenticity, while under-editing may leave distracting imperfections.
The key is to enhance your models’ best features without erasing their unique traits during face retouching. Understanding client expectations and the intended use of the portrait retouching is crucial.
A corporate editing headshot may need minimal enhancements, while a fashion editorial allows for more artistic and polished adjustments through professional portrait retouching.
The best portrait photo retouching respects your model’s individuality while elevating the overall image quality.
7 Best Software for Portrait Retouching
1. Adobe Photoshop
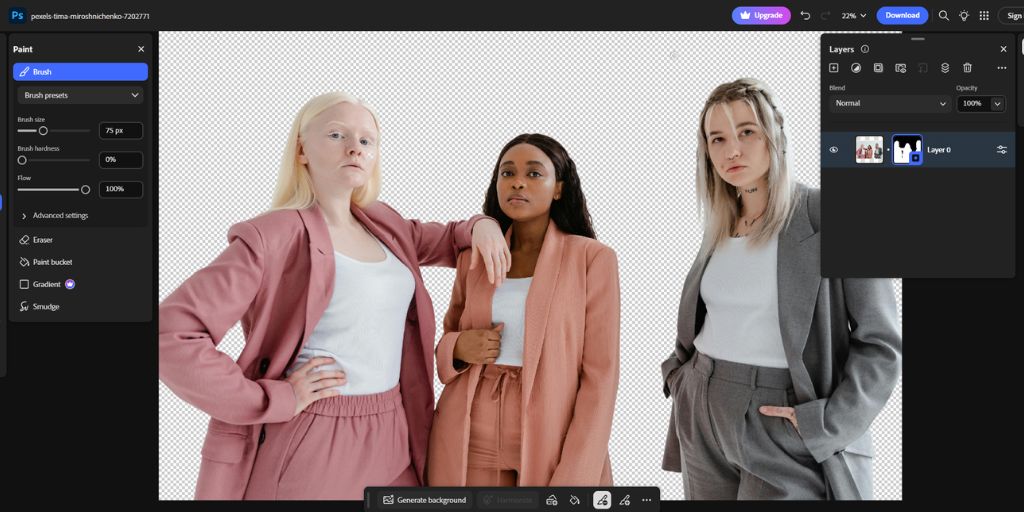
Who It’s For: Intermediate to professional retouchers who want maximum control and precision in portrait retouching.
Adobe Photoshop is the industry-standard software for professional photo editing and portrait retouching. It offers a complete suite of tools for pixel-level adjustments, layer-based editing, and advanced Photoshop portrait retouching techniques.
Photoshop provides unmatched precision for headshot retouching, allowing you to remove blemishes, perform detailed skin retouching, enhance eyes, whiten teeth, and refine facial features with complete control during face retouching.
Features like Frequency Separation, Liquify, Dodge & Burn, and advanced masking allow professional-level edits that maintain realism while enhancing every detail in portrait skin retouching.
Its integration with Adobe Creative Cloud also ensures seamless workflow across other Adobe apps for comprehensive editing of headshot processes.
2. Adobe Lightroom
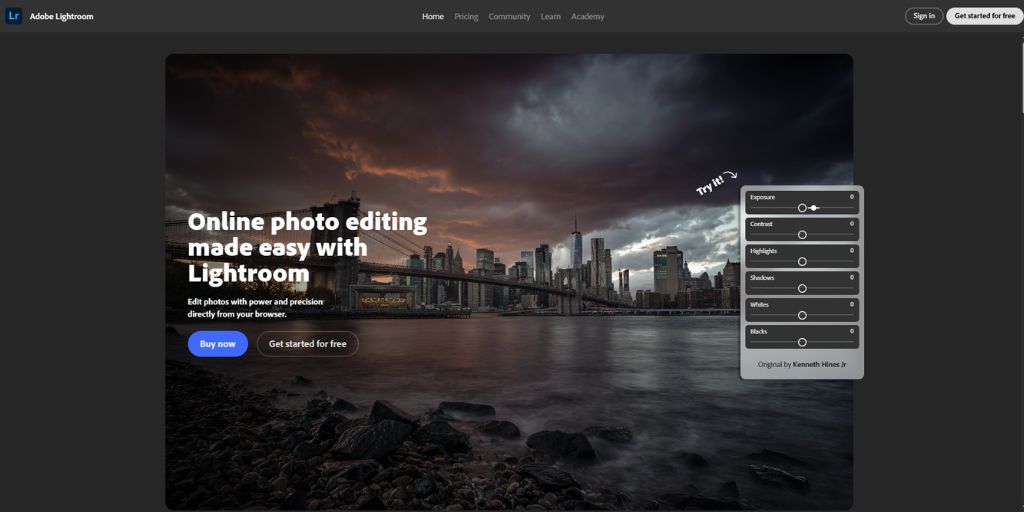
Who It’s For: Beginners to intermediate users looking to edit portraits efficiently and maintain a consistent look in portrait retouching.
Lightroom is a photo editing and management tool focused on workflow efficiency and global adjustments for portraits.
Lightroom excels at exposure, color correction, skin retouching adjustments, and batch processing, making it easy to prepare a series of portraits quickly for headshot retouching workflows.
Non-destructive editing, presets for consistent results, and organizational tools make it ideal for photographers managing multiple shoots requiring professional portrait retouching.
3. Capture One
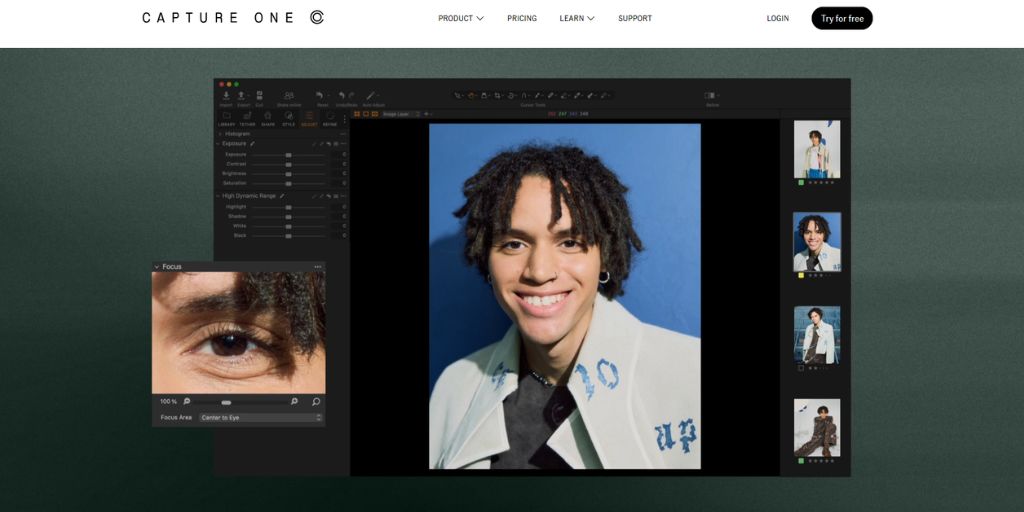
Who It’s For: Intermediate to professional photographers focused on high-end commercial or studio portrait photo retouching work.
Capture One is a professional-grade photo editor known for its advanced color grading and tethered shooting capabilities in portrait retouching workflows.
It provides excellent color control, fine-tuned skin retouching adjustments, and detailed exposure editing that enhances natural tones during face retouching processes.
Its layer-based adjustments, precision color tools, and excellent RAW processing make it perfect for studio photography and professional portrait Photoshop retouching workflows.
4. Luminar Neo

Who It’s For: Beginners and intermediate users who want professional-looking portrait skin retouching results quickly without deep technical knowledge.
Luminar Neo is an AI-powered photo editor that simplifies portrait retouching with smart tools for automated face retouching and skin retouching.
It offers automatic skin smoothing, portrait enhancement, object removal, and light adjustments in just a few clicks during the headshot retouching process.
AI-driven tools like skin AI, face AI, and structure AI allow for fast, consistent, and realistic results with minimal effort in professional portrait skin retouching.
5. Retouch4me

Who It’s For: Intermediate and professional retouchers looking to speed up portrait photo retouching workflow without compromising quality.
Retouch4me is a specialized AI plugin designed for portrait retouching that automates complex face retouching and skin retouching tasks.
Most professionals use Evoto, Portrait Pro for basic retouching, and Photoshop for advanced retouching. Retouch4me automates tasks like skin retouching, dodge & burn, eye brightening, and hair correction, saving hours of manual work in portrait retouching.
Each tool focuses on a specific portrait skin retouching need, delivering natural and high-quality results quickly while integrating with Photoshop and Lightroom for seamless editing of headshot workflows.
6. PortraitPro
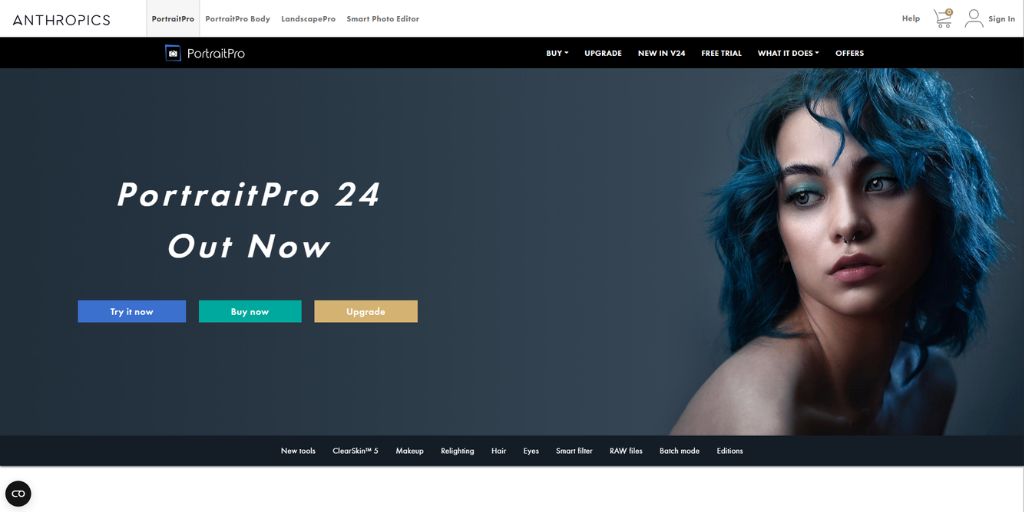
Who It’s For: Beginners to intermediate photographers and retouchers who want fast, effective portrait enhancement and face touch-up.
PortraitPro is a portrait-focused editing software that simplifies facial retouching and headshot retouching processes.
AI portrait retoucher tools now let you enhance portraits online with just one click, removing blemishes and sharpening facial features. It detects facial features automatically and allows you to enhance skin, reshape features, and adjust lighting effortlessly during face retouching.
AI-powered facial recognition and easy sliders make precise edits quick, ideal for high-volume portrait retouching and professional headshot retouching.
7. Topaz Studio / Topaz AI
Who It’s For: Intermediate to professional users who want high-quality portrait skin retouching results while saving time on repetitive edits.
Topaz Studio and its AI plugins use artificial intelligence for photo enhancement and noise reduction in portrait photo retouching workflows.
It specializes in detail enhancement, AI sharpening, and subtle skin retouching improvements, helping portraits look sharp and polished through advanced face retouching techniques.
AI-based technology ensures natural-looking results without over-editing, even in high-resolution images requiring professional portrait retouching.
10 Expert Portrait Retouching Tips
1. Always Work on Duplicate Layers in Photoshop Portrait Retouching
Working on duplicate layers is a fundamental habit that protects your original image during portrait Photoshop retouching. By creating a copy of the background layer, you can experiment with face retouching without permanently altering the original pixels.
This approach allows you to compare before-and-after results, apply adjustments selectively, and undo any mistakes easily during skin retouching. For more advanced portrait Photoshop retouching work, multiple duplicate layers can be used for specific edits, such as one layer for skin retouching and another for facial feature adjustments.
This layering approach keeps your portrait Photoshop retouching workflow organized and non-destructive, ensuring flexibility during every step. In professional environments, duplicate layers are essential for client revisions because you can make changes without starting over the entire headshot retouching process.
Whether you are performing face touch up for blemishes, adjusting contrast, or enhancing eyes, working on duplicate layers gives you full control over every adjustment while preserving the original image in portrait skin retouching.
2. Use Non-Destructive Editing (Masks, Adjustment Layers) in Portrait Retouching
Non-destructive editing is the key to professional-quality portrait Photoshop retouching. Instead of directly modifying pixels, you use adjustment layers and layer masks to apply edits selectively during face retouching processes.
Photo retouching services now prefer non-destructive editing tools due to their masking capabilities, allowing them to selectively apply edits on a few areas without affecting the entire image. Adjustment layers allow you to tweak exposure, contrast, color, and skin retouching at any stage without harming the underlying image. Masks help isolate specific areas, like the eyes or hair, so changes affect only the desired region during headshot retouching.
This method ensures that edits can be refined later, combined with other adjustments, or even removed entirely if needed in portrait Photoshop retouching workflows. Non-destructive workflows are especially important when delivering images to clients, as they allow last-minute tweaks without compromising quality.
By mastering masks and adjustment layers in professional portrait Photoshop retouching, you gain precise control over every detail, making your face retouching both flexible and professional.
3. Master Dodge & Burn for Dimension in Portrait Retouching
Dodge and burn is a powerful technique to enhance depth and dimension in portrait photos by selectively lightening and darkening areas of an image. It involves lightening (dodging) and darkening (burning) specific areas of the image to emphasize facial structure and natural highlights during face retouching.
For instance, subtle dodging on the forehead, nose, and cheekbones during portrait retouching can make the face appear more three-dimensional, while burning along jawlines and under the cheekbones adds definition through strategic face touch-up techniques.
This method allows you to refine contours without altering the actual facial features during headshot retouching. Using soft brushes and low opacity ensures the effect remains natural and seamless in portrait retouching.
Dodge and burn can also help enhance clothing folds, hair volume, or background elements to improve overall composition in professional portrait retouching. Learning to dodge and burn correctly gives portraits a realistic depth that simple global adjustments cannot achieve in skin retouching workflows.
4. Calibrate Your Monitor for Accurate Tones in Portrait Retouching
A poorly calibrated monitor can make skin tones appear incorrect, shadows too dark, or highlights blown out during face retouching processes.
Regular calibration ensures that the colors and brightness you see while editing headshot retouching match the final output, whether it’s for print or web. Tools like hardware color calibrators and software profiles help maintain consistency across devices in portrait photo retouching workflows.
Professional retouchers rely on calibration to match client expectations, as even small color discrepancies can change the mood and feel of a portrait. Without calibration, edits that look perfect on one screen may appear unnatural on another during face touch-up processes.
Accurate tones ensure skin looks lifelike, colors are harmonious, and the final portrait photo retouching maintains the intended visual impact.
5. Avoid Over-Smoothing in Portrait Skin Retouching
Over-smoothing is one of the most common mistakes in portrait skin retouching. While skin smoothing can remove blemishes and even out tone, excessive smoothing can make your model look artificial or “plastic” during face retouching.
To prevent this in professional portrait photo retouching, maintain the natural texture of the skin using techniques like frequency separation or subtle AI tools. Focus on reducing distractions while preserving pores, fine lines, and natural shadows during headshot retouching.
The goal of skin retouching is to enhance the skin’s appearance without eliminating the unique features that give the face character. Observing the image at different zoom levels helps maintain realism in portrait skin retouching.
By avoiding over-smoothing in face touch-up processes, your portraits remain polished yet authentic, giving clients a natural and flattering result that still feels human.
6. Keep Portrait Photo Retouching Consistent Across a Batch
When working with multiple portraits from the same shoot, maintaining consistency is crucial in professional portrait skin retouching. Consistent adjustments in exposure, skin retouching, contrast, and color grading ensure that all images feel part of a cohesive set.
Techniques such as saving adjustment layers, using presets, or duplicating edits across images help maintain uniformity in headshot retouching workflows. Consistency is particularly important for corporate headshots, fashion campaigns, or any series of portraits where visual cohesion is required through standardized face retouching techniques.
Inconsistent edits can distract viewers and reduce the professionalism of the final deliverable in portrait Photoshop retouching. By developing a repeatable workflow, retouchers save time and guarantee that all portraits maintain the same high-quality standard, producing polished results across the entire batch through systematic face touch-up processes.
7. Use Frequency Separation Wisely in Portrait Retouching
Frequency separation is a powerful technique that separates texture from color and tone, allowing precise skin retouching without losing detail during face retouching processes.
Frequency separation separates color and texture layers to smooth skin texture and even out skin tone independently, a powerful but complex technique. The low-frequency layer controls color and tone, while the high-frequency layer maintains fine details like pores and hair. This method is ideal for removing blemishes or uneven tones without flattening skin texture in portrait retouching.
However, improper use can result in unnatural or overly soft skin during headshot retouching. Applying frequency separation with subtlety and combining it with dodge and burn or careful masking ensures the skin remains realistic while achieving a polished finish in professional portrait retouching service.
It is a technique that, when used wisely, can elevate the overall quality of a portrait through expert face touch-up methods.
8. Zoom Out Often to Check Realism in Portrait Retouching
Retouchers often focus closely on details during skin retouching, which can lead to losing sight of the overall effect. Zooming out allows you to see the portrait as a whole, ensuring that edits blend seamlessly and maintain a natural appearance during face retouching processes.
This helps identify overdone smoothing, unnatural highlights, or imbalanced facial adjustments in portrait retouching workflows. By periodically checking the image at full view during headshot retouching, you can refine proportion, depth, and tone.
Zooming out ensures the final portrait photo retouching looks cohesive, balanced, and realistic rather than overly processed through excessive face touch-up techniques.
9. Save Presets for Efficiency in Portrait Retouching
Presets and templates streamline portrait Photoshop retouching workflow by applying consistent adjustments across multiple portraits. They save time on repeated tasks such as exposure correction, color grading, or basic skin retouching during headshot retouching processes.
Presets can be customized to suit different lighting conditions, genres, or client preferences, making them invaluable for photographers handling large volumes of images requiring face retouching. Using presets ensures consistency and efficiency while maintaining quality in professional portrait skin retouching, allowing more focus on creative and detailed edits.
This systematic approach to editing headshot workflows enables faster turnaround times while preserving the quality standards expected in professional face touch-up services.
10. Know When to Stop Portrait Retouching
One of the most important skills in portrait skin retouching is restraint. It’s easy to over-edit, which can make your model look artificial or overly polished during face retouching and skin retouching processes.
Knowing when to stop requires a careful eye for natural texture, facial features, and overall balance in professional portrait Photoshop retouching. Regularly comparing the retouched image with the original helps maintain authenticity during headshot retouching workflows.
The goal is to enhance, not transform, your model through thoughtful face touch-up techniques. Professional retouchers recognize that subtlety often delivers the most impactful and believable results in portrait retouching.
FAQs on Portrait Retouching
What is Portrait Retouching?
Portrait retouching is the process of enhancing a portrait photograph to improve the model appearance while keeping the image natural. This includes correcting skin imperfections through skin retouching, brightening eyes, whitening teeth, adjusting lighting, and refining hair or clothing. Unlike basic editing, portrait photo retouching focuses on subtle improvements that highlight your model features and create a polished, professional-looking image suitable for headshots, fashion photography, or corporate use through comprehensive face retouching techniques.
What Does Retouching Mean in Photography?
In photography, retouching refers to any post-processing work done to enhance or refine an image. This can include removing blemishes through face touch up, smoothing skin via skin retouching, adjusting colors, correcting lighting, or removing distractions in the background. Portrait retouching is different from general photo editing because it focuses on improving your model itself, ensuring the final image looks natural, professional, and visually appealing through specialized headshot retouching techniques.
What Software is Best for Portrait Retouching?
Several software options are popular for portrait skin retouching, depending on your workflow and skill level. Adobe Photoshop is the industry standard for detailed manual portrait retouching, offering tools like frequency separation and dodge & burn for comprehensive face retouching. Lightroom is great for batch adjustments and color correction in headshot retouching workflows. Capture One provides advanced color grading and a studio-ready workflow for professional portrait retouching. AI-based tools like Luminar Neo, Retouch4me, and PortraitPro allow faster enhancements for skin retouching, eyes, teeth, and lighting. Choosing the right software depends on whether you prioritize speed, precision, or creative control in your face touch-up processes.
What’s the Difference Between Image Editing and Portrait Retouching?
Image editing generally involves broad adjustments such as cropping, resizing, exposure correction, or color grading. Portrait retouching is a more specialized process that focuses on refining specific details, particularly your model’s appearance through targeted face retouching and skin retouching techniques. While editing improves the overall image, portrait retouching enhances your model’s skin, facial features, hair, and small imperfections to achieve a polished, professional look through detailed headshot retouching and face touch up methods.
Can You Use AI to Touch Up Photos?
Yes, AI tools are increasingly used for portrait retouching and face touch-up processes. AI photo editing tools can significantly reduce time spent on post-processing by automating repetitive tasks like retouching, enhancing skin tones, and even refining lighting conditions. AI can automatically smooth skin through advanced skin retouching, remove blemishes, brighten eyes, whiten teeth, and even correct lighting during face retouching. Tools like Luminar Neo, Retouch4me, and Photoshop’s AI features save time and are especially useful for batch processing in headshot retouching workflows. However, while AI is fast and efficient, combining it with manual portrait retouching ensures the final result remains natural and precise, avoiding over-processed or unrealistic effects.
Final Thoughts: Becoming a Better Portrait Retouching Professional
Portrait retouching is more than just fixing blemishes or adjusting lighting—it’s both a technical skill and an art form. Every portrait tells a story, and professional portrait retouching enhances that story while keeping your model authentic. Mastering this craft requires attention to detail, an understanding of light, color, and texture, and a sensitivity to your model’s personality through skilled face retouching and skin retouching techniques.
Looking ahead, AI tools will continue to speed up the portrait retouching workflow, handling repetitive tasks like skin retouching, eye brightening, and batch adjustments in headshot retouching processes. In 2025, AI-driven retouching software is more affordable, making advanced face retouching tools accessible to more photographers. These tools can save time and increase efficiency, but the human eye for nuance, realism, and emotional impact will always be essential in professional portrait retouching. The best retouchers know when to rely on technology and when to intervene manually to maintain natural beauty and expression through expert face touch up techniques.
By practicing consistently, studying real-world examples, and staying updated with both software and artistic techniques, you can elevate your portrait retouching skills.
Understanding the balance between automated skin retouching and manual face retouching is crucial for developing a professional workflow. Ultimately, becoming a better portrait retouching professional means balancing speed, precision, and creativity to deliver portraits that are polished, professional, and genuinely captivating through masterful headshot retouching and comprehensive face touch up services.